
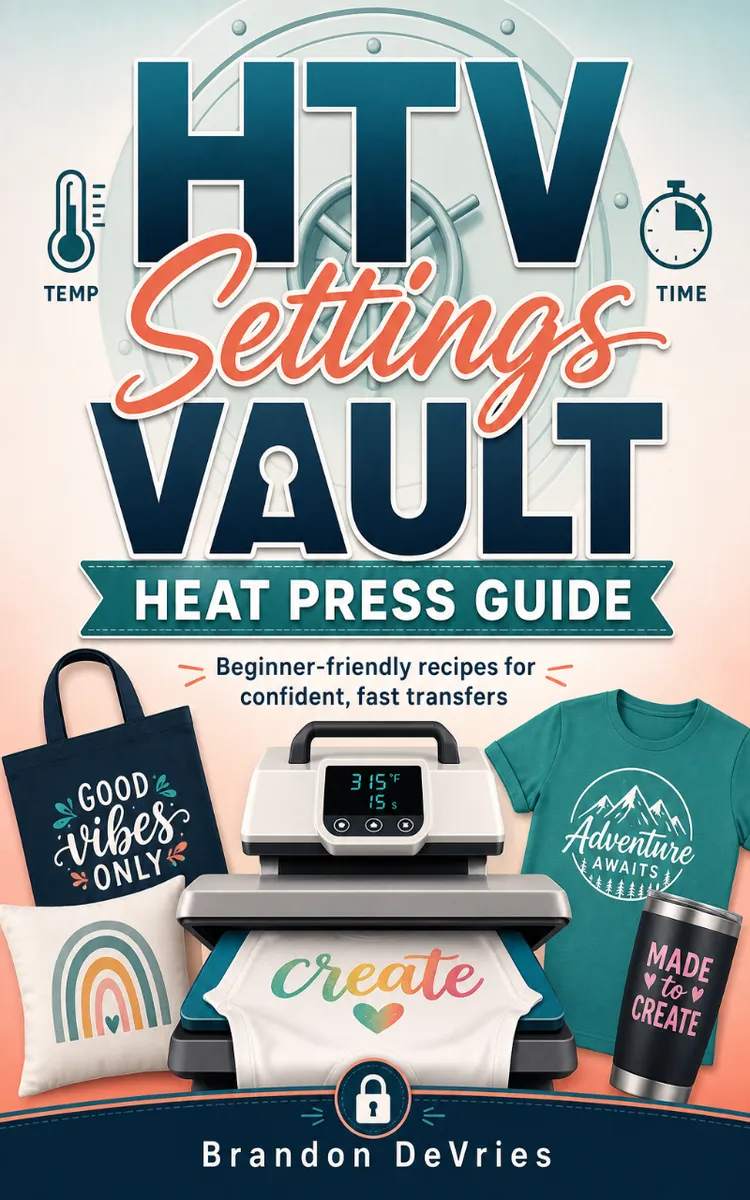

Heat press settings recipes for HTV materials and aftercare
Table of Contents
- 1. 5-10 Page Intro Section
- 2. Troubleshooting Appendix (10-15 Common Problems with Fixes)
- 3. Compatibility Chart Cross-referencing Brands to Press Settings
Preview: 5-10 Page Intro Section
A short excerpt from “5-10 Page Intro Section”. The full book contains 3 chapters and 3,289 words.
What “HTV Recipe Pages” Actually Feed Your Press
When you follow an HTV “recipe page,” you’re basically choosing the heat, time, pressure, and handling steps that match the material you’re using. The payoff you want is simple: crisp edges, solid adhesion, and a finish that doesn’t crack when you bend or stretch the garment.
This section is your ingredients-to-results bridge. You’ll learn what the “material type” means on these pages, what tools you should have ready before you press, the most common beginner mistakes that cause peeling or shine, and how to read the recipe layout quickly so you can start a job with confidence.
Ingredients: Material Type, Tools, and What You’ll Be Using
Recipe Overview (Metadata)
Prep: 10 min | Cook: 30 min | Total: 40 min | Serves: 1 project | Difficulty: Easy.
HTV “material type” is the first ingredient on every recipe page - and it matters because different films behave differently under heat. For this recipe page, the material type is Everyday HTV (Standard Vinyl Film): the common category most hobbyists start with, usually sold as single sheets or rolls with a carrier backing.
You’ll be working with the tools that make the settings usable, not just readable:
- Heat press (with an accurate timer and temperature control)
- Teflon sheet / craft cover sheet (to protect the HTV and reduce scorching)
- Lint-free cloth (for quick surface cleaning)
- Heat-resistant pressing gloves (optional but helpful)
- Weeding tools (weeding pick and tweezers)
- Ruler or measuring tape (for placement)
- Parchment paper (only if your recipe page allows it - some HTV responds better to a cover sheet than to paper)
Note: If your recipe page uses wording like “peel hot” or “peel cold,” that’s part of the “ingredient” list too. It’s not a finishing suggestion - it’s a handling step that affects how the adhesive locks in.
Pro Tip: Keep one spare cover sheet specifically for HTV. If it gets contaminated with adhesive residue, it can cause uneven heat transfer and shiny spots.
Instructions: The HTV “Recipe Page” Flow (Read This First)
1. Identify the material type at the top of the recipe page. Match it to what’s on your roll or sheet (example: Everyday HTV vs. specialty types).
- Ask yourself: If you’re unsure which material type you have, don’t guess - check the packaging. Settings that work for one category can fail on another.
2. Set your press temperature and time from the recipe page. Start with the exact values listed. If your press has Fahrenheit/Celsius options, use the unit your recipe uses (most hobby HTV pages specify one consistently).
- Swap It: If your press runs “hot” or “cold,” calibrate before you chase settings. Changing values repeatedly without calibration usually turns into a time sink.
3. Match the pressure guidance. Recipe pages often describe pressure in practical terms (for example, “medium” vs. “high,” or “enough to fully contact without crushing”). Use the closest option you have and keep it consistent across projects.
- Note: Pressure that’s too high can cause adhesive squeeze-out and a messy edge; too low can lead to partial bonding that peels later.
4. Prepare the garment surface. Remove lint and wrinkles. A quick wipe with a lint-free cloth is enough for most jobs. Then pre-press (if your recipe page instructs it) to flatten the area.
- Pro Tip: Wrinkles under HTV act like little heat shields - corners lift first.
5. Position the HTV and cover it. Place the design where you want it, then add your cover sheet (Teflon sheet or the cover material the recipe calls for).
- Callout check: If the recipe page specifies “mirror/cut for back,” follow it during cutting - don’t try to fix mirrored placement after pressing.
6. Press for the time and temperature listed. Close the press fully and start timing exactly when it’s fully down (not when you first lower it).
7. Follow the recipe page’s peel instruction: “peel hot” or “peel cold.” Peel the carrier according to the temperature guidance so the adhesive behaves the way the settings intended.
- Ask yourself: If you peel too early, you may see lifting edges. If you wait too long (when the recipe says peel hot), the carrier may fight you and tear the design.
8. Inspect the result while it’s fresh. Edges should look clean, and the surface should look uniform (not patchy or overly shiny). If the recipe page included a specific cooling or handling step, do that now.
Chef Notes: Common Beginner Mistakes (and What to Fix Fast)
The biggest beginner issue isn’t “wrong settings” - it’s mismatch between the recipe page and the actual material/handling.
- Mistake #1: Using the right temperature but the wrong peel. If your recipe says peel hot and you peel cold, you can get edge lift or a design that feels less locked in....
About this book
"HTV Settings Vault Heat Press Guide" is a cookbook by Brandon DeVries with 3 chapters and approximately 3,289 words. Heat press settings recipes for HTV materials and aftercare.
This book was created using Inkfluence AI, an AI-powered book generation platform that helps authors write, design, and publish complete books. It was made with the AI Cookbook Generator.
Frequently Asked Questions
What is "HTV Settings Vault Heat Press Guide" about?
Heat press settings recipes for HTV materials and aftercare
How many chapters are in "HTV Settings Vault Heat Press Guide"?
The book contains 3 chapters and approximately 3,289 words. Topics covered include 5-10 Page Intro Section, Troubleshooting Appendix (10-15 Common Problems with Fixes), Compatibility Chart Cross-referencing Brands to Press Settings.
Who wrote "HTV Settings Vault Heat Press Guide"?
This book was written by Brandon DeVries and created using Inkfluence AI, an AI book generation platform that helps authors write, design, and publish books.
How can I create a similar cookbook?
You can create your own cookbook using Inkfluence AI. Describe your idea, choose your style, and the AI writes the full book for you. It's free to start.
Write your own cookbook with AI
Describe your idea and Inkfluence writes the whole thing. Free to start.
Start writingCreated with Inkfluence AI


