

Read the first chapter
The whole of chapter one, free. About 7 min. Turn the pages with the arrows, your keyboard, or a swipe.
Chapter 1
Cover & Quick Reference
A blood pressure reading, a pair of gloves, and an emergency call can each require a fast, correct response. Your quick-reference badges place the most-used shift reminders where you can find them without searching through long notes. Use them before, during, and after care to check your actions and keep your observations organized.
These badges do not replace facility policy, your care plan, training, or a supervisor’s direction. They give you a short prompt for common tasks: measuring vital signs, choosing personal protective equipment (PPE), and recognizing when to call for help. Always follow the patient’s care plan and report concerns through your facility’s chain of command.
Using the Quick-Reference Badges
Treat each badge as a stop-and-check tool. Before you begin a task, identify the badge that matches the care you need to provide. Read the short reminder, gather the needed equipment, and confirm that you understand the next step. After the task, use the badge again to check that you recorded the result and reported anything outside the patient’s normal range.
Keep the reference available according to workplace rules. You may place it in your journal, attach it to a clipboard, or keep it in another approved location. Do not write private patient information on a shared reference page. Record patient details only in the approved charting system or documentation form.
Ask yourself:
• Which badge matches my next task? - What equipment do I need before I start? - What result or change must I report? - Did I document the care or measurement right away?
The badges work best when you use them as prompts, not as a substitute for judgment. If a patient looks suddenly ill, do not delay help while you look for a reference. Follow emergency procedures and notify the appropriate staff immediately. Your practical takeaway: match the badge to the task, prepare first, complete the task safely, and close the loop with reporting and documentation.
Checking Vital Signs Before You Record Them
Vital signs give you measurable information about a patient’s condition. Common vital signs include temperature, pulse, respirations, blood pressure, and oxygen saturation. Your facility may direct you to measure all of them or only certain readings. Check the care plan and assignment before you begin.
Prepare the equipment first. Depending on the measurement, you may need a thermometer, watch or timer, blood pressure machine or cuff, stethoscope, pulse oximeter, gloves, disinfectant approved by your facility, and documentation tools. Check that equipment works and that the cuff or probe fits the patient correctly. A poor fit can produce a reading that does not reflect the patient’s condition.
Before measuring, explain what you will do and help the patient rest in the position required by the procedure. Check for factors that may affect the reading. Recent activity, talking, eating, drinking, pain, anxiety, or a cold hand can change results. Follow facility instructions for how long the patient should rest and how to position the body.
Measure one vital sign at a time and watch the patient as you work. Do not focus only on the number. Notice breathing effort, skin color, alertness, sweating, weakness, dizziness, or a change from the patient’s usual condition. Compare the result with the patient’s baseline, care plan, or facility reporting limits. If a reading seems unusual, check the equipment and repeat the measurement only when your policy allows. Report concerning results instead of trying to explain or treat them yourself.
Record the result with the correct time, method, and unit when required. For example, note whether a temperature came from an oral, ear, or other approved method if your documentation system asks for that information. Record the exact reading rather than rounding it to make it look normal.
A quick check before you leave the bedside: Did you use the correct equipment, obtain a usable reading, observe the patient, and report a concern? If the answer to any part is no, correct the gap before moving to the next task.
Choosing PPE for the Task
Personal protective equipment, or PPE, creates a barrier between you, the patient, and possible exposure to blood, body fluids, secretions, or contaminated items. Select PPE based on the task and the expected exposure. Gloves do not replace hand hygiene, and wearing more PPE than needed does not correct poor technique.
Read the care plan and follow standard precautions and facility directions. For a quick selection check, consider what may touch your hands, clothing, face, or eyes during the task. A task that may soil your clothing may require a gown. A task that may splash toward your face may require eye or face protection. Use gloves when contact with blood, body fluids, mucous membranes, non-intact skin, or contaminated items may occur.
Gather PPE before beginning care so you do not leave the patient while wearing contaminated equipment. Check each item for damage and choose the correct size. Keep clean supplies separate from used items. During care, avoid touching your face, phone, clean supplies, or other clean surfaces with contaminated gloves.
Remove used PPE according to your facility’s required order and dispose of it in the correct container. Perform hand hygiene after removal. If a glove tears, becomes heavily soiled, or touches a contaminated surface that you did not intend to touch, stop and replace it as required. Tell the nurse or supervisor about an exposure, spill, or problem with protective equipment.
Use the PPE badge as a decision prompt:
• What exposure could occur during this task? - Which body areas need protection? - Do I need gloves, a gown, eye protection, or a mask according to policy? - Where will I discard the used equipment? - What will I clean or disinfect after care?
The important point is simple: choose protection before exposure happens. Your practical takeaway: identify the hazard, gather the right PPE, protect clean areas, remove used PPE safely, and perform hand hygiene.
Recognizing an Emergency and Calling for Help
An emergency requires immediate action because the patient’s condition may worsen quickly. Watch for sudden trouble breathing, unresponsiveness, severe chest discomfort, uncontrolled bleeding, a new seizure, sudden weakness or confusion, serious allergic reaction, or another urgent change identified by your facility’s policy. You do not need to diagnose the problem before calling for help.
Stay with the patient when it remains safe to do so. Use the call system, emergency number, or other approved method for your location. State your name, the patient’s location, the problem you see, and the help needed. Speak clearly and avoid vague messages such as “something is wrong.” If the patient cannot breathe normally or does not respond, follow your facility’s emergency procedure and begin only the actions you are trained and authorized to perform.
Send for the nurse or designated emergency responder. Ask another staff member to bring required equipment or meet emergency responders if your facility uses that process. Keep the area clear, protect the patient’s privacy, and do not move the patient unless immediate danger requires movement or trained staff direct you to do so.
After help arrives, give a short, accurate report. Include what changed, when you noticed it, what you observed, vital signs if obtained safely, and actions you took. Do not guess at a cause. Say, “The patient became difficult to wake at 10:15,” rather than assigning a diagnosis. Document according to facility policy after the emergency team takes over and when staff confirm that documentation can occur.
Ask yourself: Have I called the right person, given the exact location, described the change, and stayed within my training? If you cannot answer yes, correct the missing step immediately. The badge’s key reminder is: recognize, call, describe, stay safe, and report.
Linking the Badges During a Shift
The badges support one another. A change you notice while taking vital signs may require an emergency response. A task connected to that change may require different PPE. A measurement becomes useful only when you record it and report it to the correct person.
Use the badges in this order when time allows: identify the task, prepare equipment and PPE, observe the patient, complete the measurement or care, report concerns, and document the result. For example, if a patient appears short of breath during a routine vital-sign check, stop treating the task as routine. Keep the patient safe, call for help according to policy, share the change you observed, and obtain measurements only when doing so does not delay urgent assistance.
At the end of a shift, review your notes and approved documentation. Confirm that you recorded required vital signs, reported unusual findings, documented care, and returned equipment or supplies as directed. Do not carry unreported concerns into the next shift.
A quick-reference page cannot make decisions for you, but it can help you pause at the right moments. Use the badges to turn common shift duties into clear actions: prepare, protect, measure, notice, report, and document. That sequence keeps the patient at the center of every task.
End of chapter one. 4 more chapters in the full book.
Swipe or use the arrows to turn the page


What's inside: 5 chapters
- 1. Cover & Quick Reference
- 2. Role & Responsibilities
- 3. Patient Rights & Ethics
- 4. Infection Control
- 5. Safety & Emergency
About this book
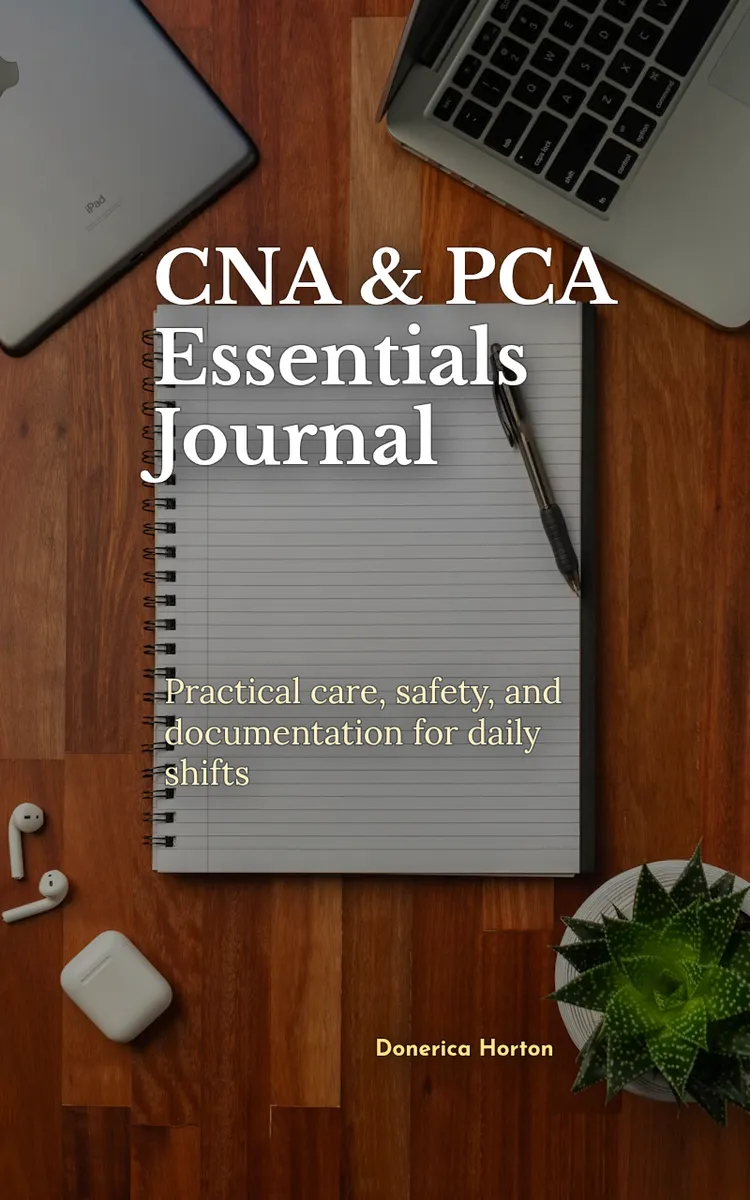
"CNA & PCA Essentials Journal" is a how-to guide book by Donerica Horton with 5 chapters and approximately 7,258 words. CNA/PCA training guide covering ADLs, vitals, safety, and documentation.
This book was created using Inkfluence AI, an AI-powered book generation platform that helps authors write, design, and publish complete books. It was made with the AI Ebook Generator.
Frequently Asked Questions
What is "CNA & PCA Essentials Journal" about?
CNA/PCA training guide covering ADLs, vitals, safety, and documentation
How many chapters are in "CNA & PCA Essentials Journal"?
The book contains 5 chapters and approximately 7,258 words. Topics covered include Cover & Quick Reference, Role & Responsibilities, Patient Rights & Ethics, Infection Control, and more.
Who wrote "CNA & PCA Essentials Journal"?
This book was written by Donerica Horton and created using Inkfluence AI, an AI book generation platform that helps authors write, design, and publish books.
How can I create a similar how-to guide book?
You can create your own how-to guide book using Inkfluence AI. Describe your idea, choose your style, and the AI writes the full book for you. It's free to start.
Write your own how-to guide book with AI
Describe your idea and Inkfluence writes the whole thing. Free to start.
Start writingCreated with Inkfluence AI


