

Read the first chapter
The whole of chapter one, free. About 8 min. Turn the pages with the arrows, your keyboard, or a swipe.
Chapter 1
Setup Phase (Weeks 1-2)
Phase Overview
A coffee table, a narrow hallway, and one clear patch of floor are enough to begin. During Weeks 1-2, the goal is to learn apartment-friendly warmups, organize your training space, and complete short full-body sessions without irritating your knees, hips, shoulders, or back. Talia, a 24-year-old retail shift supervisor, uses three 20-minute sessions each week after measuring a 6-by-7-foot area beside her sofa.
The main target is consistency, not exhaustion. You will practice controlled movement, leave several good repetitions in reserve, and finish each workout feeling capable of repeating it. Use the 3-Zone Space Map to make setup simple: Zone 1 is your exercise area, Zone 2 is your equipment edge, and Zone 3 is your safety boundary.
Workouts
Before each session, clear Zone 1 completely. Zone 2 can hold a resistance band, one backpack, and a water bottle. Zone 3 includes furniture, walls, lamps, and anything that could catch a hand or foot. Keep at least one full arm’s length from hard edges. If the floor is slippery, place a non-slip mat under your feet; avoid thick cushions that make balance harder.
Train three times per week with at least one rest day between sessions. For example, use Monday, Wednesday, and Saturday. Weeks 1 and 2 use the same sessions so you can improve technique before adding difficulty. Rest between exercises as needed, but keep the listed rest periods as your guide.
Begin every workout with the following warmup. It should raise your temperature slightly without making you breathless. Move smoothly and use a smaller range of motion if a joint feels stiff.
| Exercise | Sets × Reps | Load | Rest | | --- | --- | --- | --- | | March in place | 1 × 60 seconds | Bodyweight | 15 seconds | | Shoulder circles | 1 × 8 each direction | Bodyweight | 15 seconds | | Hip hinge drill | 1 × 8 | Bodyweight | 15 seconds | | Sit-to-stand from chair | 1 × 8 | Bodyweight | 15 seconds | | Wall push-up | 1 × 8 | Bodyweight | 30 seconds |
The march is deliberately quiet. Lift one foot at a time and place it down under control rather than bouncing. During the hip hinge, keep your spine long, push your hips back, and stop when you feel a gentle stretch in the backs of your legs. The chair is a guide, not a target to drop onto.
Session A: Basic Strength and Control
Complete Session A during the first workout of each week. Perform the exercises in order for two rounds. The first round should feel easy enough that you could repeat it immediately; the second round may require more focus, but it should not become a test of maximum effort.
| Exercise | Sets × Reps | Load | Rest | | --- | --- | --- | --- | | Chair squat | 2 × 8 | Bodyweight | 45 seconds | | Incline push-up on wall or counter | 2 × 8 | Bodyweight | 45 seconds | | Glute bridge | 2 × 10 | Bodyweight | 45 seconds | | Backpack row | 2 × 8 each side | 5-10 lb backpack | 60 seconds | | Dead bug heel tap | 2 × 6 each side | Bodyweight | 45 seconds |
For the chair squat, keep the chair behind you and stand with feet about hip-width apart. Lower until your hips lightly touch the seat, then stand by pressing through the whole foot. If your knees feel uncomfortable, shorten the descent or use a higher seat. Load the backpack with books or water bottles, but keep it light enough to hold against your body without leaning.
The backpack row trains the upper back without needing a pull-up bar. Hold the pack by its top handle, support one hand on a sturdy table or chair, and pull the pack toward your lower ribs. Keep your shoulder away from your ear. Switch sides after each set.
For dead bug heel taps, lie on your back with knees bent over your hips. Brace your stomach gently as if preparing for a cough, lower one heel until it nearly touches the floor, then return it. Keep your lower back from arching sharply. If that is difficult, lower the heel only halfway.
Session B: Quiet Lower-Body and Upper-Body Work
Complete Session B during the second workout of each week. These exercises use a slow pace to build control while keeping impact low. Perform two rounds. When moving from one exercise to the next, take the shortest rest that lets you keep steady breathing and good alignment.
| Exercise | Sets × Reps | Load | Rest | | --- | --- | --- | --- | | Reverse lunge to knee lift, supported | 2 × 6 each side | Bodyweight | 60 seconds | | Standing band chest press | 2 × 10 | Light resistance band | 45 seconds | | Backpack Romanian deadlift | 2 × 8 | 5-10 lb backpack | 60 seconds | | Band pull-apart | 2 × 10 | Light resistance band | 45 seconds | | Side plank from knees | 2 × 15 seconds each side | Bodyweight | 45 seconds |
Use a wall or chair for the reverse lunge. Step one foot back quietly, lower only as far as you can keep the front knee tracking over the middle of the foot, and return to standing. The knee lift is optional; skip it if balance is uncertain. A shorter step and a shallow lunge are still useful.
For the standing band chest press, anchor the band only to a solid, closed door using a proper door anchor. Do not loop a band around a loose handle. If you do not have a safe anchor, replace the movement with wall push-ups. Keep your ribs down and press forward without snapping your elbows straight.
The backpack Romanian deadlift is a hip movement, not a squat. Hold the pack close to your thighs, soften your knees, and push your hips backward. Stop when your back can no longer stay neutral, then squeeze your glutes to stand. The load should remain close to your body throughout.
Session C: Full-Body Practice
Complete Session C during the third workout of each week. It combines the main movement patterns from Sessions A and B at a slightly lower volume. This session is useful after a long work shift because it provides practice without demanding high effort.
| Exercise | Sets × Reps | Load | Rest | | --- | --- | --- | --- | | Sit-to-stand | 2 × 10 | Bodyweight | 45 seconds | | Wall or counter push-up | 2 × 8-10 | Bodyweight | 45 seconds | | Supported split squat hold | 2 × 15 seconds each side | Bodyweight | 45 seconds | | Backpack carry in place | 2 × 30 seconds | 5-10 lb backpack | 45 seconds | | Bird dog | 2 × 6 each side | Bodyweight | 45 seconds |
For the supported split squat hold, place one foot forward and one foot back, hold a wall lightly, and lower a few inches. Keep most of your weight through the front foot. The goal is a stable position, not a deep stretch. If your front knee hurts, reduce the bend or use the chair squat instead.
The backpack carry in place builds trunk control without requiring walking space. Wear the pack or hold it at your chest, stand tall, and march slowly. Keep the movement quiet and prevent your body from leaning toward one side. If the backpack pulls on your shoulders, reduce the load.
For bird dog, begin on hands and knees with hands under shoulders and knees under hips. Extend one arm and the opposite leg only as far as you can without twisting. Return them to the floor, then switch sides. Place a folded towel under your knees if the floor is uncomfortable.
Progress through these two weeks by changing only one factor at a time. In Week 1, use the lowest listed load and stop every set when you could still perform two or three clean repetitions. In Week 2, first add one repetition to an exercise that felt easy, staying within the listed range. If all sets remain controlled, add 2-5 pounds to the backpack or use a slightly stronger band at the next session. Do not increase load and repetitions together.
Ask yourself after each workout: Did I keep the movements quiet, and could I repeat this session in two days? If the answer is no, reduce the load, shorten the range of motion, or complete one set instead of two. The best progression is the one that keeps your next session available.
Training Notes
Use the 3-Zone Space Map before every workout. Zone 1 should be large enough for you to lie down with your arms extended and to step backward without touching furniture. Zone 2 should keep equipment within one step, but never in the path of your feet. Zone 3 is the no-contact boundary. If a table corner sits inside that boundary, move the table or change the exercise; do not rely on careful luck.
Warm up at a conversational pace. You should feel warmer, not tired. Quiet feet matter in an apartment, so avoid jumping, running in place, and dropping equipment. Exhale during the effort of a squat, push-up, row, or stand; inhale as you return. This breathing pattern is a simple way to prevent breath-holding.
Common mistakes in this phase include rushing the chair squat, allowing the knees to collapse inward, arching the lower back during heel taps, and using a backpack that is too heavy. A useful check is to record one set on your phone from the side. Look for steady tempo, quiet contact with the floor, and a range of motion you can control. You do not need a perfect angle; you need repeatable movement.
Mild muscle effort is expected, but sharp pain, joint catching, numbness, or pain that changes your walking is a reason to stop that exercise. Replace it with an easier version or rest. If you have a current injury or medical condition, get individual guidance before starting loaded exercise.
Keep a short training record with the date, exercise, load, and one note about how it felt. For example: “Wednesday, backpack row, 5 pounds, smooth but left side weaker.” This gives you a clear basis for the next adjustment instead of guessing. At the end of Week 2, success means you have three workable sessions, a safe floor area, and better control than you had at the start. Your apartment setup is no longer an obstacle; it is the foundation for the training ahead.
End of chapter one. 9 more chapters in the full book.
Swipe or use the arrows to turn the page

AI Automation for Freelancers: Automate the Business Behind Your Work

Fit Behind the Wheel: Fitness for Truck Drivers

The 10-Minute Office Fitness Plan
What's inside: 10 chapters
- 1. Setup Phase (Weeks 1-2)
- 2. Strength Foundation (Weeks 3-4)
- 3. Core & Stability Build (Weeks 5-6)
- 4. Upper-Body Density (Weeks 7-8)
- 5. Lower-Body Power (Weeks 9-10)
- 6. Conditioning Starter (Weeks 11-12)
- 7. Full-Body Circuit Volume (Weeks 13-14)
- 8. Intensity & Form Lock (Weeks 15-16)
- 9. Metabolic Finisher Weeks (Weeks 17-18)
- 10. Peak & Maintenance Plan (Weeks 19-20)
About this book
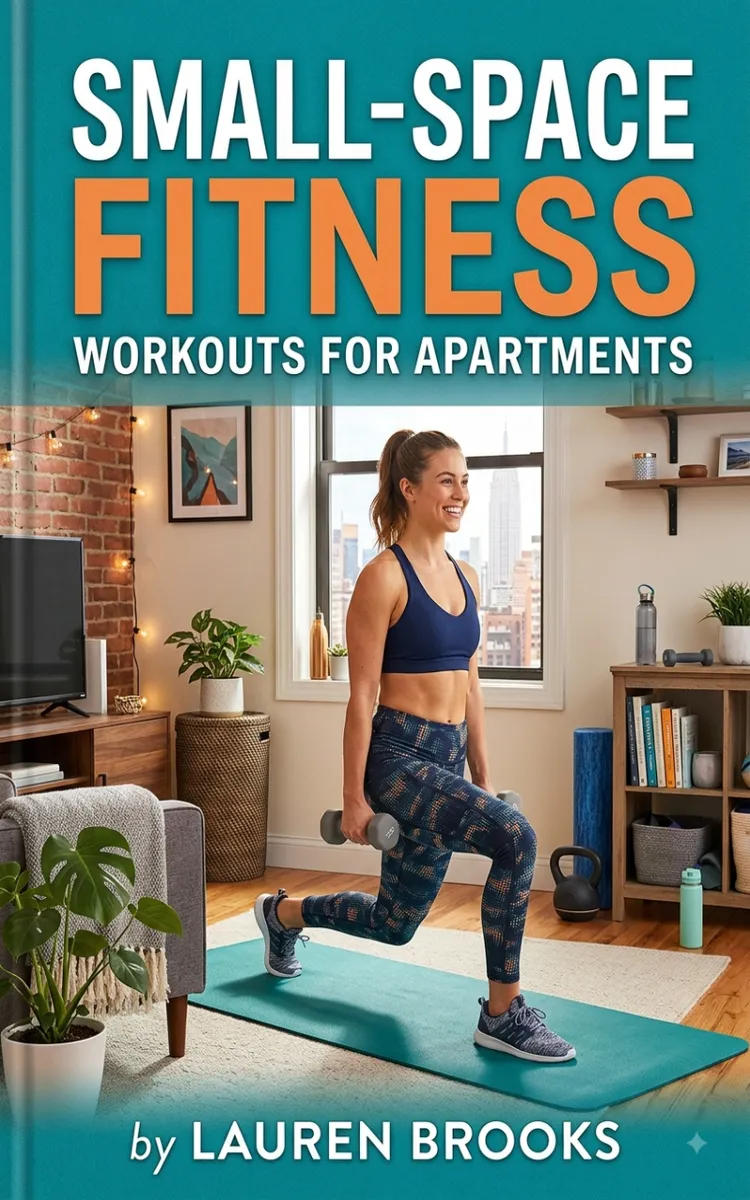
"Small-Space Fitness: Workouts for Apartments" is a fitness book by Lauren Brooks with 10 chapters and approximately 18,248 words. Fitness workouts designed for small apartments and limited space.
This book was created using Inkfluence AI, an AI-powered book generation platform that helps authors write, design, and publish complete books. It was made with the AI Workout Plan Generator.
Frequently Asked Questions
What is "Small-Space Fitness: Workouts for Apartments" about?
Fitness workouts designed for small apartments and limited space
How many chapters are in "Small-Space Fitness: Workouts for Apartments"?
The book contains 10 chapters and approximately 18,248 words. Topics covered include Setup Phase (Weeks 1-2), Strength Foundation (Weeks 3-4), Core & Stability Build (Weeks 5-6), Upper-Body Density (Weeks 7-8), and more.
Who wrote "Small-Space Fitness: Workouts for Apartments"?
This book was written by Lauren Brooks and created using Inkfluence AI, an AI book generation platform that helps authors write, design, and publish books.
How can I create a similar fitness book?
You can create your own fitness book using Inkfluence AI. Describe your idea, choose your style, and the AI writes the full book for you. It's free to start.
Write your own fitness book with AI
Describe your idea and Inkfluence writes the whole thing. Free to start.
Start writingCreated with Inkfluence AI


