
Read the first chapter
The whole of chapter one, free. About 7 min. Turn the pages with the arrows, your keyboard, or a swipe.
Chapter 1
Foundation Phase (Weeks 1-2)
Phase Overview
Can you perform the first repetition of every exercise with complete control, or are you mainly trying to move the weight? The Foundation Phase, covering Weeks 1-2, builds safe setup, basic movement skill, and confidence with light loads. The goal is not to test your strength; it is to learn positions you can repeat without pain, rushing, or loss of balance.
Train three times per week, leaving at least one rest day between sessions. Use the same light weight for both weeks unless your form is steady and the final repetitions feel easy. A session should take about 30-40 minutes, including a short warm-up. You will practice the main patterns needed for future strength work: sitting and standing, pushing, pulling, bending at the hips, carrying, and bracing your middle.
Before each exercise, use the First-Rep Checklist:
1. Place your feet in a stable position. 2. Set your spine in a comfortable, neutral position - not overly arched or rounded. 3. Brace your middle gently, as if preparing for a cough. 4. Move slowly through the first repetition. 5. Ask yourself whether the movement feels controlled, balanced, and pain-free.
If the answer is no, stop and adjust the setup or reduce the load. The first repetition is a test of readiness, not a test of toughness. Your practical takeaway for this phase is simple: every set begins with a careful first rep.
Workouts
Perform Workout A on the first training day, Workout B on the second, and Workout A again on the third day during Week 1. In Week 2, use Workout B, Workout A, and Workout B. This alternating schedule gives you repeated practice without asking the same muscles to work hard on back-to-back days.
Before lifting, walk for five minutes or pedal easily on a stationary bicycle. Then perform five slow body-weight squats to a chair, five wall push-ups, and five gentle hip hinges. These movements prepare the joints without tiring you. If any warm-up movement causes sharp pain, do not continue that exercise; choose a smaller range of motion or seek advice from a qualified health professional.
Workout A
| Exercise | Sets × Reps | Load | Rest | | --- | --- | --- | --- | | Chair squat | 2 × 8 | Body weight or 5-10 lb dumbbell held at chest | 60-90 seconds | | Incline push-up | 2 × 8 | Body weight | 60-90 seconds | | Supported one-arm row | 2 × 8 each side | 5-15 lb dumbbell | 60-90 seconds | | Dumbbell hip hinge | 2 × 8 | 5-15 lb total | 60-90 seconds | | Suitcase carry | 2 × 20-30 seconds each side | 5-15 lb dumbbell | 60 seconds |
Workout B
| Exercise | Sets × Reps | Load | Rest | | --- | --- | --- | --- | | Box squat to a chair | 2 × 8 | Body weight or 5-10 lb dumbbell held at chest | 60-90 seconds | | Standing dumbbell press | 2 × 8 | 2-5 lb dumbbells | 60-90 seconds | | Resistance-band row | 2 × 10 | Light band | 60-90 seconds | | Glute bridge | 2 × 10 | Body weight | 60 seconds | | Farmer carry | 2 × 20-30 seconds | 5-15 lb dumbbell in each hand | 60 seconds |
Choose a chair that does not slide and is high enough for you to stand without dropping heavily onto the seat. For the chair squat, stand with your feet about shoulder-width apart and keep your whole foot on the floor. Reach your hips back, touch the chair lightly, then stand by pressing through the middle of your feet. Do not use your hands to push off your thighs. If you cannot control the touch, raise the seat with a firm cushion or reduce the depth.
For an incline push-up, place your hands on a sturdy counter, bench, or wall-mounted surface. The higher the surface, the easier the exercise. Keep your body in one straight line from shoulders to hips and lower your chest toward the surface. Your elbows should point slightly back rather than straight out to the sides. A kitchen counter is suitable only if it is stable and clear of loose objects.
The supported one-arm row uses a bench or chair for support. Place one hand on the support, step back slightly, and let the dumbbell hang under your shoulder. Pull your elbow toward your back pocket, pause briefly, and lower the weight without twisting. Keep your neck relaxed. The resistance-band row follows the same basic idea: pull the handles or band toward your ribs while keeping your shoulders away from your ears.
The hip hinge teaches you to bend from the hips rather than rounding your lower back. Hold the dumbbells close to your thighs, soften your knees, and push your hips behind you. Stop when you feel a gentle stretch in the backs of your legs or when your back can no longer stay neutral. Stand by driving your hips forward. The weight should remain close to your body throughout the movement.
The standing dumbbell press begins with the weights at shoulder height. Tighten your middle gently, keep your ribs from lifting, and press the weights upward without leaning backward. If shoulder motion is limited, press only as high as you can without pain. The glute bridge is performed on the floor with knees bent and feet flat. Lift your hips until your body forms a comfortable line from shoulders to knees, squeeze your buttocks lightly, and lower with control.
Carries train your ability to hold a stable posture while walking or standing. In the suitcase carry, hold one weight at your side and avoid leaning away from it. In the farmer carry, hold a weight in each hand and walk slowly with short, even steps. Keep your eyes forward rather than looking down. A clear path of at least 10 feet is enough; turn carefully instead of rushing.
Use a load that leaves about three comfortable repetitions in reserve at the end of each set. This means you could perform three more good repetitions if necessary, but you stop before form begins to change. During Week 1, keep two sets for every exercise. During Week 2, repeat the same sets and repetitions first. Progress only when the First-Rep Checklist remains true and every repetition is controlled.
If all Week 2 sets feel smooth, increase the load at the next workout by the smallest available amount. For dumbbells, this may be 2.5-5 pounds total. For a band, move one step farther from the anchor or use the next lightest-to-moderate band. Do not increase weight and repetitions at the same time. If the final repetitions are slow, uneven, or painful, keep the same load or reduce it by about 10 percent.
Write down the exercise, load, repetitions completed, and one form note after each session. A useful note is specific: “chair touch controlled,” “left shoulder felt tight,” or “row caused twisting.” This record helps you choose the right starting point rather than relying on memory. The practical takeaway from the workouts is to repeat the same simple movements often enough that safe setup becomes automatic.
Training Notes
Keep the effort moderate. Muscle effort and mild tiredness are normal; sharp pain, sudden joint pain, numbness, tingling, dizziness, or unusual shortness of breath are reasons to stop. If symptoms continue, speak with a health professional before training again. Anyone with a known heart, bone, joint, or balance condition should obtain appropriate medical guidance before beginning.
Breathing should remain steady. Breathe in during the easier setup portion and breathe out as you stand, push, pull, or press. Do not hold your breath for the entire set. For the chair squat, breathe in as you lower and breathe out as you stand. For the row, breathe out as you pull the weight toward you.
The most common beginner mistake is choosing a load that changes the movement. Watch for knees collapsing inward during squats, shoulders lifting toward the ears during rows, the back rounding during hinges, or the body leaning during carries. These are signs to pause, reset, reduce the range of motion, or use less weight. More repetitions cannot improve a position that is already breaking down.
Use a full but comfortable range of motion. “Full” does not mean forcing a joint to its maximum position. It means moving as far as you can while maintaining control and a comfortable posture. A chair squat may initially be higher than a deep squat. An incline push-up may begin against a wall. These are useful starting points, not lesser versions of the exercises.
Between sets, check your readiness rather than following the clock blindly. Ask yourself: Can I repeat the first rep with the same setup? Can I speak a short sentence without gasping? Do my joints feel normal? If not, rest another 30-60 seconds or stop that exercise. Safe training includes making adjustments.
Keep the equipment area clear, wear stable shoes, and place dumbbells where you will not trip over them. Avoid training beside loose rugs or on a wet floor. For carries, start with short distances and turn slowly. A stable chair, light dumbbells, and one resistance band are enough for this phase; expensive equipment is not required.
At the end of each session, record one successful form cue and one adjustment for next time. For example, “kept the dumbbell close during the hinge” is more useful than simply writing “good workout.” These small observations build the foundation for heavier training later. Finish this phase able to set up, perform, and stop each exercise with control - the skill that makes future strength gains safer and more dependable.
End of chapter one. 9 more chapters in the full book.
Swipe or use the arrows to turn the page

What's inside: 10 chapters
- 1. Foundation Phase (Weeks 1-2)
- 2. Foundation Phase (Weeks 3-4)
- 3. Technique Upgrade (Weeks 5-6)
- 4. Volume Building (Weeks 7-8)
- 5. Strength Focus (Weeks 9-10)
- 6. Stability and Control (Weeks 11-12)
- 7. Intensity Tuning (Weeks 13-14)
- 8. Deload and Reset (Week 15)
- 9. Final Progression (Weeks 16-17)
- 10. Capstone Strength (Week 18)
About this book
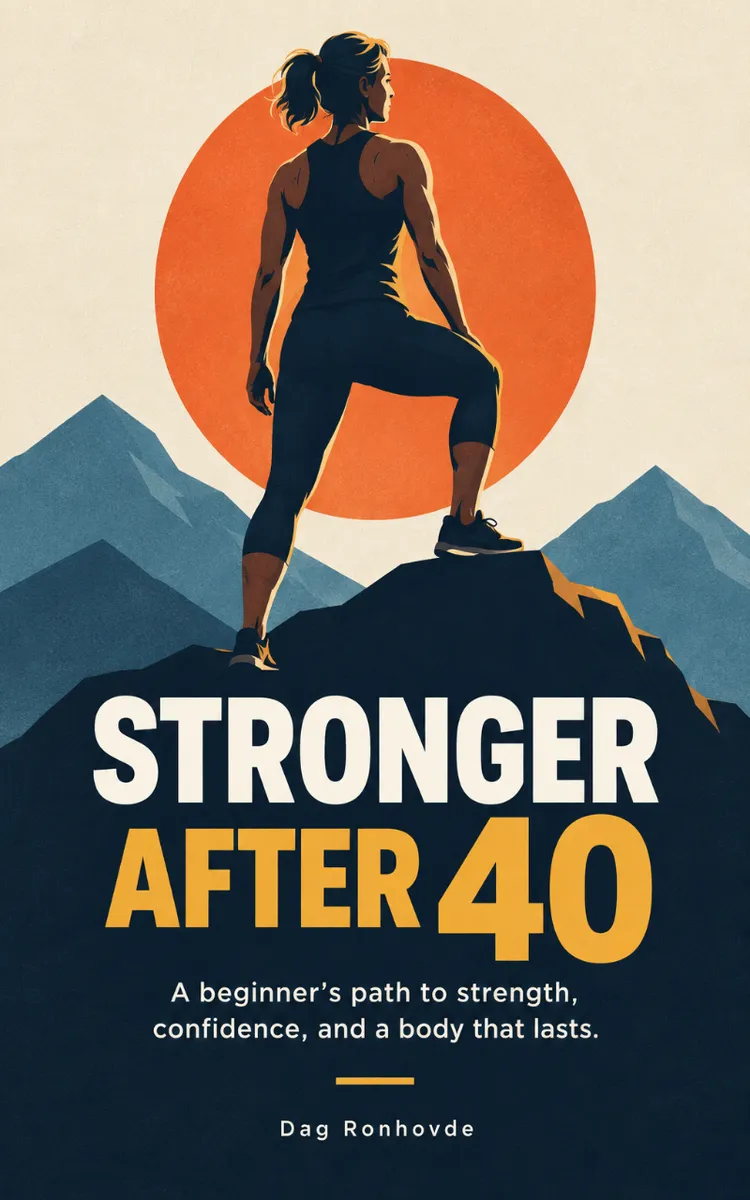
"Stronger After 40" is a fitness book by Dag Ronhovde with 10 chapters and approximately 16,469 words. Strength training program and guidance for beginners over age 40.
This book was created using Inkfluence AI, an AI-powered book generation platform that helps authors write, design, and publish complete books. It was made with the AI Workout Plan Generator.
Frequently Asked Questions
What is "Stronger After 40" about?
Strength training program and guidance for beginners over age 40
How many chapters are in "Stronger After 40"?
The book contains 10 chapters and approximately 16,469 words. Topics covered include Foundation Phase (Weeks 1-2), Foundation Phase (Weeks 3-4), Technique Upgrade (Weeks 5-6), Volume Building (Weeks 7-8), and more.
Who wrote "Stronger After 40"?
This book was written by Dag Ronhovde and created using Inkfluence AI, an AI book generation platform that helps authors write, design, and publish books.
How can I create a similar fitness book?
You can create your own fitness book using Inkfluence AI. Describe your idea, choose your style, and the AI writes the full book for you. It's free to start.
Write your own fitness book with AI
Describe your idea and Inkfluence writes the whole thing. Free to start.
Start writingCreated with Inkfluence AI


