

Read the first chapter
The whole of chapter one, free. About 11 min. Turn the pages with the arrows, your keyboard, or a swipe.
Chapter 1
Backyard Survival Crop Planning
What happens when your garden fails in the exact week you most need food - after a hard frost, after a flood, or when the power stays off long enough to stop your freezer? If you don’t plan by calories and by what your ground can actually grow, you end up with a pretty patch and an empty pantry.
This chapter shows you how to map your climate, space, and calorie targets into a resilient crop list using a simple tool you can run on paper: The Calorie-Per-Square-Grid. You’ll leave with a crop list that makes sense for your yard, your season length, and your real food needs - not guesses. You’ll also know how to sanity-check that list so it still feeds you when conditions swing hard.
By the end, you’ll be able to look at your map of sun and soil, your available growing space, and your daily calorie target, then turn that into a ranked set of crops with backup options. You’ll also know what to watch for so you don’t discover problems after you’ve already committed seed and time.
Set the context: climate, space, and calories decide your survival crop list A backyard garden only saves you if it does three things at once: it fits your growing season, it fits your yard, and it produces enough food to matter. People usually plan around plants they like, or crops that look easy in a catalog. Survival planning flips that: you plan around what your conditions allow, and you plan around calories because calories keep you moving when the rest of life gets messy.
Here’s the problem this chapter solves: you can’t “feel” your way to a resilient food supply. If you grow only fast greens, you run out at the wrong time. If you grow only long-season crops, you lose them when weather hits. If you ignore how much space each crop needs, you waste beds on plants that don’t add up. And if you ignore storage, you end up harvesting everything at once and losing the surplus.
This chapter gives you a concrete method to avoid those traps. You’ll build a Calorie-Per-Square-Grid that turns your yard area into a calorie target, then maps crops into that target based on how they perform in your climate and how you plan to store them. You’ll also learn a simple way to include “backup crops” that tolerate trouble like heat waves, wet feet, or shorter daylight.
Practical takeaway: after you finish this section, you should be able to answer, on paper, “How many calories can my space produce if I grow the right mix - and how much of that mix needs to store well?”
How it works: The Calorie-Per-Square-Grid turns your yard into a crop plan The Calorie-Per-Square-Grid is not a fancy spreadsheet hobby. It’s a planning sheet that forces you to match crops to three realities: your climate window, your usable space, and your calorie needs. You build it in layers: first you set your calorie goal for the garden, then you break that goal into square-foot blocks, then you pick crops that fit those blocks and your storage plan.
Start by defining your calorie target for gardening. If you’re planning for a household, pick a realistic number you can support with homegrown food after water, pests, and time. If you don’t know your exact need yet, use a conservative daily target for the person you most want covered. Ask yourself: “If I had to rely on garden food for three months, how many calories per day would I want from my beds?” That number becomes your planning anchor.
Then map your space. Don’t guess - walk the yard and note where the sun hits. Mark beds, containers, and any areas you can realistically reach and maintain. Count usable area in square feet (ft²). If you have 400 ft² of beds but only 250 ft² gets solid sun, plan on 250 ft². The grid only works when you feed it real numbers.
Now you assign crops to the grid. You don’t need perfect yields; you need a plan that survives bad luck. Use crop choices that cover different “risks.” For example, pair short-cycle crops (so you get food early) with long-cycle crops (so you get food later) and storage crops (so you don’t lose it all at once).
Use this numbered build:
1. Pick your “garden coverage window.” Decide how long you want the garden plan to carry you - often late spring through fall, then storage through winter. The why: a short window leads you to fast crops only; a long window forces storage and cold-tolerant choices.
2. Set your calorie target for that window (daily). Write a daily calorie number you want the garden to contribute, then multiply by the number of days in your coverage window (just count calendar days you can actually harvest and store). The why: calories stop you from overvaluing “a little nutrition here and there.”
3. Measure usable growing area in ft². Measure beds you can maintain and that get enough sun for your crop mix. Convert anything irregular to square feet by measuring length and width. The why: two yards with the same “size” can produce radically different results if sunlight and access differ.
4. Build your Calorie-Per-Square-Grid blocks. Divide your total calorie target for the window by your usable ft². Each ft² block becomes a calorie “job” you need your crop mix to handle. The why: this forces the crop list to match your yard, not your wish list.
Once you have your blocks, choose crops that match your climate and your storage capacity. If you live where winters are wet and cold, you plan differently than dry and mild. If you expect light deprivation (long cloudy stretches or short days), you bias toward crops that keep producing in low-light conditions or you plan for protected growing. If you expect drought, you plan for water-saving crops and a layout that reduces evaporation.
Darla’s yard example (41, EMT, neighborhood organizer): Darla has a small lot with about 180 ft² of strong sun, but her area gets heavy rain once or twice a year. She also runs a tight schedule, so she knows she can’t babysit tender plants daily. She sets her garden coverage window from early harvest through fall storage, and she picks a daily calorie target she can realistically support with homegrown food. Then she divides her calorie goal by 180 ft² and uses that to decide how much of her bed space must go to dependable storage crops versus quick harvest crops. Her final grid isn’t “whatever sounds good” - it’s a mix that keeps producing early, stores well, and tolerates wet weather better than delicate crops.
Ask yourself as you fill in your grid: “Does every square-foot block get assigned to a crop that fits my conditions and my storage plan?” If you can’t say yes, adjust the list before you buy seed.
Practical takeaway: when your grid has every bed space assigned a crop role, you stop guessing and start building a plan that can actually feed you.
Putting it into practice: build your resilient crop list with a real-yard walkthrough Grab a pencil, paper, and a tape measure. You’re going to finish this with a crop list you can act on this week.
Step-by-step scenario: Darla builds her first grid Darla wants a plan she can maintain alongside her EMT shifts and neighborhood organizing. She has limited time, a small sunny area, and wet spells that can stall some plants. She also wants food she can store, not just harvest and eat immediately.
1. Measure usable space and sunlight. Darla measures her beds and counts 180 ft² that gets reliable sun. She writes “180 ft² usable” at the top of her grid.
2. Pick a coverage window. She targets “early harvest through fall storage,” then she plans to use stored food into the colder months. She counts harvest days from the first reliable harvest date to when growth slows hard in her area.
3. Set a daily calorie contribution target. She picks a daily calorie number she wants homegrown food to cover during that window. She writes it on her page as “Garden calories per day: ____.”
4. Calculate total calories for the window. She multiplies daily calories by the number of days in the coverage window. Write the result as “Total garden calories needed: ____.”
5. Divide by usable ft² to set the calorie job per square foot. Total calories ÷ 180 ft² = “Calorie-Per-Square-Job: ____ per ft².” Darla uses that as a yardstick, not a promise. She plans crops that can realistically cover their role even if the season runs rough.
6. Assign crop roles to blocks (not just crop names). She assigns at least three roles across her 180 ft²: - Early food role (fast harvest to cover gaps) - Main harvest role (bulk production) - Storage role (food that keeps)
7. Select specific crops that match her climate risks and storage needs. Because she expects wet spells, she picks crops that handle soggy ground better than tender salad plants. Because she needs storage, she prioritizes crops that keep through storage without constant attention.
8. Add backup crops for weather swings. She chooses one or two “swap-in” crops that can take the place of a failed planting window. The why: weather will mess up one planting; your plan needs a replacement window.
9. Schedule plantings to cover timing gaps. She sets planting dates so she doesn’t rely on one harvest wave. The why: even good crops fail when they hit the wrong weather at the wrong time.
10. Plan harvest and storage capacity from day one. Before she commits to a storage-heavy mix, she checks she has a cool, dry storage spot she can use. The why: a crop that grows well but can’t store is just a garden chore that turns into waste.
Quick checklist - Measure usable sun and area in ft² (don’t use yard size - use usable bed area). - Choose a coverage window you can actually harvest and store. - Set a daily calorie target for the garden’s contribution. - Divide total calories by usable ft² to get your “calorie job” per square foot. - Assign crop roles: early, main, storage. - Pick crops that match your climate risks (drought, wet spells, cold snaps, short days). - Add 1-2 backup crops for timing and weather failures. - Confirm you can store what you plant.
Expected outcome: your crop list becomes a plan you can execute in chunks - plant early role crops first, then build the main harvest and storage crops on schedule, with backup options ready for the next planting window.
Practical takeaway: if your plan can’t survive a missed planting date, it’s not a resilient list - it’s a hope.
What to watch for: common mistakes and edge cases that break crop planning Even with a grid, you can wreck the plan if you miss a few predictable problems. Here are the big ones I see when survival-minded gardeners try to do this fast.
Miscalculating usable square feet If you count total yard area instead of sun-and-access area, your grid looks “on target” but the crop mix can’t cover calories in real life.
Do this: measure beds you can reach and maintain, then count only the area that gets enough sun for your chosen crops. If you have partial shade, split the bed in your head and plan the shade part for crops that tolerate it, or reduce the area you count.
Not this: “I have 400 ft², so I can plan like it’s all productive.” That gets you short at harvest time and forces panicked replanting.
Practical check: after you build your list, circle the crops you picked because of storage. If you secretly planned them for beds that don’t get sun, you’ll lose their role first.
Building a list with one harvest wave A common failure looks like this: everything matures at once, and then you get hit with a weather problem or you simply can’t process and store fast enough.
Do this: use multiple planting dates (staggered sowing) and include at least one early role crop and one late role crop. If you store root crops or dried foods, plan your harvest so you can process in steady batches instead of one giant weekend.
Not this: planting one big bed of the same crop and calling it “done.” That makes your food supply depend on one slice of time.
Ask yourself: “If I lose one planting window, do I still have something coming in the next 4-6 weeks?”
Ignoring storage reality People pick storage crops but fail to match them to storage space and handling. A crop can be hardy in the ground and still rot in a warm, damp storage spot.
Do this: before you commit storage-heavy acreage, confirm you can store: keep it cool enough, keep it dry enough, and keep air moving where you need it. Plan harvest timing so you cure or dry when the weather supports it. The why: storage problems show up after the work, and you can’t un-lose a crop once it starts.
Not this: assuming “it’s a storage crop, so it will last anywhere.” Storage crops still need the right conditions.
Practical check: pick your top storage crop. Write the storage conditions you need for it (cool, dry, ventilated, protected from freezing or from rot). If you can’t meet those conditions reliably, swap some space to a different storage method or different crop.
Practical takeaway: your grid keeps you honest, but your yard and your storage habits decide whether the plan survives contact with real weather.
The momentum you want is simple: once you can map climate, space, and calories into a crop list, you stop gambling with seed packets. Next, you’ll take those choices and turn them into planting schedules, growing steps, and storage practices that match the same survival logic.
End of chapter one. 7 more chapters in the full book.
Swipe or use the arrows to turn the page


What's inside: 8 chapters
- 1. Backyard Survival Crop Planning
- 2. Soil Building for Drought Resilience
- 3. Seed Starting and Transplant Timing
- 4. Watering Systems for Flood and Drought
- 5. Light-Deprivation Growing Strategies
- 6. Pest Control Using Survival-Grade Methods
- 7. Harvest Windows and Continuous Regrowth
- 8. Storage Systems for Year-Round Food
About this book
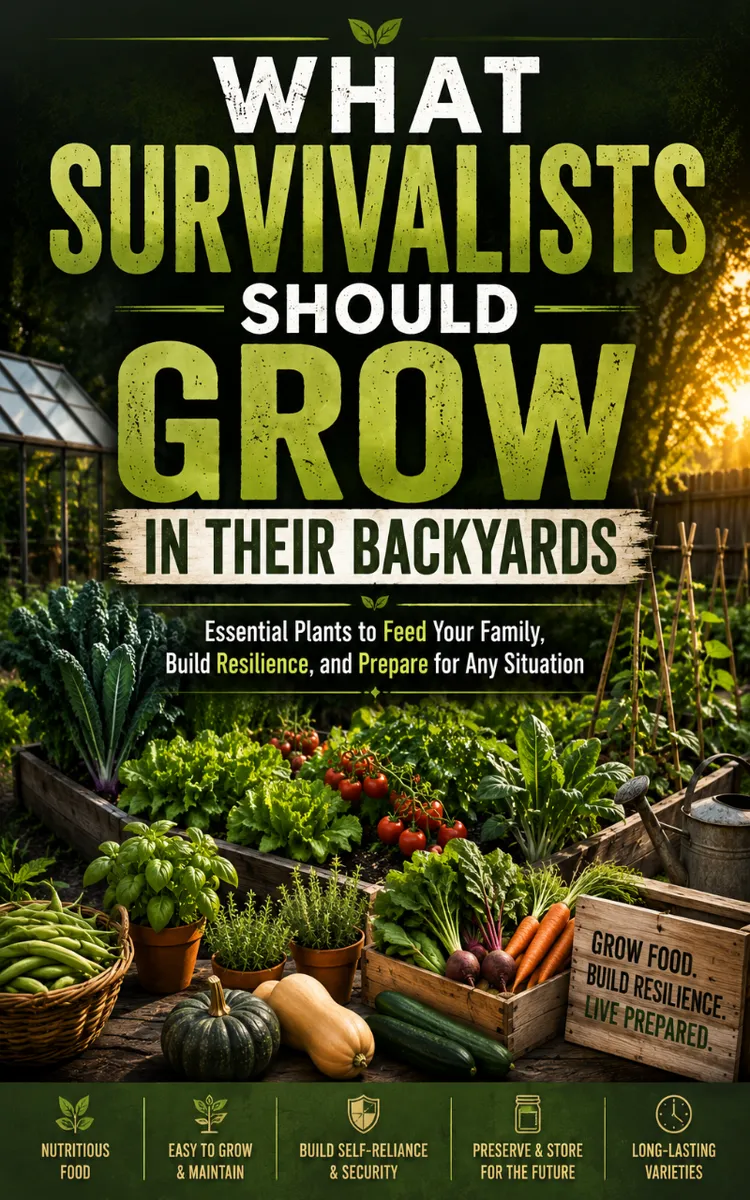
"What Survivalists Should Grow In Their Backyards" is a how-to guide book by NextGen PDF with 8 chapters and approximately 16,906 words. Nutritious, hardy backyard crops with planting, growing, harvesting, storage instructions.
This book was created using Inkfluence AI, an AI-powered book generation platform that helps authors write, design, and publish complete books. It was made with the AI Ebook Generator.
Frequently Asked Questions
What is "What Survivalists Should Grow In Their Backyards" about?
Nutritious, hardy backyard crops with planting, growing, harvesting, storage instructions
How many chapters are in "What Survivalists Should Grow In Their Backyards"?
The book contains 8 chapters and approximately 16,906 words. Topics covered include Backyard Survival Crop Planning, Soil Building for Drought Resilience, Seed Starting and Transplant Timing, Watering Systems for Flood and Drought, and more.
Who wrote "What Survivalists Should Grow In Their Backyards"?
This book was written by NextGen PDF and created using Inkfluence AI, an AI book generation platform that helps authors write, design, and publish books.
How can I create a similar how-to guide book?
You can create your own how-to guide book using Inkfluence AI. Describe your idea, choose your style, and the AI writes the full book for you. It's free to start.
Write your own how-to guide book with AI
Describe your idea and Inkfluence writes the whole thing. Free to start.
Start writingCreated with Inkfluence AI


