
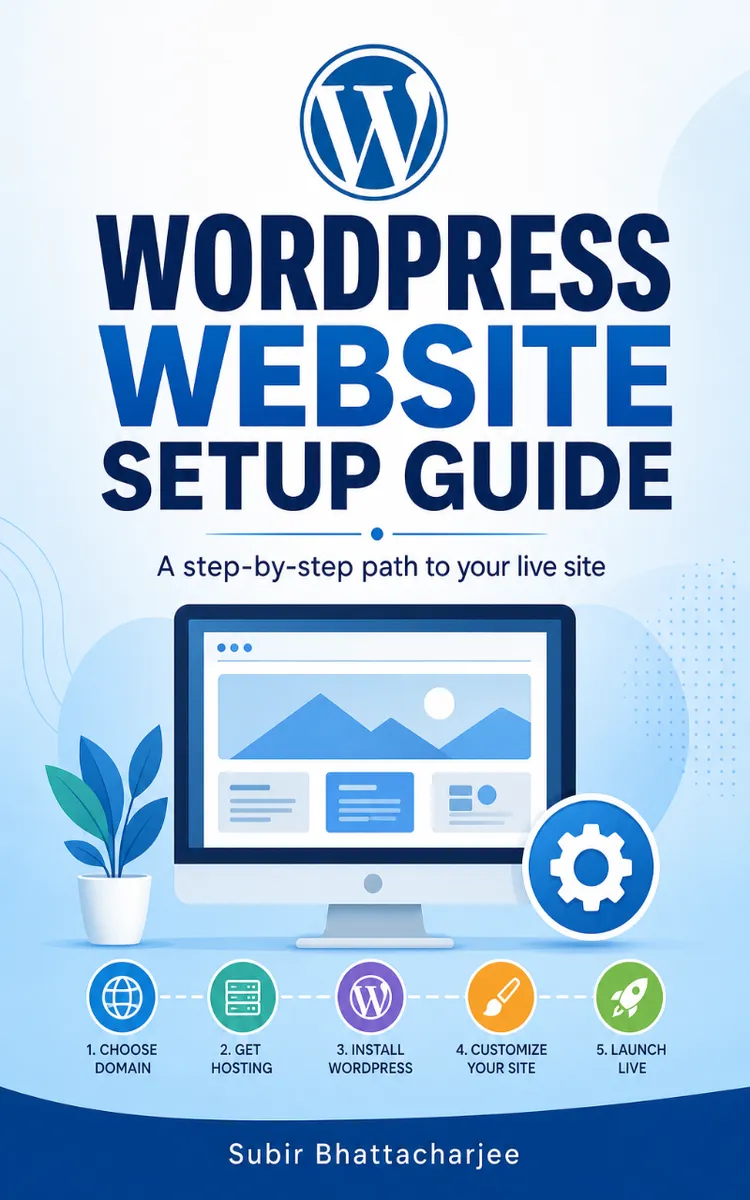
Read the first chapter
The whole of chapter one, free. About 8 min. Turn the pages with the arrows, your keyboard, or a swipe.
Chapter 1
Choosing a Domain and Hosting
Why Your Domain and Hosting Setup Decides If Your WordPress Site Shows Up Reliably
What happens when a customer types your business name into Google and clicks your link, but the page takes forever to load - or doesn’t load at all? For a WordPress site, that “link” depends on two things you set up before you install WordPress: your domain and your hosting. If you pick the wrong combination or connect them incorrectly, you can end up with downtime, slow pages, or email that stops working right when you need it most.
This chapter teaches you how to pick a domain name that customers can actually remember, choose hosting that fits a small business website, and set up DNS (Domain Name System) records so your domain points to your hosting. After you finish, you’ll know what to buy, where to click, and how to confirm the setup works before you launch.
You’ll also follow the Domain-Hosting Fit Checklist, a simple way to match your domain and hosting choices to your real needs - like Tanya’s bakery website - so you don’t waste time fixing avoidable problems later.
Practical takeaway: When you set up domain + hosting + DNS correctly, your WordPress site becomes reachable every time someone visits your address.
---
How to Pick a Domain, Choose Hosting, and Connect Them with DNS
A domain name is your website’s address (like yourbakery.com). Hosting is the service that stores your WordPress files and serves them to visitors. DNS acts like the phone book that tells the internet where your domain should go.
If you want the simplest “reliable start,” you need three things to line up: your domain registrar (where you buy the domain), your hosting provider (where WordPress runs), and your DNS records (the instructions that connect the two).
Use these rules and steps, with a real example as you go:
1. Choose a domain name customers can type fast - Pick a name close to your business name and avoid extra words like “thebest” or hard spellings. - If Tanya’s bakery is called “Tanya’s Treats,” a domain like tanyastreats.com or tanyastreatsbakery.com (if the first one is taken) helps people reach the site without guessing. - Keep it short enough to fit in a social media bio and on printed menus.
2. Select hosting based on your site needs, not just the cheapest price - For a small business WordPress site, you usually want “managed WordPress hosting” (a hosting plan that helps run WordPress for you). - Managed hosting matters because it reduces how much you must handle yourself - like updates and common server tasks. - If you expect regular blog posts (for seasonal menus, events, and offers), choose a host that supports enough storage and lets you scale when you add pages.
3. Confirm you can install WordPress easily - Look for a one-click WordPress installer or an option in your hosting control panel (the web dashboard for your hosting). - This saves time and lowers the chance you set up WordPress in the wrong place. - Tanya plans to add a menu page, an “Order Ahead” page, and a blog for holiday specials - so she needs WordPress to be installed quickly and reliably.
4. Set DNS records so the domain points to the hosting - DNS records tell the internet where to find your site. - You’ll do this either by changing name servers (common when you use the host’s DNS) or by adding A record and CNAME record values (common when you manage DNS yourself). - Your goal is simple: when someone visits yourdomain.com, the DNS lookup returns the IP address (or target) of your hosting.
Ask yourself: Is your domain already owned, or do you still need to buy it? This choice affects where you’ll make DNS changes.
Practical takeaway: Pick a domain people can type, choose hosting that makes WordPress installation easy, then connect them using the DNS method your host provides.
---
Tanya’s Bakery Setup: Domain, Hosting, and DNS in Real Steps (with the Domain-Hosting Fit Checklist)
Tanya runs a bakery and wants a WordPress site that shows her menu, shares holiday pre-order dates, and lets customers contact her quickly. She doesn’t want to wrestle with technical setup every time she adds a page.
Here’s a realistic path from “I have no site yet” to “my domain opens the WordPress home page” using concrete checks.
Step 1: Pick and buy the domain 1. Search for a domain that matches her business name. - Tanya tries: tanyastreats.com - If it’s taken, she checks: tanyastreatsbakery.com 2. Choose the domain extension that fits her customers. - If she serves a local area, she can consider a local extension, but a plain.com often works well for broad reach.
Expected outcome: You own a domain at a registrar (like GoDaddy, Namecheap, Google Domains-style services, or your hosting provider if they bundle domain registration).
Step 2: Choose hosting and confirm WordPress support 1. Create an account with a hosting provider that offers managed WordPress. 2. Start a plan that fits a small business site. - Tanya plans: a few core pages + a blog with seasonal posts, plus a contact form. 3. Look for “WordPress install” in the hosting dashboard. - If you see a button like “Install WordPress,” you’re in a good place.
Expected outcome: You have hosting space ready, with a place to install WordPress.
Step 3: Install WordPress on the hosting account 1. In the hosting control panel, find the WordPress installer. 2. Choose the domain you want to use for the WordPress site. 3. Create your WordPress admin login. - Use a real email and a password you can remember. 4. Wait for the installer to finish.
Expected outcome: WordPress runs on the hosting side, even if the domain doesn’t point there yet.
Step 4: Connect the domain using DNS (the part that usually causes delays) This is where most beginners get stuck, so follow your host’s instructions exactly.
1. Find the DNS method your host uses: - Name servers method: your host gives you two name server addresses to paste into your domain registrar. - DNS records method: your host gives you specific record values like an A record or CNAME record to enter. 2. If your host provides name servers, use them (it’s usually the simplest). 3. Update the domain registrar: - Log in at your domain provider. - Open the DNS settings or “Name servers.” - Replace current name servers with the ones from your hosting provider. 4. If your host provides DNS records, add them one by one: - Add the required A record (maps the domain to an IP address). - Add the required CNAME record (maps a hostname like www to a target). 5. Wait for DNS to update. - DNS changes often take time to propagate across the internet.
Expected outcome: After the DNS update finishes, your domain opens the WordPress site.
Step 5: Use the Domain-Hosting Fit Checklist before you call it “done” Run through these checks after you change DNS:
• Domain matches your brand: Tanya’s domain name looks right on menus and social posts. - Hosting supports WordPress install: You installed WordPress using the host’s installer. - DNS points to hosting: Your domain name now resolves to the hosting provider. - WordPress home page loads: You can open the domain in a browser and see the WordPress front page. - Email still works (if you set it up): If you added business email, it should not break when DNS changes.
Quick checklist (do these in order): - Buy a domain that matches your business name and is easy to type. - Pick managed WordPress hosting that supports one-click setup. - Install WordPress using the hosting control panel. - Update DNS using your host’s preferred method (name servers or A/CNAME records). - Test your domain in a browser and confirm the homepage loads.
Practical takeaway: You finish confidently only when the domain opens WordPress - not when DNS changes are “saved.”
---
Common DNS and Hosting Mistakes (and How to Fix Them Fast)
Even careful beginners make the same mistakes when connecting domain and hosting. Here are the most common ones, with clear fixes.
Wrong name servers entered This happens when you copy the wrong values or forget to replace the old ones at your domain registrar. - Do this: In your registrar, open DNS settings and confirm the name servers exactly match what your hosting provider shows (copy/paste helps). - Not this: Leave the old name servers in place “until it updates.” DNS won’t reliably point to your host if you keep the previous setup.
Expected outcome after the fix: Your domain starts resolving to the hosting location, and the WordPress site loads once propagation completes.
Fixing the wrong DNS zone (or missing records like www) Some hosts require both the main domain (yourdomain.com) and www.yourdomain.com to point correctly. - Do this: After DNS changes, test both: - yourdomain.com - www.yourdomain.com If one works and the other doesn’t, add or correct the required record your host specifies. - Not this: Assume only the main domain matters. Many customers type or click www without thinking.
Expected outcome after the fix: Both versions open the same WordPress site, and you avoid “page not found” errors.
Installing WordPress before DNS points (then panicking) This can feel broken, but it often isn’t. WordPress might run on the server while your domain still points somewhere else. - Do this: Install WordPress first if your host’s installer expects it, then connect DNS. After DNS updates, check the domain again. - Not this: Keep reinstalling WordPress because the domain doesn’t show the site right away. DNS propagation can take time.
Expected outcome after the fix: The WordPress site appears once the domain starts pointing to the hosting server.
Practical takeaway: Fix DNS carefully, test both yourdomain.com and www.yourdomain.com, and avoid reinstalling WordPress just because DNS takes time.
---
Final Takeaway: Reliable WordPress Starts with Correct Connections
A domain and hosting setup feels “technical,” but you can treat it like a checklist job. Pick a domain people can type, choose hosting that supports WordPress setup without drama, and connect everything with DNS using the exact method your host provides. Then verify with real tests - open your domain in a browser and confirm the WordPress homepage loads.
If you get one thing right from this chapter, let it be this: your site isn’t ready until your domain actually reaches it. That mindset will save you hours when you move on to installing themes, setting up pages, and getting your site ready for real visitors.
End of chapter one. 7 more chapters in the full book.
Swipe or use the arrows to turn the page


What's inside: 8 chapters
- 1. Choosing a Domain and Hosting
- 2. Installing WordPress with One-Click
- 3. Selecting a Theme and Starter Layout
- 4. Essential Plugins for Beginners
- 5. Creating Core Pages and Navigation
- 6. Writing SEO-Friendly Posts and Pages
- 7. Setting Up Forms, Emails, and Tracking
- 8. Launching, Backing Up, and Staying Secure
About this book
"Wordpress Website Setup Guide" is a how-to guide book by Subir Bhattacharjee with 8 chapters and approximately 15,220 words. Setting up a WordPress website from start to launch.
This book was created using Inkfluence AI, an AI-powered book generation platform that helps authors write, design, and publish complete books. It was made with the AI Ebook Generator.
Frequently Asked Questions
What is "Wordpress Website Setup Guide" about?
Setting up a WordPress website from start to launch
How many chapters are in "Wordpress Website Setup Guide"?
The book contains 8 chapters and approximately 15,220 words. Topics covered include Choosing a Domain and Hosting, Installing WordPress with One-Click, Selecting a Theme and Starter Layout, Essential Plugins for Beginners, and more.
Who wrote "Wordpress Website Setup Guide"?
This book was written by Subir Bhattacharjee and created using Inkfluence AI, an AI book generation platform that helps authors write, design, and publish books.
How can I create a similar how-to guide book?
You can create your own how-to guide book using Inkfluence AI. Describe your idea, choose your style, and the AI writes the full book for you. It's free to start.
Write your own how-to guide book with AI
Describe your idea and Inkfluence writes the whole thing. Free to start.
Start writingCreated with Inkfluence AI


