

Read the first chapter
The whole of chapter one, free. About 6 min. Turn the pages with the arrows, your keyboard, or a swipe.
Chapter 1
Setting Up Your ADHD Planner
Build a Planner That Works Before Motivation Shows Up
Your planner needs a few decisions made in advance: where tasks go, where appointments go, and what you’ll look at first. If those choices are still open each time you sit down, ADHD can turn a two-minute planning task into a full negotiation.
Set up three simple zones: Today, This Week, and Parking Lot. Today holds the next actions you can realistically see. This Week holds tasks that matter soon but don’t belong on a specific day yet. Parking Lot holds ideas, reminders, and “don’t forget this” thoughts that would otherwise interrupt you. Keep appointments in one calendar, not scattered across sticky notes and notebook pages.
Your default layout is the page arrangement you’ll use every time. A useful starting layout has a top strip for appointments, a main section for three priority tasks, and a small capture box for new thoughts. You’re not building a beautiful planner. You’re removing decisions.
Key takeaway: A good ADHD planner tells you where information belongs before your attention has to decide.
Use these three setup rules:
1. One home: Each type of information gets one regular location. 2. Small visible lists: Your daily task list shows no more than three priority tasks. 3. Fast capture: New thoughts go into the Parking Lot in under thirty seconds.
Quick setup check
Write your choices before moving on:
• Appointments will live in: ______________________________________________ - Daily tasks will live in: _____________________________________________ - New ideas and reminders will go in: __________________________________ - My daily page will show these three areas: _______________________________
The goal isn’t to predict every day. It’s to make the next step obvious when your brain is already busy.
Create Your Pages and Zones
Materials needed: Your planner or notebook, one pen, three sticky notes or page flags, and a timer. Time required: 20 minutes.
You’ll create the basic pages, label the zones, and build one repeatable daily layout. When you finish, you should be able to place an appointment, a task, and a random thought without stopping to invent a system.
1. Open your planner to three unused pages. Label them Today, This Week, and Parking Lot. If your planner has dated pages, use the next available page for Today and place flags on the other two pages.
2. Draw the Today layout. At the top, leave four lines for appointments and fixed events. Under that, create a section titled Top Three. Leave three numbered lines. At the bottom, draw a box titled Capture.
3. On the This Week page, make three columns: Task, When, and Next Step. Leave space for at least ten entries. The “When” column can say Monday, Friday, or “not scheduled.”
4. On the Parking Lot page, draw four small headings: Ideas, People to Contact, Errands, and Later. Leave at least five lines under each heading. This keeps the capture page useful without turning it into a mystery pile.
5. Set the timer for two minutes. Write every loose reminder currently in your head. Don’t organize yet. Use the Parking Lot page, not the Today page.
6. Sort each item into one of these locations: a calendar for a fixed time, Today for a task you’ll do today, This Week for a task that matters soon, or Parking Lot for something without a clear date.
7. Choose three tasks for Today. Each task must begin with a visible action word, such as “email,” “call,” “open,” “buy,” “send,” or “book.” If a task says “taxes” or “house,” rewrite it into the first physical step.
8. Add a small completion mark beside each zone. For example, write “Done when: three tasks listed” under Today, “Done when: every task has a next step” under This Week, and “Done when: every loose thought has a home” under Parking Lot.
9. Take a photo of the finished layout. Use it as a reference when you set up future pages. Your aim is consistency, not reinvention.
> Completed example > > Today - Tuesday > > Appointments: 2:00 dentist; 5:30 pick up Sam > > Top Three > 1. Email invoice to Green Street > 2. Buy printer ink > 3. Call dentist about payment plan > > Capture > Ask Pat about Saturday > > This Week > > - Task: Send supplier order | When: Wednesday | Next Step: Open supplier email > - Task: Clean truck cab | When: Friday | Next Step: Put cleaning kit by door > > Parking Lot > > - Ideas: price weekend service package > - People to Contact: Pat about Saturday > - Errands: return wrong-size gloves > - Later: compare phone plans
Your Turn
Test the system with three sample items. Write each one in its correct home:
• A dentist appointment at 2:00 p.m. tomorrow: _____________________________ - A task to send an invoice this week: ___________________________________ - An idea for a new service with no deadline: _______________________________
Now check your results. The appointment belongs in your calendar or the appointment strip. The invoice belongs in This Week unless you’ll complete it today. The service idea belongs in Parking Lot. If you placed all three without creating a new category, your zones are doing their job.
Use the Layout on Real Days
Use the Today page when you begin work, not when you already feel behind. First, copy in fixed events. Then choose up to three priority tasks from This Week. Finally, keep the Capture box open for interruptions. This order matters: appointments protect your time, the Top Three limits your workload, and Capture keeps new thoughts from hijacking the page.
Picture a service call day. You have a 9:00 a.m. repair, a 1:00 p.m. estimate, and a supplier call you need to make. The repair and estimate go in the appointment strip. “Call supplier” becomes one of the Top Three. If you remember that the van needs new wiper blades, write it in Capture. You don’t need to decide whether to buy them while standing in a customer’s hallway.
At the end of the day, spend three minutes moving unfinished items. A task that still matters today can remain on Today. A task that matters this week goes back to This Week. A thought with no clear timing returns to Parking Lot. The expected outcome is a clean handoff: tomorrow’s page contains only current information, while nothing important disappears.
Apply It
Use your actual planner tomorrow. Before starting work, complete these actions:
• Write every fixed appointment on the Today page. - Choose no more than three Top Three tasks. - Put one likely interruption in the Capture box. - At day’s end, move every unfinished item to Today, This Week, or Parking Lot.
You’re finished when each item has one location and tomorrow’s page has no more than three priority tasks. If your list has seven priorities, choose three and move the rest to This Week. A short list isn’t a judgment about your ambition. It’s a visibility tool.
Check Your Setup and Choose Your Next Adjustment
A planner can be technically complete and still be awkward to use. Check the friction points now, while they’re easy to fix. Can you find Today in less than ten seconds? Can you capture a thought without opening several sections? Can you tell what “done” means for each task?
Reflect
1. Which zone will you use most often, and what makes that location easy or difficult to reach?
__________________________________________________
__________________________________________________
__________________________________________________
2. Look at your current Top Three. Which task has the clearest first action, and which one needs to be rewritten?
__________________________________________________
__________________________________________________
__________________________________________________
3. What is one layout change you’ll test for the next three days? State the change and the result you’ll measure.
__________________________________________________
__________________________________________________
__________________________________________________
Set a simple test: for the next three days, use the same Today layout and record how long it takes to start planning. Write the number of minutes at the bottom of each page. If you can begin in three minutes or less, keep the layout. If you regularly spend longer, remove a section, enlarge the Capture box, or move the page somewhere easier to reach.
Your planner is ready when it gives loose thoughts a home, limits today’s visible work, and makes tomorrow easier to begin. The best setup is the one you can still use on a distracted Tuesday.
End of chapter one. 6 more chapters in the full book.
Swipe or use the arrows to turn the page

The World In Chaos 6x9 Interior

When Everyone Else Has Moved On 8 5x11 196p REVISED v3

The Blind Spot of Reality EDITED Garamond 6x9
What's inside: 7 chapters
- 1. Setting Up Your ADHD Planner
- 2. Choosing Weekly Priorities That Stick
- 3. Breaking Tasks into Next Actions
- 4. Designing Your Daily Focus Blocks
- 5. Using the Two-Minute Reset
- 6. Tracking Wins with the Done-List
- 7. Planning for Missed Days and Recovery
About this book
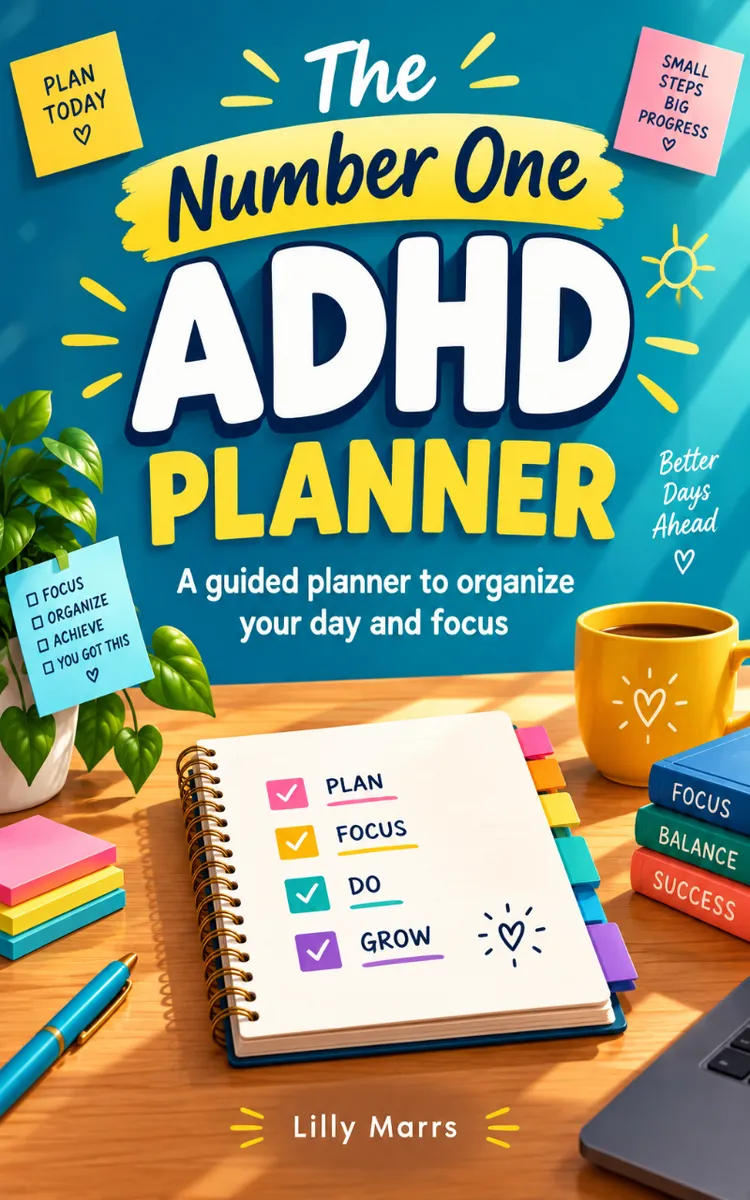
"The Latest ADHD Planner" is a workbook by Lilly Marrs with 7 chapters and approximately 10,115 words. ADHD-focused planning system with prompts and organization tools.
This book was created using Inkfluence AI, an AI-powered book generation platform that helps authors write, design, and publish complete books. It was made with the Workbook Generator.
Frequently Asked Questions
What is "The Latest ADHD Planner" about?
ADHD-focused planning system with prompts and organization tools
How many chapters are in "The Latest ADHD Planner"?
The book contains 7 chapters and approximately 10,115 words. Topics covered include Setting Up Your ADHD Planner, Choosing Weekly Priorities That Stick, Breaking Tasks into Next Actions, Designing Your Daily Focus Blocks, and more.
Who wrote "The Latest ADHD Planner"?
This book was written by Lilly Marrs and created using Inkfluence AI, an AI book generation platform that helps authors write, design, and publish books.
How can I create a similar workbook?
You can create your own workbook using Inkfluence AI. Describe your idea, choose your style, and the AI writes the full book for you. It's free to start.
Write your own workbook with AI
Describe your idea and Inkfluence writes the whole thing. Free to start.
Start writingCreated with Inkfluence AI


