
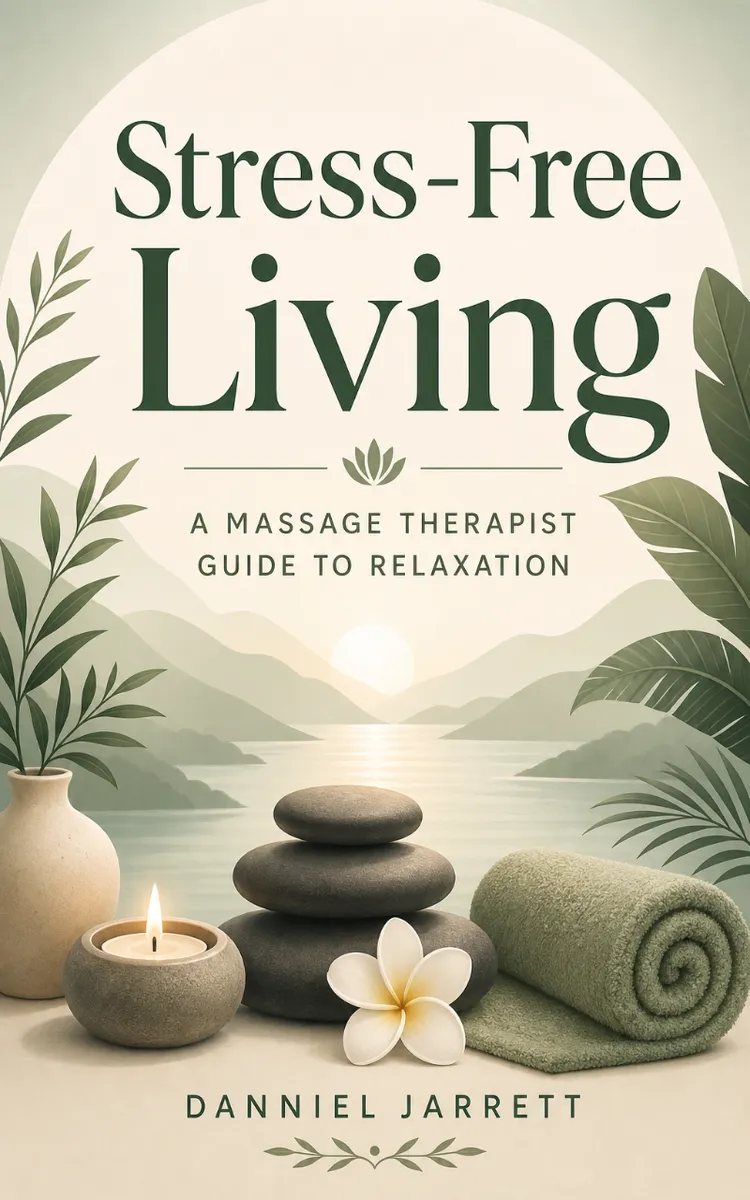
Read the first chapter
The whole of chapter one, free. About 8 min. Turn the pages with the arrows, your keyboard, or a swipe.
Chapter 1
The Stress Map Body Scan
Find the Tension Before You Massage
Where does stress show up first in your body: the tight band across your forehead, the raised shoulders near your ears, or the clenched hands resting on your desk?
The Stress Map Body Scan gives you a quick answer before you begin massage. Instead of rubbing wherever discomfort feels strongest, you check your body in a set order, notice the areas asking for attention, and choose one clear relaxation target. This matters because stress often spreads. A stiff neck may come with a tight jaw, shallow breathing, and tense hands. If you try to work everywhere at once, you may rush and miss the main source of strain.
The scan takes about three minutes and requires no equipment. After practicing it, you will know how to identify tension hotspots, rate their intensity, notice how they affect your breathing and movement, and choose a practical target such as “soften the right shoulder” or “release the jaw for five minutes.” A clear target makes your massage easier to guide and easier to evaluate.
Sit or stand comfortably, but do not force perfect posture. Let your hands rest loosely. Ask yourself one useful question: “What feels different from relaxed right now?” Your answer becomes the starting point for the map.
Use the Stress Map Body Scan
The Stress Map Body Scan follows the body from top to bottom. You check each area without trying to change it immediately. This order helps you compare one region with another instead of choosing the loudest sensation too quickly.
Use a simple intensity scale from zero to ten. Zero means no noticeable tension. Ten means severe tension that makes normal movement difficult. The number does not diagnose a problem; it helps you choose where to begin and compare the area again after massage.
Follow these steps:
1. Settle your position. Place both feet on the floor or support your body evenly if you lie down. Take one slow breath without forcing a deep inhale. A stable position gives you a reliable starting point.
2. Check the face and jaw. Notice your forehead, eyes, cheeks, tongue, and teeth. Ask whether your teeth touch or your tongue presses hard against the roof of your mouth. Jaw tension often increases without conscious effort, especially during screen work or concentration.
3. Check the neck and shoulders. Notice whether your head sits forward, whether one shoulder rises higher, and whether the muscles feel firm under light touch. Do not press deeply during the scan. You only need enough contact to recognize tightness.
4. Check the chest, ribs, and upper back. Observe whether your breath moves easily or stops high in the chest. Notice any area that feels guarded, compressed, or difficult to expand. Easy breathing gives you a useful comparison when you repeat the scan.
5. Check the arms and hands. Follow your attention from the upper arms to the forearms, wrists, palms, and fingers. Look for curled fingers, tight fists, or a thumb pressed against another finger. Hand tension often appears during typing, driving, or holding a phone.
6. Check the lower back, hips, and legs. Notice whether you shift weight to one side, grip your seat, or hold tension in your thighs and calves. Check the feet last. A tight foot or calf may not need massage first, but it can show that your whole body remains braced.
7. Choose one target. Select the area with the highest number, the clearest change from normal, or the area that affects breathing or movement most. State the target in specific words: “left shoulder,” “jaw on both sides,” or “right palm.”
Keep the scan observational. If you find a tender spot, reduce pressure and note it rather than digging into it. Massage for relaxation should feel manageable, not like a test of how much discomfort you can tolerate.
After you choose the target, define the result you want. “Relax my whole body” sounds pleasant but gives you no way to check progress. “Lower the left shoulder tension from six to three and make breathing feel easier” gives you a clear direction. Your target can include a time limit, such as five minutes, and a method, such as slow circles or steady palm pressure.
Ask yourself, “What would tell me this area has softened?” You might notice warmer skin, a slower breath, less jaw pressure, easier neck movement, or a hand that opens without effort. Write down the target if you plan to work with another person. A short note such as “right shoulder, seven out of ten, feels raised” keeps the massage focused.
The scan creates the map; the rating and outcome create the route. Before moving on, identify one body area, one number, and one change you want to feel.
Apply the Scan Before a Workday Massage
Lena, 34, works as an office manager and spends much of her day switching between email, phone calls, and a scheduling screen. At the end of a busy morning, she notices pressure behind her eyes and asks for a short relaxation massage. The scan prevents her from choosing the forehead automatically.
Use this sequence:
1. Position Lena for three minutes. She sits with both feet flat, her back supported, and her hands resting on her thighs. She keeps her eyes open or softly closed, whichever feels more comfortable. This position reduces extra effort while she checks her body.
2. Scan from face to feet. Lena rates her jaw at four, neck at five, left shoulder at seven, right shoulder at six, hands at five, and lower back at three. Her breathing feels shallow when she notices the shoulders. The left shoulder becomes the first target because it has the highest rating and affects her breathing.
3. Name the target clearly. Lena chooses: “Reduce left shoulder tension from seven to four and let my breath move lower.” She does not choose “fix my posture,” because that broad goal cannot guide a five-minute massage.
4. Check for safe comfort. She reports no sudden injury, numbness, unusual weakness, fever, or sharp pain. If any of those symptoms appeared, she would stop the relaxation massage and seek appropriate medical advice rather than treating the area as ordinary stress tension.
5. Massage the target for five minutes. Begin with broad, light strokes over the upper shoulder. Then use slow circles with the fingertips or a relaxed palm. Keep the pressure at a comfortable level, around three or four out of ten. Ask Lena to breathe normally instead of taking large forced breaths. The goal is to reduce guarding, not overpower the muscle.
6. Recheck the map. After five minutes, Lena rates the left shoulder at four. Her breath feels smoother, and she can lower the shoulder without thinking about it. The right shoulder remains at six, but it does not need attention yet because the chosen target produced the clearest useful change.
7. Record the result. Note the date, target, starting rating, ending rating, and noticeable change: “Left shoulder, seven to four; easier breathing; shoulder rests lower.” This record helps Lena recognize patterns before future workdays.
The expected outcome is not complete absence of sensation. A successful scan-and-massage session gives you a measurable shift: less tension, easier movement, calmer breathing, or a more relaxed resting position. If the number stays the same but movement improves, record that change too.
Quick checklist
• Sit or lie in a supported position. - Scan from face and jaw down to the feet. - Rate each noticeable hotspot from zero to ten. - Choose one area instead of treating everything at once. - State the target and the change you want. - Use comfortable pressure and normal breathing. - Recheck the same area after five minutes. - Stop if sharp pain, numbness, sudden weakness, or unusual symptoms appear. - Record the starting and ending ratings.
Pause after the recheck and ask, “Did the target change in the way I expected?” That answer tells you whether to repeat gentle work, choose a nearby area, or end the session.
Avoid Common Scanning Errors
Choosing the loudest sensation without checking the rest of the body
A headache or tight neck may grab your attention, but the scan may reveal that your jaw or shoulders hold more tension. Starting with the first sensation you notice can lead you away from the area that most affects your comfort.
Do this: Scan the full body in order, then compare the ratings. Choose the area with the highest rating or the strongest effect on breathing and movement.
Not this: Begin deep massage on the first painful spot before checking whether another area carries more tension.
Pressing hard during the scan
Deep pressure can change the sensation before you measure it. It may also make a tender area guard more strongly, which makes your starting rating less useful.
Do this: Use light contact or no contact while scanning. Save massage pressure for after you choose the target, and keep that pressure comfortable.
Not this: Dig into a tight shoulder, jaw, or calf to prove that you found the problem.
A relaxation session should not create sharp pain, tingling, numbness, bruising, or a worsening headache. Reduce pressure or stop when those signs appear. Seek qualified medical care for sudden or severe symptoms instead of treating them as ordinary stress.
Setting a target that covers the whole body
“Relax everything” gives you no clear starting point and no simple way to judge the result. It can also make a short session feel unsuccessful even when one area improves.
Do this: Choose one body area, one starting number, and one expected change. For example: “Right hand, five out of ten; loosen the fingers so they open easily.”
Not this: Move randomly from the forehead to the feet while hoping relaxation appears.
You can expand the target after the first recheck. If the left shoulder drops from seven to four, you may choose the jaw next. Keep the first goal small enough to complete and measure.
Ignoring what the body tells you after massage
A lower number does not always mean the session worked well if the person feels dizzy, sore, or unsettled. The final check must include comfort and function, not just a score.
Do this: Ask whether breathing, movement, warmth, and comfort changed. End the massage when the person feels settled.
Not this: Continue pressing because the target has not reached zero.
The Stress Map Body Scan turns a vague feeling of stress into a simple working plan: locate, rate, target, massage, and recheck. Use it before each short relaxation session, and your hands will have a clearer purpose from the first touch.
End of chapter one. 7 more chapters in the full book.
Swipe or use the arrows to turn the page


What's inside: 8 chapters
- 1. The Stress Map Body Scan
- 2. Breathing for Downshifting Clients
- 3. Warm-Up: Effleurage and Skin Prep
- 4. Rhythm Massage for Shoulder Tension
- 5. Lymphatic Flow for Gentle Decongestion
- 6. Progressive Relaxation Through Pressure Levels
- 7. Nervous System Reset: The 5-Minute Finish
- 8. Avoiding Red Flags and Common Mistakes
About this book
"Stress-Free Living" is a how-to guide book by Danniel Jarrett with 8 chapters and approximately 14,451 words. Massage-based relaxation techniques to reduce stress.
This book was created using Inkfluence AI, an AI-powered book generation platform that helps authors write, design, and publish complete books. It was made with the AI Ebook Generator.
Frequently Asked Questions
What is "Stress-Free Living" about?
Massage-based relaxation techniques to reduce stress
How many chapters are in "Stress-Free Living"?
The book contains 8 chapters and approximately 14,451 words. Topics covered include The Stress Map Body Scan, Breathing for Downshifting Clients, Warm-Up: Effleurage and Skin Prep, Rhythm Massage for Shoulder Tension, and more.
Who wrote "Stress-Free Living"?
This book was written by Danniel Jarrett and created using Inkfluence AI, an AI book generation platform that helps authors write, design, and publish books.
How can I create a similar how-to guide book?
You can create your own how-to guide book using Inkfluence AI. Describe your idea, choose your style, and the AI writes the full book for you. It's free to start.
Write your own how-to guide book with AI
Describe your idea and Inkfluence writes the whole thing. Free to start.
Start writingCreated with Inkfluence AI


