

Read the first chapter
The whole of chapter one, free. About 9 min. Turn the pages with the arrows, your keyboard, or a swipe.
Chapter 1
Shaking Cocktails with Confidence
Recognizing the Shaker and Setting the Goal
Ice rattles against stainless steel as a cloudy mixture turns cold in seconds. That sound tells you the cocktail shaker is doing two jobs at once: chilling the ingredients and combining them thoroughly. When you use the shaker correctly, citrus juice, spirits, syrup, and other ingredients become one balanced drink instead of separate layers of flavor.
A cocktail shaker also helps you control texture. Shaking adds a small amount of melted ice, called dilution, which softens strong alcohol and brings sharp ingredients into balance. Too little shaking can leave a drink warm, harsh, or uneven. Too much time with poor ice can make it watery. Learning to recognize the shaker and use it with purpose solves both problems.
A standard shaker has three main parts: a large tin, a smaller tin or lid, and a strainer built into the lid on many three-piece shakers. A two-piece shaker uses a large tin and a smaller tin or mixing glass. The two-piece style usually needs a separate Hawthorne strainer when you pour. Both styles work well. After practicing the method below, you should be able to identify your shaker, load it safely, shake with steady control, and pour a properly chilled cocktail.
Before you begin, check the shaker for dents around the rim. A damaged rim may prevent a tight seal. Also check that the shaker feels clean, dry on the outside, and large enough to hold the ingredients and ice without crowding. A shaker that holds about 20 to 28 ounces works well for one or two drinks. Ask yourself: can the ice move freely inside? If not, the shaker cannot chill and combine the drink evenly.
The practical takeaway is simple: choose a clean, undamaged shaker with enough room for movement, then use the ice and shaking time to control temperature, dilution, and texture.
The Chill-and-Combine Method
The Chill-and-Combine Method gives you a repeatable way to shake cocktails. It focuses on the order of work rather than speed alone. Add the ingredients, add suitable ice, seal the shaker, shake with purpose, and strain immediately. Each action affects the final drink.
Use this sequence:
• Add the ingredients to the shaker. Pour the liquid ingredients into the large tin or the bottom part of your shaker. Add the least expensive ingredients first, such as syrup or juice, and add the spirit last. This order makes it easier to correct a measurement before the main spirit enters the shaker.
• Add plenty of solid ice. Fill the shaker about two-thirds to three-quarters full with fresh, hard cubes. Large, solid cubes chill effectively while melting at a manageable rate. Small, cracked, or wet ice melts quickly and can make the cocktail watery.
• Seal the shaker firmly. Fit the lid or second tin onto the shaker and press it closed. Hold the shaker over a sink for the first few attempts. A proper seal prevents leaks, protects your hands from cold liquid, and lets you shake without stopping.
• Shake with a level, controlled motion. Hold the shaker with both hands and move it back and forth across your shoulder line or chest. Shake hard enough to move the ice from end to end. A lively rattle means the ice is working. For most cocktails containing citrus, fruit juice, cream, or egg white, shake for about 10 to 15 seconds.
• Check the outside for cold and frost. The metal should feel very cold, and condensation should form on the outside. This check gives you useful feedback, but do not wait for a thick layer of frost if the drink has already received a proper shake. The ice, ingredient temperature, and shaker material all affect the timing.
• Strain immediately into the prepared glass. Hold the shaker securely and pour in one smooth motion. A built-in strainer catches large ice pieces and solids. A Hawthorne strainer, which has a spring around its edge, performs the same basic job in a two-piece shaker. Strain at once so the drink does not continue diluting in the shaker.
The ingredients determine whether shaking makes sense. Shake drinks that contain citrus juice, pineapple juice, dairy, egg white, syrups, or several ingredients that need strong mixing. For example, a whiskey sour needs shaking because lemon juice and syrup must combine with the whiskey, and the ice must soften the sharpness of the lemon. A drink made only from spirits and a small amount of vermouth usually benefits more from stirring, which creates a clear, silky result with less aeration.
Do not fill the shaker with liquid before adding ice. Liquid alone can slosh unevenly, and you may forget to leave room for the ice. Do not use one enormous block of ice unless the recipe specifically calls for it. The ice needs enough surface area and movement to transfer cold into the drink.
A useful test comes after straining. Taste a small sip and ask three questions: Is the drink cold? Do the ingredients taste blended rather than separate? Does the alcohol feel softened without tasting watery? If the answer to one question is no, adjust the next shake rather than changing several things at once. Add firmer ice, shake for a few more seconds, or check your measurements.
The takeaway from the Chill-and-Combine Method: ice is not just a cooling accessory. It acts as a mixing tool and a measured source of dilution, while the shaker provides the movement that brings the drink together.
A Whiskey Sour from Measure to Pour
A whiskey sour provides a clear practice drink because it contains spirit, citrus, and sweetener. The following example makes one drink and shows what you should see and feel at each stage.
• Prepare the glass. Place a rocks glass near your work area. Add fresh ice if you plan to serve the drink over ice. Preparing the glass first prevents the shaken drink from sitting while you search for it.
• Measure the ingredients. Use a jigger, a small measuring tool for cocktail liquids, to add 2 ounces of bourbon, ¾ ounce of fresh lemon juice, and ½ ounce of simple syrup to the shaker. Simple syrup combines equal parts sugar and water and gives the lemon a rounded sweetness. Accurate measurements matter because an extra ¼ ounce of lemon can make the drink noticeably sharper.
• Add ice. Fill the shaker two-thirds to three-quarters full with firm cubes. You should still have enough space for the ice to travel from one end of the shaker to the other.
• Seal and shake. Press the lid or second tin into place. Hold the shaker with both hands and shake firmly for 12 seconds. Expect a strong ice rattle, a cold metal surface, and condensation around the shaker.
• Strain. Hold the shaker over the prepared rocks glass. Use the shaker’s built-in strainer or a Hawthorne strainer and pour steadily. The drink should look slightly cloudy from the citrus and shaking, not separated into visible layers.
• Taste and evaluate. The finished drink should taste cold, with bourbon at the center, lemon providing brightness, and syrup softening the acidity. If the drink tastes hot and harsh, use colder, harder ice and shake for the full 12 seconds. If it tastes thin, check whether you used wet or broken ice, or whether you shook far beyond the needed time.
• Clean the shaker. Rinse the shaker immediately, wash away citrus pulp, and dry the parts before storing them. Dried lemon residue can leave an odor and make the shaker lid stick during the next use.
Quick checklist
• Use a clean shaker with no damaged rim.
• Measure 2 ounces of bourbon, ¾ ounce of lemon juice, and ½ ounce of simple syrup.
• Add solid ice until the shaker reaches two-thirds to three-quarters full.
• Seal the shaker before lifting it.
• Shake firmly for about 12 seconds.
• Look for condensation and feel for a very cold exterior.
• Strain immediately into the prepared glass.
• Taste for coldness, balance, and unwanted watery texture.
• Rinse and wash the shaker after use.
This exercise shows how the tool and technique work together. The jigger controls the recipe, the ice controls chilling and dilution, and the shaker combines everything through movement. If you change one part, expect the drink to change as well.
Common Shaking Problems and Their Fixes
The shaker leaks
A leak usually comes from an uneven seal, a damaged rim, or a lid that you did not press firmly into place. Liquid may escape from the joint when you shake, and the cold exterior can make the shaker slippery.
Do this: Fit the lid or second tin straight onto the base and press firmly around the rim. Hold the shaker with one hand at each end. Check the seal over the sink before shaking a full drink.
Not this: Do not grip only the middle of the shaker or shake above your head. That grip gives you less control and increases the chance of a spill.
If the shaker still leaks after you seat it correctly, inspect the rims for dents. Replace a badly damaged shaker rather than relying on extra force.
The cocktail tastes watery
Watery flavor often comes from soft, cracked, or already melting ice. A shaker that sits on the counter before straining can also add unwanted dilution. Over-shaking with poor ice creates the same problem.
Do this: Use fresh, hard cubes from the freezer, fill the shaker to two-thirds or three-quarters, and strain as soon as the drink reaches the target shaking time. Store ice in a covered container so it does not absorb freezer odors or melt around the edges.
Not this: Do not scoop ice from a container filled with meltwater or reuse the ice left in a shaker from an earlier drink.
When you need more dilution for a strong cocktail, use better ice and add a few seconds of controlled shaking rather than starting with wet ice.
The cocktail tastes harsh or poorly blended
A warm drink, short shaking time, or weak movement can leave the alcohol sharp and the ingredients uneven. This problem appears clearly in drinks with lemon juice and syrup: the lemon may dominate while the spirit feels hot.
Do this: Measure the ingredients accurately, add enough solid ice, and shake firmly for 10 to 15 seconds. Listen for the ice to travel through the shaker, then strain immediately.
Not this: Do not shake an almost empty shaker or use a slow rocking motion. The ice needs room to move, and the drink needs enough force to combine.
If the drink remains harsh after a proper shake, taste the recipe itself. The problem may come from too little sweetener or too much citrus, not from the shaker. Change one measurement at a time so you can identify the cause.
A confident shake comes from repeatable checks: the shaker seals, the ice moves, the metal turns cold, and the drink reaches the glass without delay. Once those details become familiar, the cocktail shaker stops feeling like a noisy metal container and becomes a precise tool for building balance - one cold, well-combined drink at a time.
End of chapter one. 7 more chapters in the full book.
Swipe or use the arrows to turn the page

Tonic And Twist Bartending Exam

Tonic And Twist Bartending School: Final Exam

Tonic And Twist Bartending School
What's inside: 8 chapters
- 1. Shaking Cocktails with Confidence
- 2. Measuring with a Jigger
- 3. Stirring and Layering with a Bar Spoon
- 4. Straining with a Hawthorne Strainer
- 5. Fine Straining for Clear Cocktails
- 6. Muddling Herbs, Fruit, and Spices
- 7. Handling Ice with Tongs
- 8. Pouring, Garnishing, and Rimming
About this book
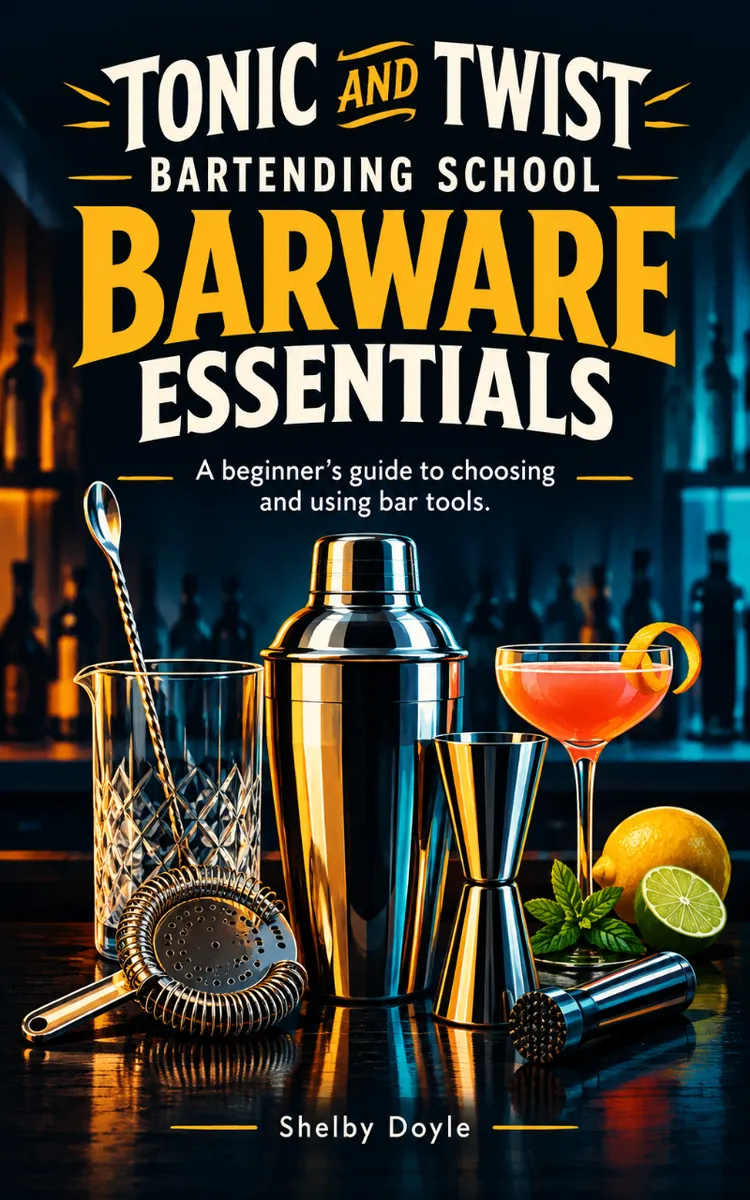
"Tonic And Twist Bartending School Barware Essentials" is a how-to guide book by Shelby Doyle with 8 chapters and approximately 12,946 words. Essential bartending tools, their functions, and basic cocktail preparation.
This book was created using Inkfluence AI, an AI-powered book generation platform that helps authors write, design, and publish complete books. It was made with the AI Ebook Generator.
Frequently Asked Questions
What is "Tonic And Twist Bartending School Barware Essentials" about?
Essential bartending tools, their functions, and basic cocktail preparation
How many chapters are in "Tonic And Twist Bartending School Barware Essentials"?
The book contains 8 chapters and approximately 12,946 words. Topics covered include Shaking Cocktails with Confidence, Measuring with a Jigger, Stirring and Layering with a Bar Spoon, Straining with a Hawthorne Strainer, and more.
Who wrote "Tonic And Twist Bartending School Barware Essentials"?
This book was written by Shelby Doyle and created using Inkfluence AI, an AI book generation platform that helps authors write, design, and publish books.
How can I create a similar how-to guide book?
You can create your own how-to guide book using Inkfluence AI. Describe your idea, choose your style, and the AI writes the full book for you. It's free to start.
Write your own how-to guide book with AI
Describe your idea and Inkfluence writes the whole thing. Free to start.
Start writingCreated with Inkfluence AI


