
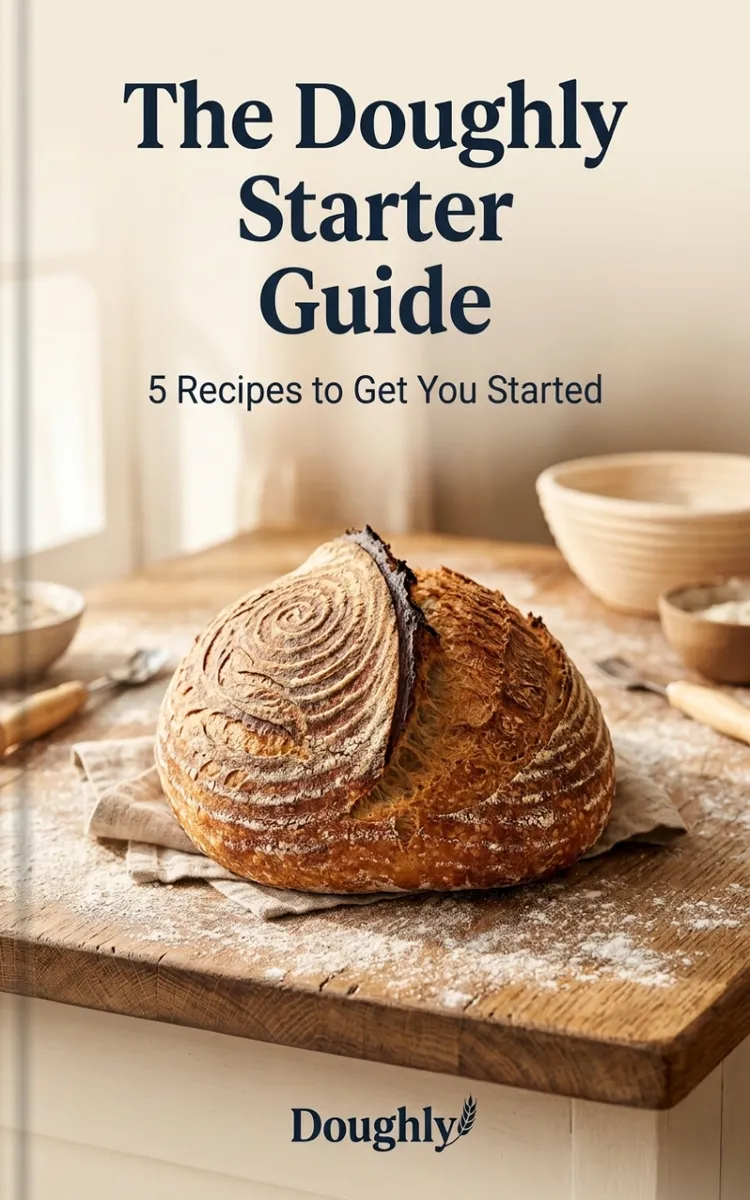
Read the first chapter
The whole of chapter one, free. About 5 min. Turn the pages with the arrows, your keyboard, or a swipe.
Chapter 1
Doughly Starter Basics
At a Glance
Prep: 10 min | Cook: 0 min | Total: 10 min | Serves: 1 starter | Difficulty: Easy.
Introduction
An active sourdough starter should look lively, bubbly, and expanded - not necessarily perfectly doubled. When your starter is ready to bake with, its surface is rounded or slightly domed, bubbles appear throughout the jar, and it smells pleasantly tangy, fruity, or mildly yeasty. This is the Doughly way to judge readiness: use the starter’s appearance, smell, and timing together rather than relying on one test.
Maintaining a starter is simply a repeating process of feeding flour and water, giving the mixture time to ferment, and using it when it reaches its strongest point. A healthy starter makes dough that rises more reliably and develops better flavor. With a jar, a kitchen scale, and the steady routine described here, you can keep fermentation on track without guessing.
Ingredients
• 50 g mature sourdough starter (about 3 tablespoons) - 50 g unbleached bread flour (about ⅓ cup plus 1 tablespoon) - 50 g whole wheat flour (about ⅓ cup plus 1 tablespoon) - 100 g water, room temperature (about ⅓ cup plus 1 tablespoon) - Additional flour and water for ongoing feedings, as needed - Clean jar or Doughly starter container - Loose-fitting lid or breathable cover - Rubber band or washable marker for marking the starting level
Instructions
1. Check the starter before feeding. Look for bubbles along the sides and across the surface. A starter that has risen and then fallen may show a streak or high-water mark on the jar. That means it was active but is now ready for food. A thin layer of dark liquid, called hooch, can also appear; stir it in or pour it off, then feed the starter.
2. Keep 50 g of starter in a clean jar. Remove and discard the rest, or save it for a discard recipe. Keeping a smaller amount prevents the starter from growing into an unnecessarily large quantity while you maintain it.
3. Add 50 g bread flour and 50 g whole wheat flour. Whole wheat flour often gives a starter a useful boost because it contains more of the natural nutrients that fermentation needs. Stir with your Doughly dough whisk or a sturdy spoon until no dry flour remains.
4. Add 100 g room-temperature water. Mix until the texture is thick but stirrable, similar to a thick pancake batter. Scrape down the sides of the jar so stray bits do not dry out.
5. Mark the starting level. Wrap a rubber band around the jar at the top of the mixture, or mark the level with a washable marker. This gives you a clear reference as the starter rises. Cover the jar loosely; it needs protection from dust but must be able to release gas.
Pro Tip: A starter usually becomes active faster in a warm room, around 24-27°C (75-80°F). If your kitchen is cooler, expect fermentation to take longer rather than adding extra starter or placing the jar on a hot surface.
6. Watch the starter over the next 4-12 hours. The exact timing depends on room temperature, flour, and starter strength. A ready starter should rise noticeably, often close to double, with bubbles visible from the bottom to the top. The top may be slightly domed before it begins to flatten.
7. Check the smell and texture. A healthy starter smells pleasantly sour, fruity, lightly nutty, or yeasty. It should hold small bubbles when stirred. A sharp acetone or nail-polish smell usually means the starter is hungry; feed it again rather than baking with it immediately.
8. Use it near its peak. For bread baking, add the starter when it has risen well and the top is still rounded or just beginning to flatten. If it has collapsed completely, feed it and wait for another rise. The optional float test - dropping a small spoonful into water - is less reliable than observing rise, bubbles, and smell.
9. Feed according to your baking schedule. For regular baking, keep the starter at room temperature and feed it every 12-24 hours. For occasional baking, feed it, let it begin rising for 1-2 hours, then refrigerate it with the lid loosely closed. Before baking, bring it out, feed it, and wait until it becomes active again.
10. Keep fermentation on track when mixing dough. Record the time you add starter, note the room temperature, and watch the dough rather than following the clock alone. During bulk fermentation, the dough should become smoother, puffier, and slightly jiggly, with bubbles at the edges. Your Doughly banneton is used later for proofing, while your Doughly lame scores the fully proofed dough just before baking.
Chef Notes & Variations
A starter is easiest to manage when you use grams. Flour packs differently in cups, but 50 g is always 50 g, which keeps each feeding consistent. If your starter rises very quickly and collapses before you can use it, feed it more flour and water or move it to a slightly cooler spot. If it barely moves after 12 hours, keep it warm, use some whole wheat flour, and continue daily feedings for several days.
For storage, keep the jar clean by wiping the inside above the starter after each feeding. Never seal an actively fermenting starter in a completely airtight jar, because pressure can build. A starter may darken slightly in the refrigerator, but pink, orange, or fuzzy growth means it should be discarded and restarted with a clean container. For a practical variation, use 100 g bread flour instead of the bread-flour and whole-wheat blend once your starter is strong and predictable. The Doughly approach stays the same: mark the level, watch the rise, and bake when the starter is bubbly and near its peak.
Quick Version
Keep 50 g starter, mix in 50 g bread flour, 50 g whole wheat flour, and 100 g room-temperature water; mark the level and wait 4-12 hours for a bubbly, risen, slightly domed starter. Feed daily at room temperature or refrigerate after it begins rising, then refresh before baking and track dough fermentation by its volume, bubbles, and feel.
End of chapter one. 4 more chapters in the full book.
Swipe or use the arrows to turn the page
What's inside: 5 chapters
- 1. Doughly Starter Basics
- 2. Classic Country Sourdough Boule
- 3. Same-Day Sourdough Sandwich Loaf
- 4. Rosemary Olive Oil Focaccia
- 5. Stuffed Jalapeño Cheddar Sourdough
About this book
"Doughly Sourdough At Home" is a cookbook by mihamiha with 5 chapters and approximately 5,558 words. Beginner-friendly sourdough bread recipes, starter care, and troubleshooting.
This book was created using Inkfluence AI, an AI-powered book generation platform that helps authors write, design, and publish complete books. It was made with the AI Cookbook Generator.
Frequently Asked Questions
What is "Doughly Sourdough At Home" about?
Beginner-friendly sourdough bread recipes, starter care, and troubleshooting
How many chapters are in "Doughly Sourdough At Home"?
The book contains 5 chapters and approximately 5,558 words. Topics covered include Doughly Starter Basics, Classic Country Sourdough Boule, Same-Day Sourdough Sandwich Loaf, Rosemary Olive Oil Focaccia, and more.
Who wrote "Doughly Sourdough At Home"?
This book was written by mihamiha and created using Inkfluence AI, an AI book generation platform that helps authors write, design, and publish books.
How can I create a similar cookbook?
You can create your own cookbook using Inkfluence AI. Describe your idea, choose your style, and the AI writes the full book for you. It's free to start.
Write your own cookbook with AI
Describe your idea and Inkfluence writes the whole thing. Free to start.
Start writingCreated with Inkfluence AI


