

Read the first chapter
The whole of chapter one, free. About 9 min. Turn the pages with the arrows, your keyboard, or a swipe.
Chapter 1
Neutral Spine and Natural Curves
The Three Curves Compass: Finding Your Starting Point
A plumber set down a toolbox, turned toward a customer, and noticed that his head had been drifting forward all morning. He did not need to force himself into a rigid pose to improve it. He only needed to let his head come back over his ribs, allow his ribs to settle over his pelvis, and keep both feet sharing the floor. The change was small, but his whole stance looked less like a leaning tower and more like a stack of stones.
The spine isn't a straight rod, but a series of gentle curves that share weight and allow movement. From the side, it has three gentle curves: the neck curves slightly inward, the upper back curves outward, and the lower back curves inward. Together, these curves help spread the weight of your head, ribs, and pelvis while giving the spine room to move. The goal is not a frozen “perfect posture.” It is a comfortable, balanced position you can leave and return to throughout the day.
Who this is for: anyone who stands, walks, lifts, works at a counter, drives, or spends time looking down at a phone. The main benefits are practical: you can recognize when your weight has shifted, reduce unnecessary joint strain, and make small posture adjustments without bracing or holding your breath. Use the Three-Curve Compass as a simple guide: notice the neck, upper-back, and lower-back curves, then check whether your head, ribs, pelvis, and feet are cooperating.
A better test than looks is: can you stand tall while still breathing easily? That question is more useful than asking whether you look perfectly straight. A balanced posture should feel available, not like a pose you must defend.
How the Spine Shares the Load
The spine’s curves act somewhat like the arches in a well-built structure. The cervical curve, in the neck, supports the head and allows it to turn and tilt. The thoracic curve, in the upper and middle back, helps support the ribs and provides a stable base for the shoulder blades. The lumbar curve, in the lower back, helps place the pelvis beneath the trunk and allows the lower spine to move during walking, reaching, and lifting.
These curves do not work alone. The spine is part of a connected chain that includes the feet, ankles, knees, hips, pelvis, ribs, shoulders, and head. If your weight moves toward your toes, your ankles and hips may adjust to keep you from falling. If your pelvis tips far forward, the lower-back curve may become more noticeable. If your ribs shift forward or flare upward, your neck may move ahead of your body so your eyes can stay level. One change can invite another.
A forward head position is a familiar example. Looking down at a phone for several minutes may cause the head to travel in front of the ribs. The neck muscles then work to hold the head up while the upper back rounds and the shoulders drift forward. This does not mean every period of phone use causes harm, or that a single posture is dangerous. It means that long, repeated positions can increase joint strain, the extra demand placed on joints and nearby tissues when force is not shared well.
Several everyday factors can make balanced standing harder:
• Habit and repetition: Standing with one hip pushed out, leaning on a counter, or looking down for long periods teaches the body to return to that shape.
• Limited movement options: Stiff ankles, hips, or upper-back joints can make it difficult to place the body comfortably over the feet.
• Fatigue: When you are tired, the head may drift forward, the ribs may sink, or the pelvis may shift to one side.
• Work setup: A low screen, high workbench, or tool held repeatedly on one side can encourage a lasting lean.
• Effort and tension: Trying too hard to “stand straight” can create rigid knees, clenched abdominal muscles, lifted shoulders, and shallow breathing.
A balanced stance usually has a few recognizable features. Your feet are roughly hip-width apart, with pressure shared between the heel, the base of the big toe, and the base of the little toe. Your knees are soft rather than locked. Your pelvis rests near the middle - not dramatically tipped forward or tucked under. Your ribs sit over your pelvis, and your head is gently over your ribs rather than reaching ahead. Your shoulders can relax, and your breath can move without interruption.
You don't need exact angles to find a comfortable posture. Bodies differ, and a comfortable posture may look slightly different from person to person. The useful test is whether you can maintain the position without gripping, pain, dizziness, or the feeling that you are holding yourself up by force.
The takeaway is simple: alignment is weight-sharing, not straightening. Notice where your weight is going, then give the three curves enough room to do their work.
Practicing the Three-Curve Compass
Begin with a two-minute standing check once or twice each day, preferably when you are not rushed. Stand near a wall or full-length mirror if that helps, but do not press your body flat against the wall. Place your feet about hip-width apart. Feel three contact areas under each foot: the heel, the base of the big toe, and the base of the little toe.
Next, soften your knees. Let your pelvis settle without forcing it forward or tucking it sharply under. Place your ribs above your pelvis as though the lower edge of your rib cage is floating over your hip bones. Let your shoulders hang, then allow your head to glide slightly back until your ears are nearer to the middle of your shoulders. Keep your eyes level and breathe normally for five slow breaths.
Use the Three-Curve Compass in this order:
• Neck curve: Is your chin reaching forward, or can your head rest above your ribs without being pulled backward?
• Upper-back curve: Are your shoulders rounding heavily, or can your shoulder blades rest without being squeezed together?
• Lower-back curve: Is your lower back being pushed into an exaggerated arch, or can your pelvis and ribs stack comfortably?
After the check, walk for 30 seconds. A useful posture should survive movement. If the position disappears as soon as you take a step, it may have been an overcorrected pose rather than a natural alignment.
Do the two-minute check once or twice daily for the first week. During the second week, add three brief check-ins during activities that commonly pull you out of balance: while using your phone, standing at a workbench, or waiting in line. Each check-in can last three breaths. During the third week, practice returning to balance after movement: reach overhead, turn to one side, or pick up a light object, then recheck your feet, ribs, pelvis, and head. Progress means returning more easily, not holding one posture for longer.
A phone can be a useful tool for learning. Ask someone to take a side-view photo while you stand naturally, then another after you make the gentle adjustments above. Keep the camera at about chest height and stand several feet away so the image is not distorted. Use the photos to notice patterns, not to judge your body. You may see that your head, ribs, or pelvis moves forward as the day goes on. That observation gives you a place to practice.
When standing for work, change position at least every 30 minutes. You do not need a formal exercise break: shift your feet, take a short walk, or place one foot on a low step for a minute before switching sides. If you sit for long periods, stand and move for two to three minutes at least once every hour. These intervals are not magic rules; they are reminders that variety gives joints a chance to share the load differently.
Stop the practice and seek advice from a licensed health professional if standing or adjusting brings on new or worsening pain, numbness, tingling, weakness, loss of coordination, faintness, or pain that travels into an arm or leg. Seek prompt medical attention for sudden severe symptoms, new loss of bladder or bowel control, or difficulty walking. A professional can help determine whether a posture habit is the main issue or whether another factor needs attention. Do not push through warning signs in an effort to make your posture look better.
Here is a quick comparison:
Forced posture
Balanced posture
Knees locked and shoulders held back
Knees soft and shoulders relaxed
Breath feels restricted
Breath remains easy
Head pulled sharply backward
Head rests gently over the ribs
Position requires constant effort
Position can adjust during movement
Focus is on looking straight
Focus is on sharing weight comfortably
The practical takeaway: practice briefly, repeat often, and judge success by easier breathing and smoother movement - not by how rigidly upright you can stand.
Common Errors When Reading Your Alignment
Mistake: Pulling the shoulders back and squeezing them together
Why it happens: Many people are told to “sit up straight” or “stand tall,” so they treat the shoulder blades as handles that must be pinned in place. This may lift the chest temporarily, but it can also tighten the upper back and make breathing feel restricted. It does not necessarily bring the head over the ribs.
What to do instead: Let the shoulders drop first. Then think of widening across the collarbones while keeping the ribs quiet and the neck relaxed. Hold that easier position for five breaths, release it, and repeat once or twice. The goal is room around the shoulders, not a military pose.
Mistake: Tucking the pelvis hard to flatten the lower back
Why it happens: A visible lower-back curve is often treated as a flaw, even though a lumbar curve is a normal part of spinal structure. Over-tucking can shift the weight toward the heels, stiffen the hips, and make the upper body compensate.
What to do instead: Keep the three foot contact points, soften the knees, and allow the pelvis to settle between a forward tip and a strong tuck. Place your hands on the front of your hip bones and notice whether they move dramatically when you “correct” yourself. Use the smallest adjustment that lets your ribs rest over your pelvis.
Mistake: Treating one snapshot as your permanent posture
Why it happens: A mirror or photograph captures one moment, while real bodies constantly adjust for breathing, balance, fatigue, footwear, and the task at hand. Chasing one exact position can create unnecessary tension.
What to do instead: Check your alignment at three different times for one week - early in the day, during work, and in the evening. Notice what changes and what stays comfortable. Then practice returning to balance for three breaths rather than trying to hold one shape all day.
The spine’s curves are not cracks in a tower waiting to be corrected. They are part of the structure that lets you stand, turn, walk, and carry weight. When your feet, pelvis, ribs, and head share the load, the body has more choices and less need to brace. Keep using the Three-Curve Compass as a quiet check: neck, upper back, lower back. In time, standing tall becomes less about forcing the stones into place and more about letting them settle into a steady, living stack.
End of chapter one. 7 more chapters and about 14,438 words in the full book.
Swipe or use the arrows to turn the page


What's inside: 8 chapters
- 1. Neutral Spine and Natural Curves
- 2. Text Neck and Forward Head Posture
- 3. Shoulder Position and Upper-Back Tension
- 4. Pelvic Alignment and Lower-Back Load
- 5. Kinetic Chains from Feet to Spine
- 6. Joint Strain During Sitting and Lifting
- 7. Ergonomic Workstation Adjustments
- 8. Posture Habits for Lasting Mobility
About this book
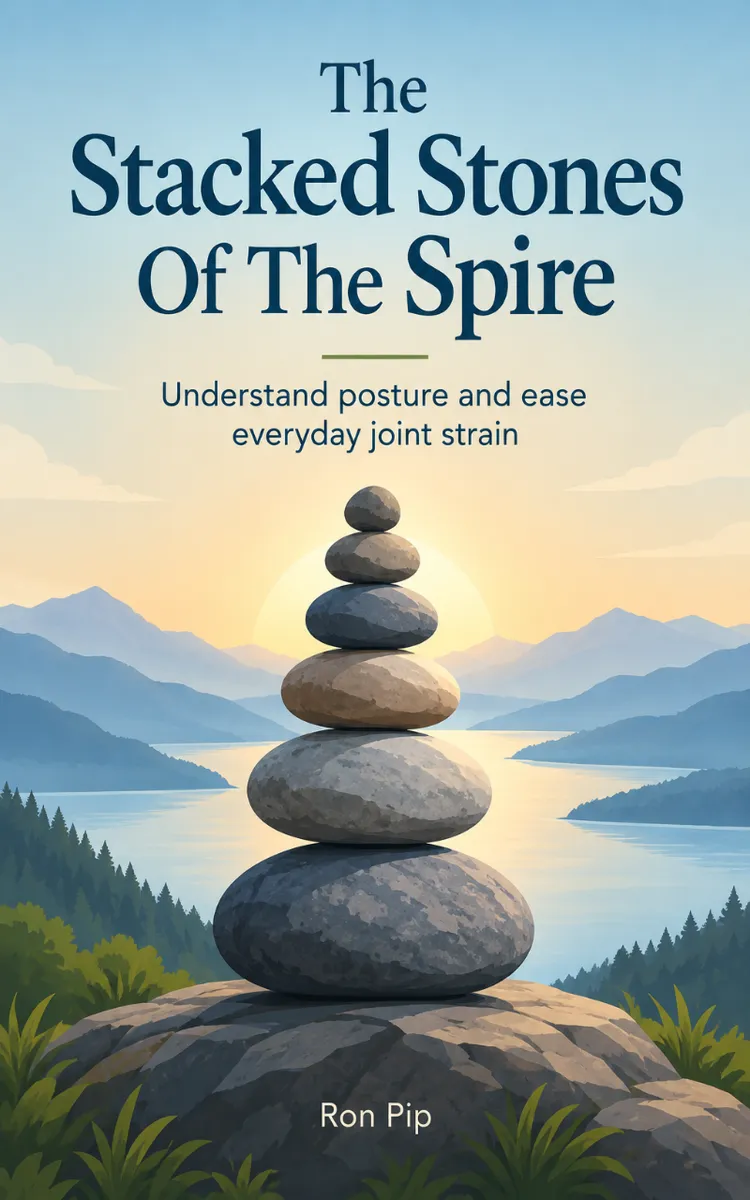
"The Stacked Stones Of The Spire" is a health & wellness book by Ron Pip with 8 chapters and approximately 14,438 words. A plumber noticed his head had been drifting forward all morning. He didn’t need to lock himself into a rigid pose.
This book was created using Inkfluence AI, an AI-powered book generation platform that helps authors write, design, and publish complete books. It was made with the AI Health Book Generator.
Frequently Asked Questions
What is "The Stacked Stones Of The Spire" about?
A plumber noticed his head had been drifting forward all morning. He didn’t need to lock himself into a rigid pose. He brought his head back over his ribs, let his ribs settle over his pelvis, and shared his weight between both feet. Small change, steadier stance. The Stacked Stones of the Spire explains how your spine’s three natural curves help distribute weight, and how a phone held low or shoulders kept forward can change the work your joints do. You’ll learn the Three-Curve Compass to check your alignment, the Shoulder-Shelf Map to understand shoulder position, and simple ways to interrupt long stretches of screen time. Across eight accessible chapters, posture becomes something you can notice and adjust, not a perfect pose you have to hold. Start with your feet on the floor and see how the rest of the stack feels.
How many chapters are in "The Stacked Stones Of The Spire"?
The book contains 8 chapters and approximately 14,438 words. Topics covered include Neutral Spine and Natural Curves, Text Neck and Forward Head Posture, Shoulder Position and Upper-Back Tension, Pelvic Alignment and Lower-Back Load, and more.
Who wrote "The Stacked Stones Of The Spire"?
This book was written by Ron Pip and created using Inkfluence AI, an AI book generation platform that helps authors write, design, and publish books.
How can I create a similar health & wellness book?
You can create your own health & wellness book using Inkfluence AI. Describe your idea, choose your style, and the AI writes the full book for you. It's free to start.
Write your own health & wellness book with AI
Describe your idea and Inkfluence writes the whole thing. Free to start.
Start writingCreated with Inkfluence AI


