
Read the first chapter
The whole of chapter one, free. About 8 min. Turn the pages with the arrows, your keyboard, or a swipe.
Chapter 1
Your Cleaning Mission Checklist
Why a Room-by-Room Mission Matters
Have you ever finished cleaning a room, only to notice fingerprints on the light switch, dust along the baseboard, or crumbs under the table? Missed spots usually do not come from laziness. They happen when you clean by memory and move from one task to another without a fixed route.
A room-by-room checklist solves that problem by giving your eyes and hands a clear order. You know where to begin, which surfaces to cover, and when the room is finished. The checklist also keeps you from carrying dirty tools into clean areas. After using it, you can clean a small home in steady sections instead of wandering from room to room and repeating work.
The goal is not to make every room spotless in one exhausting session. The goal is to complete a clear mission: remove clutter, clean high surfaces before low ones, handle touch points, and finish the floor. Ask yourself, “Could another person follow my list without asking what I meant?” If the answer is yes, your checklist is doing its job.
Build the 5-Minute Mission Plan
The 5-Minute Mission Plan is a short planning routine you complete before cleaning. Spend five minutes writing the rooms you will clean, choosing the order, and noting any special surface or problem. This small pause prevents missed areas because you make decisions before dirt, sprays, and laundry distract you.
Use these five parts:
1. Name the rooms. Write each room on paper or in your phone, such as kitchen, bathroom, bedroom, and living room. Listing rooms creates a finish line and prevents you from forgetting a small space, such as a hallway or entryway.
2. Choose a route. Start with the room farthest from the exit and finish near the door. This route reduces the chance of walking through a freshly cleaned floor. If you clean the kitchen last, you can also wash and put away tools there.
3. Divide each room into zones. Use simple zones: high surfaces, furniture, touch points, lower edges, and floor. Zones stop your eyes from skipping small areas. For example, the bathroom touch-point zone includes the faucet handle, toilet handle, light switch, and door handle.
4. Write the special jobs. Add details such as “wipe grease from cabinet doors,” “remove toothpaste from the sink,” or “vacuum under the sofa.” A short note directs attention to the spots that need more than a quick pass.
5. Set the finish check. Leave two minutes at the end of each room to compare the room with the list. This check catches visible misses before you pack away your supplies.
Now turn each room into a repeatable checklist. Work from top to bottom because dust and loosened dirt fall downward. Work from dry to wet when possible because dry dusting first prevents muddy smears. Clean from cleaner areas toward dirtier areas so you do not spread grime across a surface.
A basic room card might look like this:
| Room | High surfaces | Main surfaces | Touch points | Lower edges | Floor | |---|---|---|---|---|---| | Kitchen | Cabinet tops, range hood | Counters, table, appliance fronts | Handles, switches, faucet | Baseboards, kick plates | Sweep, then mop | | Bathroom | Mirror, shelf tops | Sink, counter, shower walls | Faucet, toilet handle, door handle | Toilet base, floor edges | Sweep, then mop | | Bedroom | Fan, lamps, dresser top | Bedside tables, dresser | Door handle, switches | Baseboards, under bed edge | Vacuum | | Living room | Shelves, lamp tops | Tables, sofa surfaces | Remote, handles, switches | Baseboards, corners | Vacuum |
Use a separate cloth for the bathroom and kitchen when possible. If you use one cloth in several rooms, wash or replace it before moving on. Otherwise, you can carry bathroom residue to a dining table or kitchen counter. Choose a cleaner based on the surface label, and test it on a hidden area first. A product that works on sealed tile may damage unfinished wood or natural stone.
For a beginner, the checklist should stay short enough to use. Do not list every object in the home. List the zones and the few details most likely to be missed. The best checklist guides your hands without forcing you to stop and read every line. Your practical takeaway: write one room card today, then check whether it moves from high surfaces to the floor without backtracking.
Tanya’s First-Renter Cleaning Route
Tanya, 32, has just moved into a two-bedroom rental. She wants to clean the kitchen, bathroom, bedroom, living room, and entryway on Saturday morning. She has two microfiber cloths, a vacuum, a broom, a mop, a bucket, dish soap, an all-purpose cleaner, and a bathroom cleaner. Her checklist must keep her on track without damaging rental surfaces.
She completes the 5-Minute Mission Plan before opening any cleaner:
1. She writes the room order. Tanya chooses bedroom, living room, bathroom, kitchen, and entryway. She starts with the bedroom because it sits farthest from the front door and finishes with the entryway because it receives foot traffic. Expected outcome: she avoids walking over a freshly mopped area.
2. She prepares supplies by purpose. Tanya places one cloth with the bathroom cleaner and keeps the second cloth for general surfaces. She sets the vacuum near the bedroom and the broom and mop near the kitchen. Expected outcome: she spends less time searching and avoids using the bathroom cloth elsewhere.
3. She cleans the bedroom in zones. She removes clothes from the floor, dusts the ceiling fan and lamp tops, wipes the dresser and bedside tables, checks the light switch and door handle, dusts the baseboards, and vacuums. She moves the vacuum under the bed edge instead of trying to reach the entire space. Expected outcome: the room looks finished without requiring a full furniture rearrangement.
4. She follows the same pattern in the living room. Tanya clears the coffee table, dusts the television stand and shelves from top to bottom, wipes the table, checks the remote and light switches, brushes crumbs from the sofa seams, and vacuums along the wall and under the coffee table. Expected outcome: the checklist catches the remote and sofa edges, two spots she usually forgets.
5. She handles the bathroom carefully. Tanya opens the window, removes bottles from the counter, cleans the mirror, wipes the sink and faucet, applies bathroom cleaner to the toilet according to the label, and cleans the shower wall. She wipes the door handle and light switch with a lightly damp cloth, then cleans the toilet base and floor edges. She sweeps before mopping. Expected outcome: the floor receives the last dirty task, and the touch points do not remain overlooked.
6. She checks the kitchen surface by surface. Tanya clears the counter, wipes cabinet handles, cleans the backsplash, wipes the counter, table, appliance fronts, faucet, and sink, then sweeps under the table and around the kick plates. She mops last. Expected outcome: crumbs and grease move toward the floor before she removes them.
7. She finishes the entryway. Tanya shakes out the mat if the rental rules allow it, wipes the door handle and light switch, dusts the baseboard, sweeps, and mops. She leaves the floor to dry before returning supplies. Expected outcome: the first area people see looks clean, and no later foot traffic soils it.
8. She performs the two-minute room check. Tanya stands at the doorway of each room and scans from ceiling height to floor. She asks, “Can I see dust, streaks, crumbs, or fingerprints?” She finds toothpaste near the bathroom faucet and a fingerprint on the refrigerator handle, then fixes both. Expected outcome: each room passes a visible check instead of relying on memory.
Quick checklist
• Write every room before cleaning. - Start farthest from the exit. - Clear clutter before wiping. - Work high to low. - Dust before using a wet cleaner. - Wipe touch points separately. - Check baseboards, corners, and furniture edges. - Clean floors last. - Keep bathroom tools away from food areas. - Stand at the doorway for a final scan.
Tanya’s result does not depend on cleaning faster. It depends on completing the same zones in the same order. Your practical takeaway: use the doorway scan as your final test. If you can spot a missed area from the entrance, your checklist needs one more line.
Mistakes That Break the Checklist
Starting with the floor
A clean floor attracts dust from shelves, crumbs from tables, and hair from furniture. When you clean the floor first, you create extra work and may leave the floor dirty again.
Do this: Dust shelves, tables, counters, and baseboards first. Vacuum or mop after you finish those zones.
Not this: Mop the kitchen, then wipe crumbs from the counter and watch them fall onto the wet floor.
Making one list for every room
A single list that says “dust, wipe, vacuum” may seem simple, but it does not remind you about room-specific misses. Bathrooms need toilet bases and faucet handles. Kitchens need cabinet pulls and appliance fronts. Bedrooms need under-bed edges and lamp switches.
Do this: Keep the same five zones but add one or two room-specific reminders. Write “shower corners” for the bathroom and “refrigerator handle” for the kitchen.
Not this: Use a vague line such as “clean bathroom” and assume you will remember every surface.
Using the same cloth everywhere
A cloth that wiped a toilet area should not wipe a counter where you prepare food. Even when a cloth looks clean, it can carry residue into another room.
Do this: Mark cloths by room with different colors, or wash and replace them before changing rooms. Use only a lightly damp cloth on switches and keep liquid away from electrical openings.
Not this: Carry the bathroom cloth into the kitchen because the kitchen “only needs a quick wipe.”
A checklist also needs room for unusual conditions. If a surface feels sticky after wiping, check whether the cleaner left residue and follow the product label. If a mark remains on painted walls, stop scrubbing hard; strong pressure can remove paint. If a rental has delicate wood, stone, or unknown finishes, test the cleaner in a hidden spot before adding that task to your regular list.
Keep the final checklist where you can reach it: on the refrigerator, inside a cleaning caddy, or in a phone note. Cross off rooms as you finish them, then revise the list when you discover a repeated miss. A useful checklist grows from real cleaning, one overlooked handle, corner, and baseboard at a time.
End of chapter one. 7 more chapters in the full book.
Swipe or use the arrows to turn the page


What's inside: 8 chapters
- 1. Your Cleaning Mission Checklist
- 2. The Right Order: Clean Top to Bottom
- 3. Microfiber Mastery for Streak-Free Shine
- 4. Kitchen Degreasing Without Overkill
- 5. Bathroom Limescale and Soap Scum Removal
- 6. Laundry Stain Treatment by Fabric Type
- 7. Floor Care: Vacuuming, Mopping, and Drying
- 8. Preventing Re-Mess with Weekly Maintenance
About this book
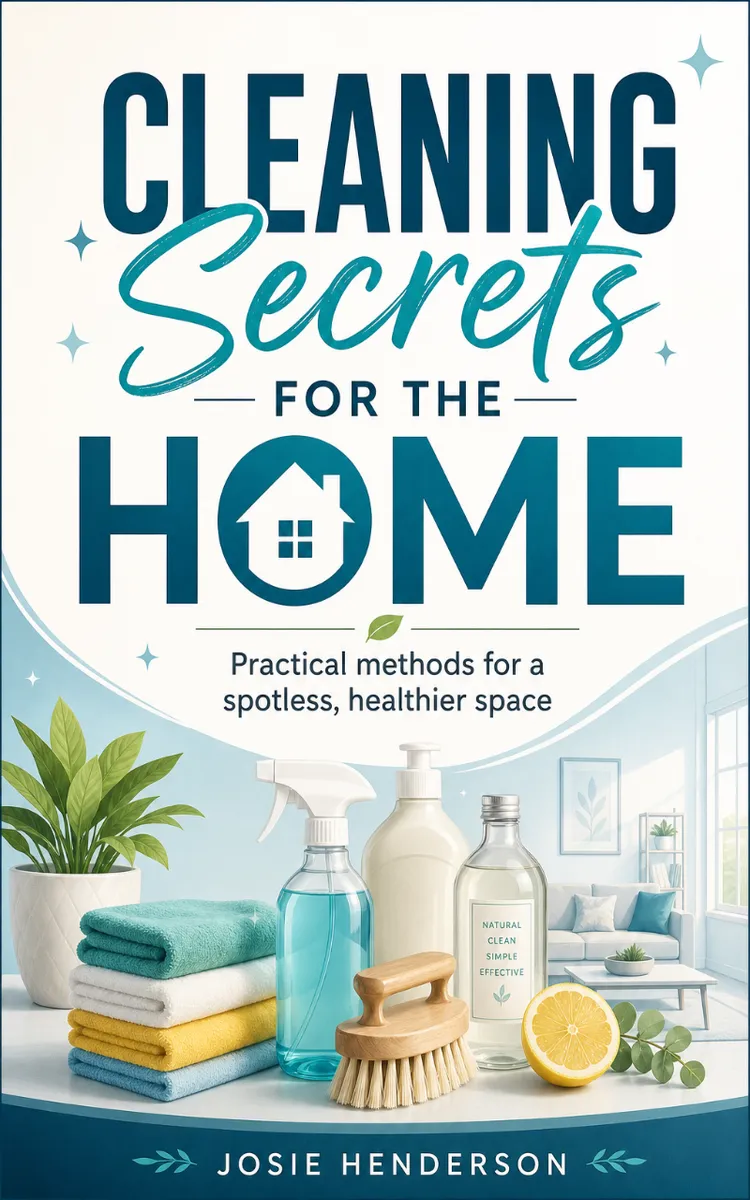
"Cleaning Secrets For The Home" is a how-to guide book by Josie Henderson with 8 chapters and approximately 14,686 words. Home cleaning techniques, tips, and methods for different surfaces.
This book was created using Inkfluence AI, an AI-powered book generation platform that helps authors write, design, and publish complete books. It was made with the AI Ebook Generator.
Frequently Asked Questions
What is "Cleaning Secrets For The Home" about?
Home cleaning techniques, tips, and methods for different surfaces
How many chapters are in "Cleaning Secrets For The Home"?
The book contains 8 chapters and approximately 14,686 words. Topics covered include Your Cleaning Mission Checklist, The Right Order: Clean Top to Bottom, Microfiber Mastery for Streak-Free Shine, Kitchen Degreasing Without Overkill, and more.
Who wrote "Cleaning Secrets For The Home"?
This book was written by Josie Henderson and created using Inkfluence AI, an AI book generation platform that helps authors write, design, and publish books.
How can I create a similar how-to guide book?
You can create your own how-to guide book using Inkfluence AI. Describe your idea, choose your style, and the AI writes the full book for you. It's free to start.
Write your own how-to guide book with AI
Describe your idea and Inkfluence writes the whole thing. Free to start.
Start writingCreated with Inkfluence AI


