

Read the first chapter
The whole of chapter one, free. About 8 min. Turn the pages with the arrows, your keyboard, or a swipe.
Chapter 1
Choosing Your Survival Garden Site
Start With the Safest Patch of Ground
Could your garden still produce food after a week without reliable water, a heavy storm, or an unexpected visit from hungry animals? The answer depends less on the size of your property than on where you place each bed. A sunny corner with poor drainage can drown seedlings, while a convenient spot beside the house may sit in deep shade for most of the day.
A survival garden needs steady sunlight, dependable water, workable soil, and protection from predictable risks. The right site reduces daily labor, helps plants grow strongly, and gives you more options when supplies or utilities fail. The wrong site can force you to haul water uphill, rebuild beds after runoff, or abandon crops because tree roots have taken over.
Use the Site-Sun-Water-Safety Checklist to compare possible locations before you dig. By the end, you will know how to measure sunlight, test water access, read soil clues, identify hazards, and choose a practical garden area. You will also know when to divide the garden into more than one site rather than forcing every crop into one poor location. Ask yourself first: which part of your property can keep producing when convenience disappears?
Apply the Site-Sun-Water-Safety Checklist
Walk the property with a notebook, a tape measure, a shovel, and a phone or simple camera. Mark each possible site on a rough sketch. Do not trust a single visit. Sun changes with the season, wet spots appear after rain, and shadows shift as the day progresses. Check each location at morning, midday, and late afternoon, then revisit it after rainfall if possible.
Use the checklist in this order:
1. Site: Mark the boundaries, slope, access path, and nearby structures. Choose ground that you can reach with a wheelbarrow and inspect easily. A garden hidden behind a shed may seem private, but poor access makes watering, harvesting, and emergency repairs harder. 2. Sun: Track direct sunlight rather than general brightness. Most food crops need several hours of unobstructed sun, especially fruiting crops such as tomatoes, beans, cucumbers, and squash. Leafy greens tolerate more shade, so reserve the brightest area for crops that need it most. 3. Water: Identify the nearest dependable source and measure the route. A hose that reaches the bed during normal service may fail during a power outage if your well pump stops. Include rain barrels, storage tanks, hand pumps, or a nearby roof that can collect rainwater. 4. Safety: Look for flooding, falling branches, chemical exposure, animals, theft, and fire risk. A site beside a road may collect dust and salt, while a low corner may receive runoff from a driveway. Place beds where you can protect them without creating a daily burden. 5. Checklist result: Compare the findings and reject sites with one serious, unfixable problem. You can improve soil and add fencing, but you cannot easily move a mature tree or stop a downhill flood path.
Sunlight deserves careful attention because “bright” does not always mean “sunny.” Stand at the proposed bed and record the shadow line every two hours. A six-foot fence can shade a narrow bed in the morning or afternoon. A large tree can cast moving shade across the entire area and compete with vegetables for water. Place tall crops on the side that will not shade shorter crops during the strongest growing hours.
Water access includes more than distance. Test the route with two full watering cans or a loaded garden cart. If carrying water from a spigot requires repeated trips over uneven ground, the site may become difficult during illness, injury, or a utility failure. Check whether the ground slopes away from the source, whether a hose crosses a walkway, and whether freezing weather will damage exposed plumbing. Water should reach the garden without creating a new hazard.
Soil clues help you decide whether improvement makes sense. Dig a hole about 12 inches deep and examine the soil in several places. Dark, crumbly soil usually supports roots better than hard, pale, or strongly compacted soil. Smell the hole; a sour or rotten odor can signal standing water and poor air movement. Look for construction debris, oily patches, buried ash, or layers of fill. If the property once held a building, workshop, or treated lumber, send samples to a local soil-testing laboratory before growing food there. A test can reveal acidity and nutrient problems that your eyes cannot.
Finish by ranking each site rather than choosing by instinct. Give every location a simple mark - good, workable, or reject - for sunlight, water, soil, and safety. A site with slightly poor soil may beat a site with excellent soil but regular flooding. The best location usually needs manageable improvements, not a complete rescue. Your practical takeaway: choose the place that remains usable when watering, hauling, and protecting crops require extra effort.
Compare Two Sites Before You Commit
A small property often offers two competing choices: a sunny open strip near the driveway and a level backyard area near a water spigot. The following process shows how to compare them without guessing.
1. Map both areas. Measure a 20-by-30-foot rectangle at each site. Mark fences, trees, buildings, gates, and the distance to water. This gives you a realistic picture of usable growing space rather than counting ground that equipment cannot reach. 2. Record sunlight. Visit at 8 a.m., noon, 2 p.m., and 5 p.m. At the open strip, record direct sun at all four times. At the backyard site, record direct sun at noon and 2 p.m. but shade at the other visits. Expect the open strip to suit tomatoes, peppers, beans, and squash better. 3. Test water effort. Fill a 2-gallon watering can and walk from the spigot to each site. The backyard requires a 40-foot level walk. The open strip requires a 90-foot walk across a sloped edge beside the driveway. Expect the shorter route to save time and reduce spill risk, but check whether a hose can safely reach the open strip. 4. Inspect drainage. After rain, dig a 12-inch hole in each area and fill it with water. If water remains for hours, mark that site as a drainage problem. The open strip drains within a reasonable period, while the backyard hole still holds water the next morning. Reject the backyard for root crops unless you can raise the beds and redirect runoff. 5. Check soil clues. Take three soil samples from each rectangle, remove stones and plant debris, and mix each site’s samples in separate clean containers. Send both samples for testing. Suppose the open strip shows compacted soil from vehicle traffic, while the backyard shows dark soil but a sour smell and gray streaks. The open strip needs loosening and compost; the backyard needs drainage work before planting. 6. Inspect risks. The open strip sits beside a road and needs a low barrier to keep splash and pets away. The backyard sits below a roof downspout, so heavy rain can wash through the beds. Move the backyard beds away from the downspout or install a clear drainage route. 7. Choose the workable design. Use the open strip for sun-loving crops after loosening the top layer and adding finished compost according to soil-test guidance. Use a small, raised section of the backyard for leafy greens only if drainage improves. Expect the open strip to become the main production area because it combines strong sun, acceptable drainage, and reachable water.
Create a quick checklist before you make the final choice:
• Mark each site on a property sketch. - Record sunlight at four times of day. - Measure the walking distance to water. - Test soil from at least three spots per site. - Inspect the area after rain. - Check runoff from roofs, driveways, and slopes. - Look for falling branches, animals, road splash, and fire hazards. - Reject any site with contamination concerns until testing clears it. - Rank sites as good, workable, or reject. - Select the site that needs the fewest major changes.
The expected outcome is not a perfect patch. It is a location where you can plant, water, inspect, and protect crops under ordinary conditions and during disruption. Your takeaway: measure the work before you create the work.
Avoid Sites That Create Hidden Problems
Mistaking bright shade for usable sun
A yard can look bright while a tree or building blocks direct light during the hours crops need it most. Tomatoes may grow leaves but produce poorly, and seedlings may stretch toward open sky.
Do this: Record direct sun at several times and place sun-loving crops in the brightest area. Use partial shade for crops that tolerate it, such as some leafy greens.
Not this: Choose a bed because it looks bright during one quick visit.
Relying on a convenient faucet
A nearby spigot helps, but it may depend on an electric well pump, a long hose, or plumbing that freezes. During a power outage, the faucet may provide nothing.
Do this: Identify a backup water source and test how you will move water by hand. Store only safe, covered water and follow local guidance for rainwater use.
Not this: Assume normal household water will always reach the garden.
Planting in a low spot or runoff path
Low ground often collects water from roofs, lawns, and driveways. Saturated roots cannot breathe, and runoff may carry fuel, salt, pesticides, or other unwanted material.
Do this: Visit after rain, trace where water travels, and move beds uphill or redirect clean runoff before planting.
Not this: Build beds in the lowest place simply because the soil looks dark and soft.
Ignoring trees, buried material, and property risks
Tree roots compete with vegetables and can lift beds. Old construction fill may contain debris or contamination. A garden beside a road may receive dust, salt, or vehicle splash.
Do this: Dig inspection holes, check old property records when available, test questionable soil, and keep beds away from falling limbs and traffic splash.
Not this: Treat every unused patch as safe growing ground.
A strong site does not remove every challenge, but it prevents avoidable ones. Once you choose ground with reliable sun, reachable water, readable soil, and manageable risks, your garden starts with an advantage that no later amendment can fully replace. The location becomes the first tool in your food-growing system.
End of chapter one. 7 more chapters and about 15,216 words in the full book.
Swipe or use the arrows to turn the page


What's inside: 8 chapters
- 1. Choosing Your Survival Garden Site
- 2. Soil Testing and Fast Soil Fixes
- 3. Raised Beds, Layout, and Crop Zoning
- 4. Composting for Reliable Fertility
- 5. Seed Starting and Transplant Timing
- 6. Watering Systems and Drought Proofing
- 7. Pest Management Without Chemicals
- 8. Harvesting, Storing, and Seed Saving
About this book
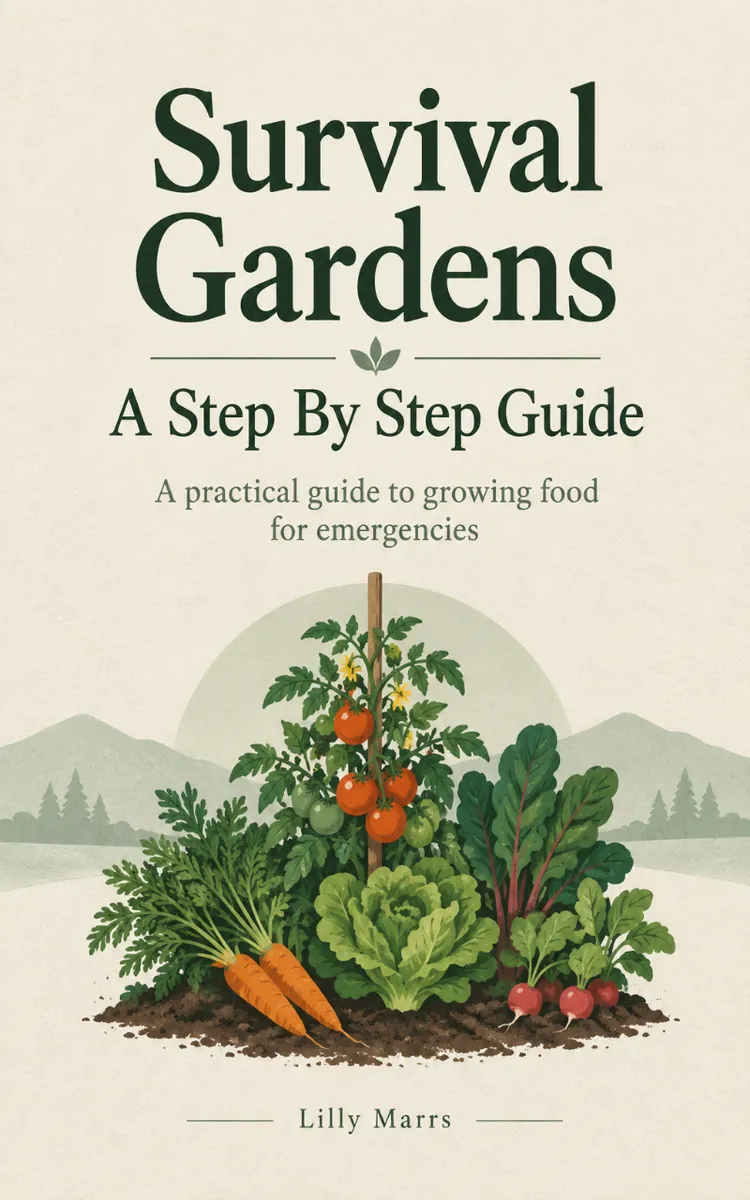
"Survival Gardens Step By Step" is a how-to guide book by Lilly Marrs with 8 chapters and approximately 15,216 words. Planning and building survival gardens for emergency food production.
This book was created using Inkfluence AI, an AI-powered book generation platform that helps authors write, design, and publish complete books. It was made with the AI Ebook Generator.
Frequently Asked Questions
What is "Survival Gardens Step By Step" about?
Planning and building survival gardens for emergency food production
How many chapters are in "Survival Gardens Step By Step"?
The book contains 8 chapters and approximately 15,216 words. Topics covered include Choosing Your Survival Garden Site, Soil Testing and Fast Soil Fixes, Raised Beds, Layout, and Crop Zoning, Composting for Reliable Fertility, and more.
Who wrote "Survival Gardens Step By Step"?
This book was written by Lilly Marrs and created using Inkfluence AI, an AI book generation platform that helps authors write, design, and publish books.
How can I create a similar how-to guide book?
You can create your own how-to guide book using Inkfluence AI. Describe your idea, choose your style, and the AI writes the full book for you. It's free to start.
Write your own how-to guide book with AI
Describe your idea and Inkfluence writes the whole thing. Free to start.
Start writingCreated with Inkfluence AI


