

Read the first chapter
The whole of chapter one, free. About 8 min. Turn the pages with the arrows, your keyboard, or a swipe.
Chapter 1
Kitchen Counter Reset Checklist
What This Helps You Do
A crowded counter turns simple tasks into obstacle courses: the toaster blocks the outlet, unopened mail covers the cutting board, and three appliances compete for the same small patch of workspace. The 5-Minute Counter Triage clears those obstacles quickly so you can prepare food, clean up, and move through the kitchen with less friction.
Use this checklist when counters feel full, appliances collect dust, or daily tasks require moving several items first. It suits homeowners and renters alike, whether the kitchen has one short counter or several work zones.
Before You Start
Set up a temporary sorting area before touching the counter. Use the floor, dining table, or a cleared chair, but keep the area away from food preparation. You will sort items into four groups: keep here, relocate, store, and remove.
Gather these supplies:
• One empty box or laundry basket
• One trash bag
• One donation bag or box
• A microfiber cloth
• Mild kitchen cleaner
• A timer set for five minutes
• A measuring tape
• A phone for appliance manuals or model checks
Unplug small appliances before moving or cleaning them. Do not spray cleaner directly into vents, buttons, outlets, or electrical connections. Wipe cords separately and let surfaces dry before plugging appliances back in.
Choose a clear stopping point. A counter reset works best when you finish one continuous section rather than scattering items across the entire kitchen. If the counter is heavily crowded, work from left to right in sections about 24 inches wide.
Before sorting, identify the jobs each counter area must support. A space beside the stove may need to hold cooking tools, while a section beside the sink may need to stay open for washing and draining. This prevents the common mistake of clearing a counter without making it useful.
Use these quick standards:
• Keep at least one food-preparation area open.
• Leave appliance vents uncovered.
• Keep cords away from sinks and burners.
• Maintain access to every outlet you use.
• Store items where you can return them easily.
The goal is not an empty kitchen. The goal is a counter that supports the work you do there.
Checklist Items
Start the 5-Minute Counter Triage
Begin the timer and move quickly. Do not clean, read papers, test appliances, or make detailed decisions during this first pass. The triage separates obvious clutter from items that need a closer look.
☐ Set a five-minute timer.
☐ Remove trash, receipts, and empty packaging.
☐ Move dirty dishes to the sink or dishwasher.
☐ Gather misplaced items into one basket.
☐ Return food to the pantry or refrigerator.
☐ Place duplicates beside each other.
☐ Separate working appliances from unused appliances.
☐ Clear one 24-inch work zone.
☐ Stop when the timer ends.
Use the four-group sort for everything still on the counter:
• Keep here: Used most days in this exact area.
• Relocate: Useful, but belongs in another kitchen zone.
• Store: Used occasionally and better kept out of sight.
• Remove: Broken, unwanted, expired, or duplicated without purpose.
If you cannot decide within 10 seconds, place the item in the temporary basket and continue. Fast triage works because it prevents one difficult object from stopping the whole reset.
Audit Countertop Items
Now inspect what remains. A counter item earns its space by supporting a frequent task, fitting the work zone, and staying clean and safe.
☐ Keep daily-use tools near their work zone.
☐ Remove decorative items blocking preparation space.
☐ Relocate paperwork to a mail-sorting spot.
☐ Return keys and bags to their entryway homes.
☐ Remove expired food and opened packets.
☐ Combine loose utensils into one container.
☐ Discard dried-out sponges and damaged cloths.
☐ Store backup supplies below the counter.
☐ Remove items lacking a clear owner.
Use the daily-use test: if you use an item fewer than three times a week, question whether it needs to remain visible. This is a guide, not a rigid rule. A coffee maker may stay out if it is used every morning; a waffle maker used twice a year can usually move to a cabinet.
Check the size of each item against the work area. A large knife block may be useful but consume 12 inches of prime counter space. If a drawer can safely hold the knives, move the block and recover that space. Keep sharp tools secured and stored according to the manufacturer’s guidance.
Review Small Appliances
Small appliances often create the most visual and physical crowding. Assess each one by use, condition, storage, and access rather than by purchase price.
☐ Unplug every appliance before inspecting it.
☐ Wipe dust from vents and handles.
☐ Check cords for cuts, fraying, or heat damage.
☐ Remove appliances with damaged cords.
☐ Test only appliances you regularly use.
☐ Keep one primary appliance per task visible.
☐ Store seasonal appliances in a dry cabinet.
☐ Match each appliance with its accessories.
☐ Recycle unwanted appliances through approved programs.
For each appliance, ask four direct questions:
• Have I used it in the last 30 days?
• Does it perform a task another appliance cannot?
• Can I store it safely without daily effort?
• Would I replace it if it stopped working today?
A blender, food processor, and immersion blender may all be useful, but keeping all three on the counter is rarely necessary. Choose the appliance that matches your regular cooking. Store the others in a cabinet or pantry if they remain worth keeping.
Keep heat-producing appliances away from walls, curtains, and the underside of cabinets when operating. Toasters, air fryers, toaster ovens, and electric kettles need clear ventilation. Never push an appliance tightly against a backsplash if its manual requires open space.
Set Appliance Homes
An appliance home is the place where an item can be returned without moving three other things. Choose storage based on weight, frequency, and safe handling.
☐ Store heavy appliances below waist height.
☐ Keep daily appliances near their outlets.
☐ Place hot appliances on heat-safe surfaces.
☐ Coil cords without tight bends.
☐ Secure detachable parts with their appliance.
☐ Label deep shelves by appliance category.
☐ Keep manuals with rarely used appliances.
☐ Leave cabinet space around heat-producing equipment.
☐ Avoid stacking appliances that can fall.
Measure before forcing an appliance into a cabinet. Record its height, width, and depth, then allow room for handles, cords, and ventilation. A cabinet opening measuring 14 inches high may not safely fit a 13-inch appliance if the cord exits from the top or the lid must open.
Use a simple storage map for appliances:
Appliance type
Best home
Counter rule
Daily coffee maker
Near the morning-use outlet
Keep visible if used daily
Toaster
Cabinet beside the work zone
Store after cooling
Air fryer
Low cabinet with clearance
Keep off the counter unless used often
Stand mixer
Low shelf or lift-up cabinet
Keep visible only with frequent baking
Slow cooker
Pantry or lower cabinet
Store with its insert and lid
Blender
Cabinet near food-preparation area
Keep base and jar together
Do not store an appliance while it is warm, damp, or full of food residue. Allow it to cool, clean it according to the manual, and dry removable parts completely.
Restore Clear Work Zones
Once items have homes, rebuild the counter around tasks. Keep the largest uninterrupted surface for food preparation, not storage.
☐ Wipe the cleared counter from back to front.
☐ Clean beneath appliance feet and mats.
☐ Dry the surface before replacing items.
☐ Place daily tools near their point of use.
☐ Keep cutting space away from dirty dishes.
☐ Leave sink edges clear of paper and cords.
☐ Protect counters from hot cookware.
☐ Keep outlet access visible.
☐ Photograph the finished counter for reference.
Create at least one open area large enough for a cutting board. A useful minimum is about 18 by 24 inches, though smaller kitchens may need to adapt. If you cannot create that much space, remove the least-used visible appliance first and reassess.
Limit counter top containers to items that support a repeated task. A single utensil crock near the stove may be practical; three containers holding duplicate spatulas, serving spoons, and tools usually signal that a drawer needs sorting.
Group items by action rather than appearance. Keep coffee supplies together, cooking tools near the stove, and washing supplies near the sink. This reduces unnecessary movement and makes returning items easier.
Finish the Appliance and Counter Check
The final check catches problems that are easy to miss during sorting.
☐ Confirm every kept appliance works safely.
☐ Check that vents remain uncovered.
☐ Confirm cords stay away from water.
☐ Remove cleaners from food-preparation areas.
☐ Check that cabinets close without pressure.
☐ Verify heavy items sit on stable shelves.
☐ Empty the temporary sorting basket.
☐ Take donations to the exit area.
☐ Set a seven-day review reminder.
During the seven-day review, notice what you move repeatedly. If an appliance comes out every morning, its storage location may be too inconvenient. If an item remains untouched, it may not deserve visible space. Adjust the system based on actual use rather than the original plan.
Pro Tips
Use visibility by frequency rather than visibility by preference. Keep only the appliances used most days on the counter, and store weekly or monthly appliances in an easy-to-reach cabinet. This preserves visual calm without making useful equipment difficult to access.
Create a one-touch return rule: every item kept on the counter should return to its home in one movement. If returning the blender requires moving a pan, lifting a stack, or opening two unrelated containers, change the storage location. A counter stays clear when putting things away is as easy as taking them out.
Finish by leaving the main work zone empty overnight. The next morning, the open surface gives you an immediate test: the kitchen is not merely tidier; it is ready for its first task. That is the standard to carry into the next room.
End of chapter one. 4 more chapters and about 8,991 words in the full book.
Swipe or use the arrows to turn the page


What's inside: 5 chapters
- 1. Kitchen Counter Reset Checklist
- 2. Closet Capsule Sorting Checklist
- 3. Bathroom Product Expiration Checklist
- 4. Living Room Surface and Paper Flow Checklist
- 5. Move-Out and Storage Box Declutter Checklist
About this book
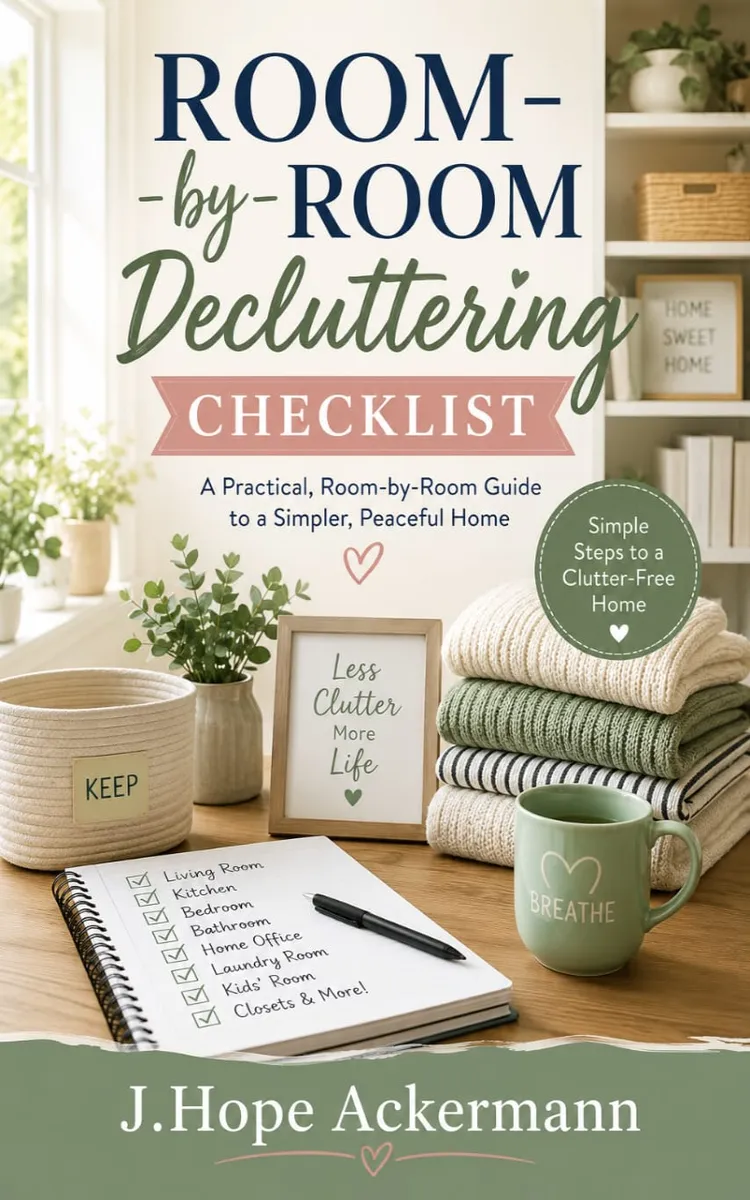
"Room-By-Room Decluttering Checklist" is a checklist pack book by J.Hope Ackermann with 5 chapters and approximately 8,991 words. Room-by-room decluttering checklists for simplifying a home.
This book was created using Inkfluence AI, an AI-powered book generation platform that helps authors write, design, and publish complete books.
Frequently Asked Questions
What is "Room-By-Room Decluttering Checklist" about?
Room-by-room decluttering checklists for simplifying a home
How many chapters are in "Room-By-Room Decluttering Checklist"?
The book contains 5 chapters and approximately 8,991 words. Topics covered include Kitchen Counter Reset Checklist, Closet Capsule Sorting Checklist, Bathroom Product Expiration Checklist, Living Room Surface and Paper Flow Checklist, and more.
Who wrote "Room-By-Room Decluttering Checklist"?
This book was written by J.Hope Ackermann and created using Inkfluence AI, an AI book generation platform that helps authors write, design, and publish books.
Write your own checklist pack book with AI
Describe your idea and Inkfluence writes the whole thing. Free to start.
Start writingCreated with Inkfluence AI


