
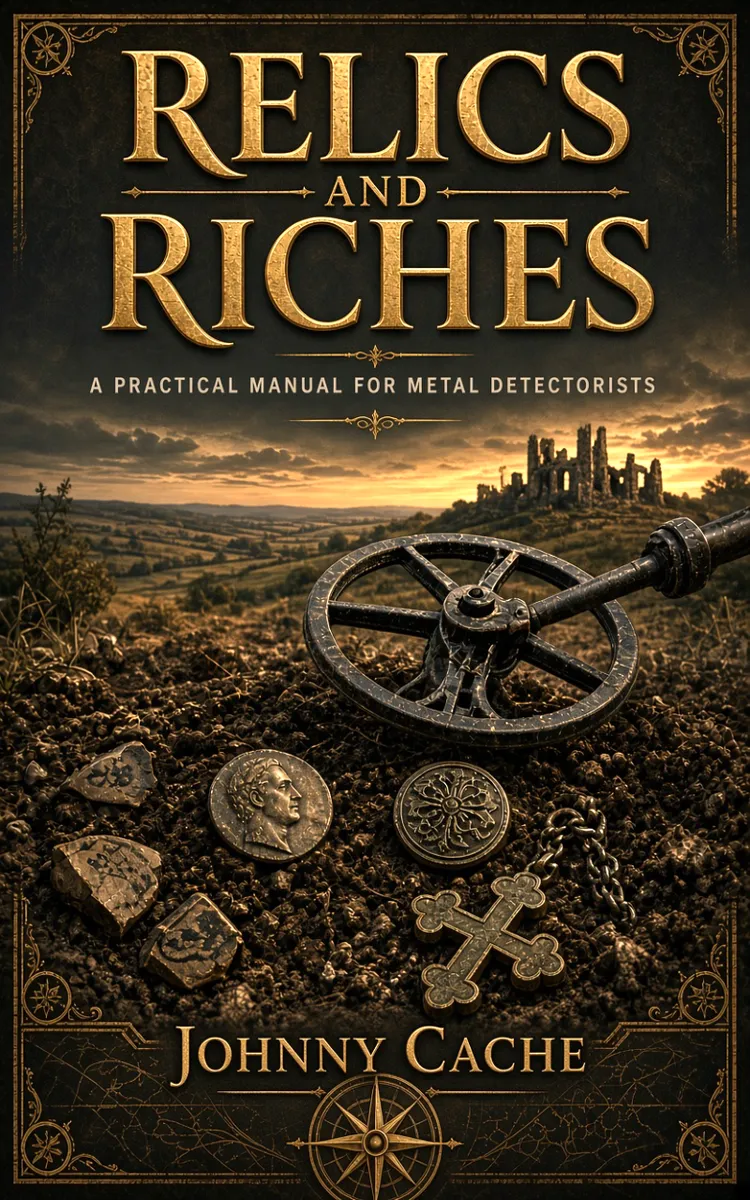
Read the first chapter
The whole of chapter one, free. About 8 min. Turn the pages with the arrows, your keyboard, or a swipe.
Chapter 1
Choosing Your First Metal Detector
Will your first detector help you find the targets you care about, or will it make you fight the ground, the trash, and the water every time you search?
That question matters more than the detector’s brand name or its longest advertised depth. A detector built for dry parks may struggle on wet salt sand. A machine designed for small gold may become tiring and frustrating when you search a trash-filled schoolyard. The right choice depends on your targets, your ground, your experience, and the money you can spend without cutting corners on essential gear.
Use the Detector Fit Checklist to make that choice before you buy. By the end, you should know which detector type fits your search, which features deserve your money, which features can wait, and how to test a detector before keeping it. A clear match prevents the most common beginner mistake: buying a powerful-looking machine that performs poorly where you actually hunt.
Start by writing down three facts: your main target, your usual search location, and your total budget. “Old coins in local parks,” “beach jewelry,” or “small gold in dry mineral soil” leads to a different detector choice. If you cannot name your likely hunting ground, choose a general-purpose detector rather than a specialized model. Your practical takeaway: buy for the conditions under your coil, not for the claims printed on the box.
Use the Detector Fit Checklist
The Detector Fit Checklist has four parts: target, ground, features, and budget. Work through them in that order. Each answer removes unsuitable choices and shows where your money will help most.
• Name the target. Choose coins and relics, jewelry, beach finds, or small gold. Target size and metal type affect the detector’s best operating range. A coin-and-relic detector makes a sensible first choice for parks, yards, fields, and old home sites because it handles common targets and iron trash well. A small-gold detector needs strong sensitivity to tiny targets and better handling of mineralized soil, but it may provide less useful target separation in a trashy park.
• Describe the ground. Separate dry soil, wet salt sand, freshwater beaches, and highly mineralized ground. Mineralized soil contains natural minerals that can create false signals or reduce depth. Wet salt sand creates a similar problem because salt conducts electricity. If you plan to hunt ocean beaches, choose a detector with a salt mode or a multi-frequency design that handles changing salt conditions. A basic single-frequency detector may work well in dry sand but become unstable near the waterline.
• Choose useful features. Look for ground balance, target identification, adjustable sensitivity, discrimination, and a waterproof search coil. Ground balance helps the detector ignore natural soil responses. Target identification gives a number or tone that helps you judge whether a signal might be iron, a coin, or another metal. Discrimination lets you reduce responses from unwanted metal, although no setting can identify every target perfectly. Adjustable sensitivity lets you reduce chatter in difficult ground. A waterproof coil protects the part most likely to touch wet grass, shallow puddles, or damp sand.
• Set the complete budget. Count the detector, headphones, digging tool, finds pouch, spare batteries or charging equipment, and a pinpointer. A pinpointer is a handheld tool that helps locate a target after you open the hole. If your total budget is $500, spending all $500 on the detector may leave you without basic tools. A balanced $350 detector, $80 pinpointer, $40 digging tool, and $30 pouch may serve you better than a $500 detector you cannot use efficiently.
Now compare detector types against your answers. A general-purpose very low frequency detector, often called a VLF detector, suits many beginners because it offers clear target responses and useful discrimination. VLF means the detector sends and receives signals at a relatively low operating frequency. A multi-frequency detector sends or processes several frequencies and usually handles wet salt sand and varied soil better, though it often costs more. A pulse induction detector, or PI detector, sends short pulses and listens for their return. PI models can work well in saltwater and mineralized ground, but many provide less helpful target identification and may respond strongly to iron.
Do not treat higher frequency as automatically better. Higher frequencies often respond well to small, low-conductive targets such as tiny gold. Lower frequencies often provide stronger responses on larger, high-conductive targets such as silver coins. Multi-frequency models offer a useful middle ground when your hunting changes from dry parks to wet beaches. Ask yourself: will this feature solve a problem I expect to meet, or will it simply add cost?
Depth claims also need careful judgment. Manufacturers test depth under controlled conditions, while soil, target angle, moisture, and nearby trash affect real results. A detector that reaches a deep coin in clean soil may struggle to separate two shallow targets only a few inches apart. For a beginner, stable operation, clear audio, comfortable weight, and good target separation usually matter more than the largest depth number. Your takeaway: match the detector’s strengths to your ground, then pay for features that remove real problems.
Apply the Checklist Before You Buy
Consider a first detector for coin and relic hunting in local parks, an old farm field, and an occasional freshwater beach. The buyer has $600 available and wants a machine that remains useful after the first few months. Follow these steps rather than choosing by appearance or advertising.
• List the expected hunts. The plan includes six park trips, two field trips, and four freshwater beach trips over the next three months. The main targets include modern coins, older coins, buttons, and small jewelry. This points toward a general-purpose detector with good target separation rather than a specialist gold detector.
• Separate the water conditions. The beach has freshwater, not ocean saltwater. A fully waterproof detector is helpful, but a salt-specific mode is not essential. The buyer should still confirm the manufacturer’s depth rating before submerging the control box. A coil marked waterproof does not always mean the entire detector can enter water.
• Choose the feature set. Compare three models: a $300 single-frequency detector, a $500 multi-frequency detector, and a $700 advanced model. The $500 model includes adjustable sensitivity, ground balance, several search modes, wireless headphones, and a waterproof control box. The $700 model adds advanced audio controls and mapping features that do not solve a current need. The $300 model saves money but offers less flexibility for beach work. The $500 model fits the planned locations best.
• Reserve money for tools. The detector uses $500 of the budget, leaving $100. The buyer chooses a $55 pinpointer and a $35 digging tool, then uses an existing pouch and headphones if they work with the detector. The expected result: faster recovery, fewer damaged plugs, and enough equipment to begin immediately.
• Test before the return period ends. At home, place a copper coin, iron nail, aluminum pull tab, and small piece of foil on clean ground. The tests each item at 2, 4, and 6 inches, then repeats the test with the discrimination setting changed. The goal does not involve memorizing one perfect number. The goal involves learning how the detector sounds when the target lies flat, tilted, close to iron, or near a piece of trash.
• Test the actual search conditions. At the park, begin with sensitivity one or two steps below maximum. Perform a slow sweep and check whether the detector stays quiet between targets. If the machine chatters, the lower sensitivity or performs ground balance. The expected outcome is a stable detector that gives repeatable responses instead of constant false signals.
• Review the result after three outings. Records location, settings, target response, and recovered item. If the detector finds coins but struggles on the freshwater beach, adjust the beach mode and sweep speed before blaming the machine. If it remains unstable, check the manual and return policy while the purchase still qualifies for return.
Quick checklist
• Identify your main target before comparing models.
• Write down the soil, sand, and water conditions.
• Decide whether you need general-purpose, multi-frequency, or pulse induction performance.
• Confirm whether the coil, control box, and headphones meet your water needs.
• Keep money for a pinpointer and digging tool.
• Test coins, iron, foil, and pull tabs before the return period ends.
• Start below maximum sensitivity and raise it only while the detector remains stable.
• Record settings and results from your first three hunts.
This example shows why a $500 detector can beat a $700 detector for a beginner: the less expensive choice solves the actual problems without charging for features that will sit unused. Your practical test is simple - after three hunts, can you operate the detector steadily, recover targets cleanly, and explain why you selected each setting?
Avoid Poor Matches and False Savings
Buying for maximum advertised depth
A long depth claim can pull your attention away from target separation, comfort, and stability. A detector that reaches deeply in clean test soil may perform poorly in a park full of nails, foil, and bottle caps. Heavy machines also become tiring when you sweep for several hours, and a tired user swings faster and misses weak signals.
Do this: Compare weight, balance, recovery speed, audio clarity, and depth in your type of ground. Test a coin beside an iron nail to see whether the detector gives separate responses.
Do Not do this: Choose the model with the largest depth number without checking how it handles trash.
Buying a beach detector without identifying the beach
Ocean saltwater, dry sand, wet salt sand, and freshwater demand different behavior. A detector that works smoothly on dry sand may become noisy at the wet line. A beginner may then lower sensitivity so far that the detector misses small targets.
Do this: Ask whether you will search saltwater, freshwater, or only dry sand. Choose salt handling when ocean beaches form a regular part of your plans, and confirm the manufacturer’s waterproof rating before entering the water.
Do Not do this: Assume “waterproof coil” means you can submerge the entire detector.
Spending the full budget on the control box
A detector without a pinpointer turns each recovery into a wider, slower excavation. Without a proper digging tool, you may damage roots, cut neat plugs poorly, or leave targets behind. These costs appear after the purchase, when your remaining budget has already disappeared.
Do this: Set a complete equipment budget first. Keep enough money for a pinpointer, digging tool, finds pouch, and headphones that match the detector.
Do Not do this: Buy an advanced detector and plan to add essential tools later.
The right first detector does not need to perform every kind of hunt. It needs to perform your likely hunts reliably, fit your hands and budget, and leave room for the tools that turn signals into recovered finds. Use the Detector Fit Checklist before every purchase, and your choice will rest on ground conditions and real targets rather than on sales language. That careful match gives you a stronger starting point for finding the relics and riches hidden in ordinary ground.
End of chapter one. 7 more chapters in the full book.
Swipe or use the arrows to turn the page
What's inside: 8 chapters
- 1. Choosing Your First Metal Detector
- 2. Ground Balance and Noise Control
- 3. Discrimination Settings for Real Finds
- 4. Sweep Speed and Coil Control
- 5. Interpreting Target IDs Correctly
- 6. Digging Safely and Minimizing Damage
- 7. Cleaning, Stabilizing, and Preserving Finds
- 8. Keeping a Finds Log and Learning Fast
About this book
"Relics And Riches" is a how-to guide book by Anonymous with 8 chapters and approximately 15,323 words. Metal detecting techniques, tools, and finding valuable relics.
This book was created using Inkfluence AI, an AI-powered book generation platform that helps authors write, design, and publish complete books. It was made with the AI Ebook Generator.
Frequently Asked Questions
What is "Relics And Riches" about?
Metal detecting techniques, tools, and finding valuable relics
How many chapters are in "Relics And Riches"?
The book contains 8 chapters and approximately 15,323 words. Topics covered include Choosing Your First Metal Detector, Ground Balance and Noise Control, Discrimination Settings for Real Finds, Sweep Speed and Coil Control, and more.
Who wrote "Relics And Riches"?
This book was written by Anonymous and created using Inkfluence AI, an AI book generation platform that helps authors write, design, and publish books.
How can I create a similar how-to guide book?
You can create your own how-to guide book using Inkfluence AI. Describe your idea, choose your style, and the AI writes the full book for you. It's free to start.
Write your own how-to guide book with AI
Describe your idea and Inkfluence writes the whole thing. Free to start.
Start writingCreated with Inkfluence AI


