
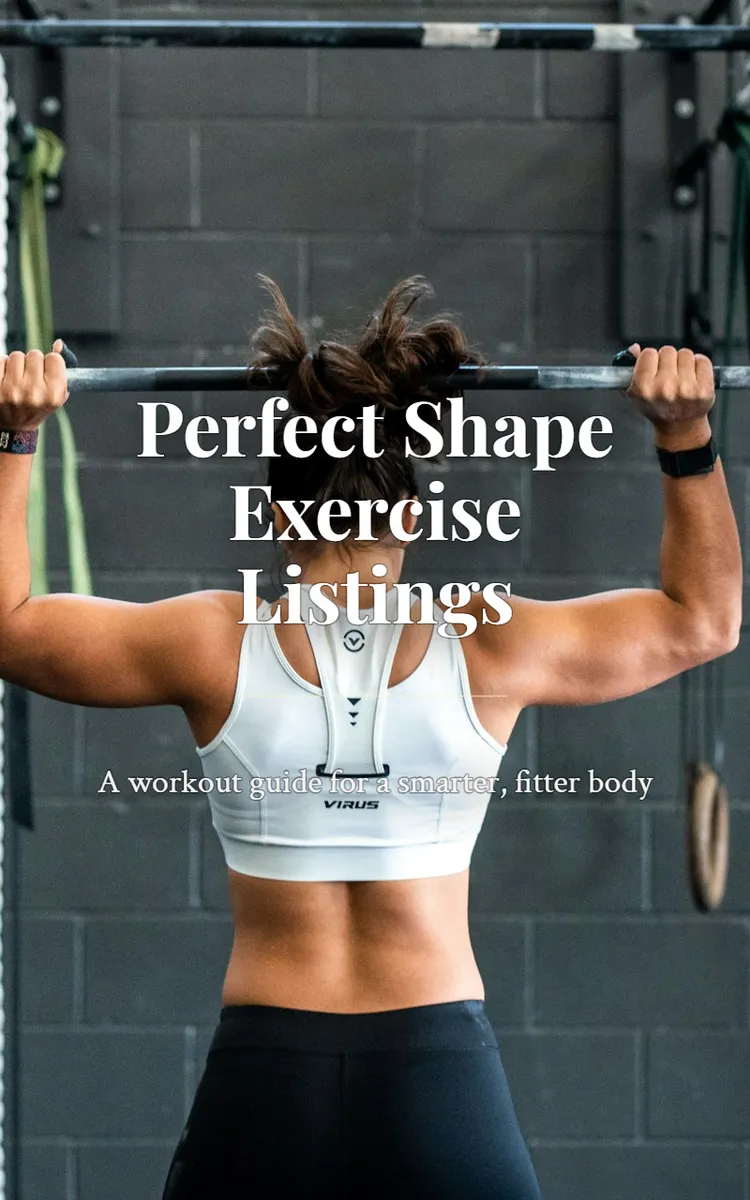
Read the first chapter
The whole of chapter one, free. About 9 min. Turn the pages with the arrows, your keyboard, or a swipe.
Chapter 1
Foundation Phase (Weeks 1-2): Form First
Phase Overview
Can you perform each repetition slowly enough to stop at the exact point where your form begins to change? The Foundation Phase uses low-impact, full-body exercises to build control before adding meaningful resistance. Across Weeks 1 and 2, the key goal is to learn the Perfect Form Ladder: position first, movement second, breathing third, and progression last.
Train three days per week, leaving at least one rest day between sessions. Use the same workout structure in both weeks so your technique becomes familiar. Week 1 uses comfortable loads and a slower pace; Week 2 adds a small amount of work only when every repetition remains controlled. The target is not exhaustion. The target is repeatable movement that feels stable from the first repetition to the last.
Use a chair, a resistance band, light dumbbells, a mat, and a wall or sturdy support. If you have no dumbbells, filled water bottles can provide a light starting load. Before each session, ask yourself: can I keep my feet grounded, my ribs stacked over my hips, and my breathing steady? If not, reduce the load or range of motion.
Workouts
Perform Workout A on the first training day, Workout B on the second, and Workout A again on the third during Week 1. In Week 2, perform Workout B, Workout A, and Workout B. This alternating plan trains the whole body without repeating heavy stress on the same muscles on consecutive days.
Start each session with five minutes of easy movement. Walk in place, circle the shoulders, gently swing the arms, and perform slow bodyweight squats to a chair. The warm-up should raise body temperature without causing fatigue. Rest 60 to 90 seconds between exercises unless the table gives a different instruction.
Week 1 - Workout A
| Exercise | Sets × Reps | Load | Rest | | --- | --- | --- | --- | | Chair squat | 2 × 8 | Body weight | 60 sec | | Wall push-up | 2 × 8 | Body weight | 60 sec | | Supported one-arm row | 2 × 10 each side | Light dumbbell | 60 sec | | Glute bridge | 2 × 10 | Body weight | 45 sec | | Standing band pull-apart | 2 × 10 | Light band | 45 sec | | Heel raise with wall support | 2 × 12 | Body weight | 45 sec | | Dead-bug heel tap | 2 × 6 each side | Body weight | 60 sec |
The chair squat teaches you to sit and stand while keeping the knees, hips, and feet aligned. Place the chair behind you, stand with feet about hip-width apart, and lower until your hips lightly touch the seat. Do not drop onto it. Press through the whole foot to stand. If eight repetitions feel easy and your posture stays steady, use a slightly lower chair only after Week 1.
For the wall push-up, place your hands just below shoulder height and step back until your body forms a straight line. Bend your elbows at roughly a 30- to 45-degree angle from your body, lower your chest toward the wall, and press away. Keep your chin gently tucked rather than reaching your face forward. The goal is to train the pushing pattern without shoulder strain.
The supported row builds upper-back strength while the free hand rests on a chair or bench. Pull the dumbbell toward the lower ribs, pause briefly, and lower it under control. Keep the shoulder away from the ear. Choose a load that allows all ten repetitions without twisting your torso.
For the glute bridge, lie on your back with knees bent and feet flat. Exhale as you lift the hips until your body forms a gentle line from shoulders to knees. Stop before the lower back arches. The band pull-apart strengthens the muscles that help hold the shoulders in a balanced position. Keep the arms nearly straight and pull the band apart without shrugging.
Finish with heel raises and dead-bug heel taps. During heel raises, rise smoothly and lower for a count of two. During heel taps, keep the lower back gently connected to the mat while one heel reaches toward the floor. If your back arches, shorten the reach.
Week 1 - Workout B
| Exercise | Sets × Reps | Load | Rest | | --- | --- | --- | --- | | Sit-to-stand from chair | 2 × 8 | Body weight | 60 sec | | Incline push-up on bench | 2 × 8 | Body weight | 60 sec | | Hip hinge to wall | 2 × 10 | Body weight | 60 sec | | Step-back tap | 2 × 6 each side | Body weight | 60 sec | | Seated dumbbell press | 2 × 8 | Light dumbbells | 60 sec | | Bird-dog reach | 2 × 6 each side | Body weight | 60 sec | | March in place | 2 × 30 sec | Body weight | 45 sec |
The sit-to-stand is similar to the chair squat but emphasizes a smooth transition from sitting to standing. Keep the knees tracking in line with the second and third toes. The incline push-up allows you to practice a longer body position than a wall push-up while keeping impact low. Use a stable bench or countertop that does not slide.
The hip hinge teaches the movement used when lifting from the floor. Stand with your back facing a wall and feet several inches forward. Push the hips backward until they touch the wall, keeping the spine long and knees softly bent. Return by driving the hips forward. The motion should come from the hips, not from rounding the back.
For the step-back tap, move one foot behind you and lightly touch the floor, then return to standing. Keep most of your weight on the front leg and use a wall for balance if needed. This builds control for lunging without requiring a deep knee bend. During the seated dumbbell press, sit tall, brace the abdomen gently, and press the weights upward without leaning backward.
The bird-dog reach develops trunk control. From hands and knees, extend one arm and the opposite leg only as far as you can without rotating the hips. The marching interval should remain easy enough for you to speak in a full sentence. If breathing becomes rushed, slow the pace rather than turning the movement into a high-impact exercise.
Week 2 - Progression Workouts
Week 2 repeats the same movement patterns with modest progression. Use the listed changes only if Week 1 met the Perfect Form Ladder: your position stayed steady, the movement was smooth, breathing remained controlled, and no joint pain appeared. Increase a dumbbell by the smallest available amount, usually 1 to 2 pounds per hand, or add two repetitions where shown. Never increase load and repetitions at the same time.
Week 2 - Workout A
| Exercise | Sets × Reps | Load | Rest | | --- | --- | --- | --- | | Chair squat | 3 × 8 | Body weight or light dumbbell | 60-75 sec | | Wall or incline push-up | 3 × 8 | Body weight | 60 sec | | Supported one-arm row | 3 × 10 each side | Same or slightly heavier light dumbbell | 60 sec | | Glute bridge with pause | 3 × 10 | Body weight | 45 sec | | Standing band pull-apart | 3 × 10 | Same light band | 45 sec | | Heel raise with wall support | 3 × 12 | Body weight | 45 sec | | Dead-bug heel tap | 2 × 8 each side | Body weight | 60 sec |
Add the third set only when the first two sets in Week 1 were completed with at least two good repetitions still available. This effort level is often called repetitions in reserve, meaning the number of clean repetitions you could perform before form fails. You do not need to calculate it precisely; simply avoid training to failure during this phase.
Add a two-second pause at the top of each glute bridge. Keep the ribs quiet and squeeze the glutes rather than pushing into the lower back. If the third set causes your hips to drop or your neck to tense, return to two sets. Consistent quality is more useful than a larger number written in a training log.
Week 2 - Workout B
| Exercise | Sets × Reps | Load | Rest | | --- | --- | --- | --- | | Sit-to-stand from chair | 3 × 8 | Body weight or light dumbbell | 60-75 sec | | Incline push-up | 3 × 8 | Body weight | 60 sec | | Hip hinge to wall | 3 × 10 | Body weight or light dumbbells | 60 sec | | Step-back tap | 3 × 6 each side | Body weight | 60 sec | | Seated dumbbell press | 3 × 8 | Same or slightly heavier light dumbbells | 60 sec | | Bird-dog reach | 2 × 8 each side | Body weight | 60 sec | | March in place | 3 × 30 sec | Body weight | 45 sec |
For the sit-to-stand, hold one light dumbbell close to the chest only if you can stand without leaning or using the hands. For the hip hinge, hold light dumbbells close to the thighs and move them down only as far as the back remains neutral. The weights should stay close to your body; they should not pull your shoulders forward.
Progress the incline push-up by lowering the hands to a slightly lower, stable surface rather than adding speed. Progress the step-back tap by making the tap quieter and more precise, not by reaching farther. During the press, stop just short of locking the elbows and keep the wrists stacked over the elbows.
Record the load, repetitions completed, and one form note after every session. A useful note is specific: “kept knees aligned,” “lowered too quickly,” or “needed a higher push-up surface.” This record makes progression practical. If the same form problem appears twice, keep the exercise at its current level instead of progressing.
Training Notes
Use the Perfect Form Ladder during every set. First check your starting position: feet stable, joints aligned, and spine comfortable. Next check the movement: lower and lift without bouncing, twisting, or rushing. Then match breathing to the effort by exhaling during the harder part, such as standing from a squat or pressing away from the wall. Only after those three points are reliable should you add load, repetitions, or a third set.
Pain that is sharp, worsening, or located in a joint is a reason to stop the exercise. Muscle effort, mild warmth, and normal fatigue are expected; pain that changes your movement is not. Reduce the range, choose an easier variation, or end the set. Seek medical guidance for ongoing pain, dizziness, chest discomfort, unusual shortness of breath, or any concern related to pregnancy, recent surgery, or a medical condition.
Common mistakes in this phase are small but important. Squats often become knee-dominant when the heels lift or the knees collapse inward. Push-ups often become neck movements when the head reaches toward the wall or bench. Rows often become torso rotations when the weight is too heavy. Bridges often become lower-back extensions when the hips are lifted too high. Correct these by reducing the range or load and slowing the lowering phase to two seconds.
Keep each session near 30 to 40 minutes, including the warm-up. Finish with two to three minutes of easy walking and relaxed breathing. Before moving to harder variations, ask yourself three questions: Did I complete every repetition without pain? Did my final repetitions look like my first ones? Can I repeat this session after a normal rest day? If the answer to any question is no, repeat the current week.
The Foundation Phase succeeds when controlled movement becomes your default, not when the workout leaves you unable to move comfortably. Build each exercise on a steady position, a smooth repetition, and a clear breathing rhythm; that is the Perfect Form Ladder carrying you toward stronger, more confident training.
End of chapter one. 7 more chapters in the full book.
Swipe or use the arrows to turn the page
What's inside: 8 chapters
- 1. Foundation Phase (Weeks 1-2): Form First
- 2. Activation Phase (Weeks 3-4): Glute & Core
- 3. Strength Phase (Weeks 5-6): Progressive Overload
- 4. Hypertrophy Phase (Weeks 7-8): Volume Building
- 5. Balance Phase (Weeks 9-10): Posture & Symmetry
- 6. Conditioning Phase (Weeks 11-12): Shape-Saving Cardio
- 7. Refinement Phase (Weeks 13-14): Tempo & Control
- 8. Peak Phase (Weeks 15-16): Results Week Listings
About this book
"Perfect Shape Exercise Listings" is a fitness book by Anonymous with 8 chapters and approximately 14,540 words. Exercise program for improving women's fitness and appearance.
This book was created using Inkfluence AI, an AI-powered book generation platform that helps authors write, design, and publish complete books. It was made with the AI Workout Plan Generator.
Frequently Asked Questions
What is "Perfect Shape Exercise Listings" about?
Exercise program for improving women's fitness and appearance
How many chapters are in "Perfect Shape Exercise Listings"?
The book contains 8 chapters and approximately 14,540 words. Topics covered include Foundation Phase (Weeks 1-2): Form First, Activation Phase (Weeks 3-4): Glute & Core, Strength Phase (Weeks 5-6): Progressive Overload, Hypertrophy Phase (Weeks 7-8): Volume Building, and more.
Who wrote "Perfect Shape Exercise Listings"?
This book was written by Anonymous and created using Inkfluence AI, an AI book generation platform that helps authors write, design, and publish books.
How can I create a similar fitness book?
You can create your own fitness book using Inkfluence AI. Describe your idea, choose your style, and the AI writes the full book for you. It's free to start.
Write your own fitness book with AI
Describe your idea and Inkfluence writes the whole thing. Free to start.
Start writingCreated with Inkfluence AI


