

Read the first chapter
The whole of chapter one, free. About 8 min. Turn the pages with the arrows, your keyboard, or a swipe.
Chapter 1
Carburettor Principles and Fuel Flow
Reading the Fuel-Path Map
Have you ever opened the throttle on a classic motorcycle, heard the engine hesitate, and wondered whether the fault lies in the jet, the float, or the air passage? The answer becomes much clearer when you follow the fuel from the tank to the engine and watch how each carburettor part controls its movement.
A carburettor does not simply “send fuel into the engine”. It meters a small quantity of fuel into a moving stream of air. The float system maintains a usable fuel level, the jets restrict and measure fuel flow, and the throttle controls how much air-and-fuel mixture the engine can draw. Amal, Dell'Orto, Mikuni, Keihin, Villiers, AMAC, Brown and Barlow, and Bing carburettors arrange these parts differently, but the basic job remains the same.
Understanding that job prevents random jet changes and needless adjustment. After tracing the Fuel-Path Map, you will know what to check when fuel floods, when the engine runs weakly, and when it responds poorly to throttle movement. You will also know why a clean jet cannot compensate for an incorrect float level, or why a perfect float setting cannot cure a blocked air passage. Before touching an adjustment, ask yourself: where has the fuel stopped, and what controls it at that point?
How Fuel and Air Become a Mixture
Fuel begins in the tank and travels through the tap, hose, filter if fitted, and carburettor inlet. The float chamber, also called the float bowl, stores a small supply. A float rises with the fuel level and operates a needle valve. When the level reaches the correct height, the needle closes against its seat. As the engine consumes fuel, the float drops, the needle opens, and the chamber refills.
That level matters because the jets depend on a steady pressure difference between the float chamber and the air stream. If the fuel sits too high, the carburettor can deliver too much fuel even when the jet size remains correct. If it sits too low, the engine may run weakly, especially under sustained throttle when demand exceeds the refill rate. A sticking needle, damaged float, blocked fuel tap, or incorrect float height can therefore imitate a jetting fault.
The main jet controls fuel delivery at larger throttle openings. On many carburettors, a needle moves inside a needle jet, also called an emulsion tube in some designs. The needle and its tapered shape control the middle throttle range, while the main jet limits the greatest flow. The pilot system supplies fuel at idle and during the first part of throttle opening. A slide, butterfly, or similar throttle valve changes the size of the air passage. Some carburettors also use a separate starting device, such as a tickler, choke, or enrichener, to provide a richer mixture for cold starting.
Use the Fuel-Path Map in this order:
1. Tank and inlet: Check that fuel reaches the carburettor at a steady rate. A blocked tap screen or kinked hose starves every circuit downstream. 2. Float chamber: Confirm that the float moves freely and that the needle valve shuts off fuel. This establishes the supply level for the jets. 3. Pilot circuit: Check the pilot jet and its small drilling first when the engine will not idle or picks up poorly just off idle. 4. Needle and needle jet: Inspect these parts when the engine hesitates or runs unevenly through the middle throttle range. 5. Main jet: Check the main jet when the fault appears mainly at wide throttle or under heavy load. 6. Throttle valve and air passage: Confirm that the slide or butterfly opens smoothly and that the air filter and intake are clear. The carburettor cannot meter correctly if the air supply changes unexpectedly. 7. Engine inlet: Make sure the mixture reaches the engine without an air leak at the manifold. Unmetered air makes the mixture lean and can mislead every carburettor adjustment.
A useful rule follows from this map: match the suspected fault to the throttle position where it occurs. The pilot circuit does not normally control full-throttle running, and the main jet does not normally control a closed-throttle idle. A clean, correctly sized part still needs the correct fuel level and air supply. Trace the path before changing a component.
Applying the Map to a Poor-Running Single
Consider a 1960s single-cylinder motorcycle with an Amal concentric carburettor. The engine starts with the choke, idles for two minutes, then dies when the rider opens the throttle. Fuel drips from the overflow after the tap remains open. The symptoms point to more than one possible fault, so use the Fuel-Path Map rather than fitting a larger jet immediately.
1. Close the fuel tap and remove the float-bowl cover. Catch the fuel in a suitable container and work away from flames. Inspect the float for fuel inside it and check that it pivots without binding. A sound float should move freely and should not feel heavy or slosh when shaken. 2. Inspect the needle valve and seat. Look for a worn ring around the needle tip, dirt on the seating surface, or a float that fails to lift the needle fully. Clean the seat with carburettor cleaner and compressed air; do not push a hard wire through the seat, because it can damage the sealing surface. 3. Confirm the float setting against the carburettor manual. Do not copy a setting from a different Amal model. A small difference in float height can alter the fuel level enough to cause overflow or weak running. Refit the bowl, turn on the tap, and check that fuel stops flowing before it reaches the overflow. 4. Remove and clean the pilot jet. Hold it toward a bright light only as a quick check; a clear-looking hole can still contain varnish. Spray cleaner through the passage and use compressed air. Do not enlarge the hole with a drill or steel wire, because the original diameter forms part of the calibration. 5. Check the main jet and needle jet. Confirm the stamped sizes against the machine’s specification. Inspect the needle for a groove worn into its taper and check that the retaining clip sits in the intended position. Wear can increase fuel flow even when the stamped jet sizes remain correct. 6. Check throttle operation. Turn the twist grip and confirm that the slide rises smoothly and returns fully when released. Set the cable so the slide closes at rest but still has a small amount of free movement at the grip. A partly open slide can create a false idle and make mixture adjustment impossible. 7. Start and test at defined throttle positions. With the engine warm, observe idle, then open the throttle one-eighth, one-half, and fully under load. If the engine now idles and accepts one-eighth throttle but still falters at full throttle, concentrate on the main jet and fuel supply rather than disturbing the pilot adjustment.
Expected results help separate faults. A correct float setting should stop overflow. A clean pilot circuit should improve starting, idle stability, and the first small throttle opening. A sound needle and main circuit should give steady running under load. If the engine improves only when the choke remains partly engaged, it still runs lean somewhere in the normal fuel path; the choke adds fuel or restricts air, masking the underlying problem.
Quick checklist
• Check fuel flow from the tank before blaming a jet. - Verify float movement and needle-valve shut-off. - Set float height for the exact carburettor model. - Clean pilot, needle, and main passages without enlarging them. - Match each symptom to its throttle position. - Check slide movement, cable free play, and manifold sealing. - Test changes one at a time so the result remains clear.
The practical takeaway is simple: follow the fuel in order, then compare the fault with the throttle range where it appears. That approach turns a collection of brass parts into a readable system.
Mistakes That Distort Fuel Metering
Treating the float as a fuel-level adjustment only
A float does more than hold fuel at a set height. It operates the needle valve and controls how quickly the chamber refills. A float with a small leak may sit low and keep the valve open, causing flooding. A bent tang may close the valve too early and starve the engine during sustained demand.
Do this: Remove the float, shake it gently, inspect for fuel inside, and check its pivot and needle contact. Set its height using the specification for the exact carburettor.
Not this: Bend the float tang repeatedly while guessing at the level. Excessive bending can damage the hinge or produce a setting that looks correct but closes the valve at the wrong point.
Changing the main jet to cure an idle fault
A motorcycle that will not idle usually needs attention in the pilot circuit, throttle-stop setting, air screw, or manifold sealing. Fitting a larger main jet adds fuel at the wrong part of the throttle range and may leave the idle fault unchanged while making full-throttle running too rich.
Do this: Warm the engine, confirm that the pilot jet and its passage are clear, then inspect the air screw position and throttle slide. Check for an inlet leak before changing jet sizes.
Not this: Turn the main jet into a general-purpose cure for every hesitation. Identify whether the problem occurs at closed, small, middle, or wide throttle first.
Confusing a blocked air passage with a blocked fuel jet
Carburettors use small air bleed holes to mix air with fuel and control how a circuit responds. Dirt in an air passage can make the engine rich, while dirt in a fuel passage can make it lean. Both faults can produce hesitation, so spraying cleaner only through the visible jet may not clear the circuit.
Do this: Remove the relevant jet where possible, spray cleaner through the jet and its passage, and follow with compressed air. Hold the carburettor so you can see or feel air emerging from the intended outlet.
Not this: Rely on a strand of copper wire as a universal cleaning tool. Even soft wire can alter a precision opening, and it cannot prove that a hidden drilling is clear.
Once the float level, jets, throttle valve, and air passages work together, tuning becomes controlled rather than speculative. Trace the Fuel-Path Map whenever symptoms appear, and let the throttle position identify the circuit that deserves attention. That habit provides the foundation for cleaning, adjustment, and accurate jet selection throughout the rest of the machine.
End of chapter one. 11 more chapters and about 23,548 words in the full book.
Swipe or use the arrows to turn the page


What's inside: 12 chapters
- 1. Carburettor Principles and Fuel Flow
- 2. Identifying Vintage Carburettor Types
- 3. Tools, Safety, and Bench Setup
- 4. Diagnosing Fueling Symptoms
- 5. Removing and Stripping the Carburettor
- 6. Cleaning Jets and Carburettor Bodies
- 7. Inspecting Wear and Replacing Parts
- 8. Setting Float Height and Fuel Level
- 9. Choosing Jets, Needles, and Slides
- 10. Reassembly and Cable Adjustment
- 11. Tuning Idle and Mixture Settings
- 12. Road Testing and Seasonal Maintenance
About this book
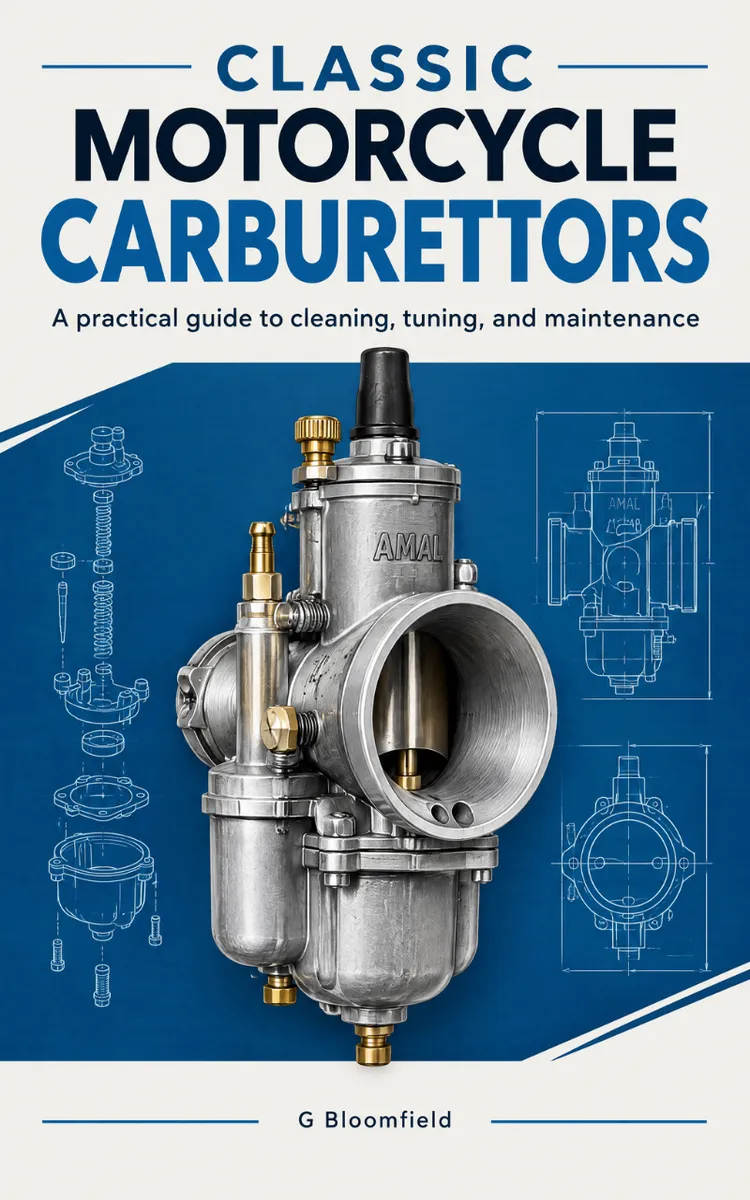
"Classic Motorcycle Carburettors" is a how-to guide book by G Bloomfield with 12 chapters and approximately 23,548 words. Cleaning, maintaining, and tuning classic motorcycle carburettors across major brands.
This book was created using Inkfluence AI, an AI-powered book generation platform that helps authors write, design, and publish complete books. It was made with the AI Ebook Generator.
Frequently Asked Questions
What is "Classic Motorcycle Carburettors" about?
Cleaning, maintaining, and tuning classic motorcycle carburettors across major brands
How many chapters are in "Classic Motorcycle Carburettors"?
The book contains 12 chapters and approximately 23,548 words. Topics covered include Carburettor Principles and Fuel Flow, Identifying Vintage Carburettor Types, Tools, Safety, and Bench Setup, Diagnosing Fueling Symptoms, and more.
Who wrote "Classic Motorcycle Carburettors"?
This book was written by G Bloomfield and created using Inkfluence AI, an AI book generation platform that helps authors write, design, and publish books.
How can I create a similar how-to guide book?
You can create your own how-to guide book using Inkfluence AI. Describe your idea, choose your style, and the AI writes the full book for you. It's free to start.
Write your own how-to guide book with AI
Describe your idea and Inkfluence writes the whole thing. Free to start.
Start writingCreated with Inkfluence AI


