
Read the first chapter
The whole of chapter one, free. About 8 min. Turn the pages with the arrows, your keyboard, or a swipe.
Chapter 1
Choosing a Greenhouse Site
Why the Site Matters Before You Build
A greenhouse can stand in full view of the winter sun and still fail if a fence shades it by midafternoon, wind strips heat through every gap, or melting snow leaves water around the foundation. One poor site choice can force you to add lights, rebuild drainage, move utility lines, or repair storm damage before you grow a single crop.
The right site reduces those problems at the source. You need a place that receives useful winter sunlight, avoids the worst wind, drains quickly, and sits close enough to power and water for practical daily use. A site that meets all four needs supports winter growing without costly modifications.
The Four-Factor Site Scan gives you a simple way to compare possible locations before you order a greenhouse. You will check sunlight, wind exposure, drainage, and utility access, then choose the site with the fewest weaknesses. By the end, you should have a measured location, a list of needed corrections, and a clear reason for placing the greenhouse there.
Start by asking yourself one practical question: can you reach the greenhouse easily on a dark, icy morning while carrying water, tools, or harvested vegetables? If the answer is no, the site may look good on paper but work poorly in real winter conditions. Your takeaway at this stage is simple: judge a site by winter use, not by summer appearance.
The Four-Factor Site Scan
Begin the scan before construction, using a tape measure, a compass app, a notebook, and a phone camera. Mark each possible site on a rough sketch of your property. Record what you see at different times rather than trusting one quick visit. Winter shadows change as the sun moves low across the sky, and a spot that looks bright at noon may sit in shade for most of the useful daylight.
Use these four checks:
• Check sunlight. Look for the clearest southern exposure available. In cold regions, low winter sun must reach the greenhouse through the shortest possible path. Walk the site at 9 a.m., noon, and 3 p.m. during late fall or winter. Photograph the shadows from buildings, trees, fences, and sheds. A deciduous tree may look harmless after losing its leaves, but its branches can still block low-angle sunlight. Evergreen trees create an even greater problem because they block light year-round. Choose the site that receives the longest unbroken period of direct winter sun, not merely the brightest summer spot.
• Check wind exposure. Stand at each site during a windy day and note the direction of the strongest gusts. Open fields, hilltops, and gaps between buildings often receive more wind than sheltered areas. Wind increases heat loss, stresses panels and framing, and can push snow against one side of the structure. A solid fence, hedge, or building can reduce exposure, but leave enough distance for air to move around the greenhouse. If a barrier sits too close, drifting snow can pile against the wall and block doors. Select shelter that reduces the main wind without trapping deep drifts.
• Check drainage. Avoid low spots where rain, thawing snow, or runoff collects. Dig a test hole about 12 inches deep and fill it with water. Let the water drain, then fill it again and watch the second test. If water remains for hours, the site needs better drainage before you build. Wet ground can freeze, heave, and shift the base. It also leaves you walking through mud when you need to open vents or check plants. A gentle, stable slope often drains better than a perfectly flat hollow. Do not place the greenhouse where roof runoff from a house or shed flows toward it.
• Check utility access. Measure the distance to the nearest safe electrical connection and water source. A long extension cord across snow creates a trip hazard and may not safely support a heater. A distant hose can freeze, crack, or become too difficult to carry in winter. Place the greenhouse close enough to utilities that you can install permanent, weather-safe connections later. Keep cords and water lines away from walking paths where ice and snow can damage them. Also check whether the route remains accessible after a heavy snowfall.
Sunlight often deserves the greatest attention because you cannot create more winter sun with a simple repair. You can improve drainage with gravel or a drain line, add wind protection, and extend utilities, but each correction costs time and money. When two sites seem equal, choose the one with better winter light and easier access.
Ask yourself four questions before choosing: Does the site receive direct sun through the middle of the day? Which direction brings the strongest wind? Where will melting snow go? Can you reach power and water without crossing an icy path? A strong site answers all four without major construction. Your practical takeaway: use measurements and repeated observations to compare sites, rather than choosing the nearest open patch.
A Four-Factor Site Scan in Practice
Consider a backyard with three possible locations: an open lawn, a spot beside the garage, and a raised area near the vegetable beds. The gardener wants a greenhouse to start seedlings early and protect cold-weather crops through winter. The open lawn has good summer light but sits in the path of northwest winds. The garage site feels sheltered, but the building shades it from late morning onward. The raised area has a slight slope, sits 30 feet from an outdoor electrical outlet, and remains open to southern light.
Use the following sequence to test the choices:
• Map the light. Visit all three sites at 9 a.m., noon, and 3 p.m. in late November. Record direct sun and shade at each visit. The garage site receives sun from 9 to 11 a.m., then falls into shade. The lawn receives sun most of the day, while the raised area receives direct sun from about 10 a.m. until 3 p.m. The raised area loses some early light but avoids the garage’s long afternoon shadow.
• Mark the wind direction. Use a ribbon tied to a short stake, or watch drifting snow during the next storm. The lawn receives direct northwest gusts. The raised area sits on the southeast side of a low fence, which breaks the strongest wind without standing close enough to collect snow against the greenhouse. The garage site has good shelter but still fails the light test.
• Test the soil and runoff. Dig a 12-inch test hole on the raised area and refill it twice. After the second filling, the water disappears within a reasonable time, and no runoff from nearby roofs crosses the site. The lawn holds water near the center after snowmelt. The raised area needs only a shallow gravel perimeter to keep foot traffic dry.
• Measure utility routes. The raised area sits 30 feet from the outdoor electrical outlet and 40 feet from the nearest hose connection. The gardener can route permanent, weather-safe services along the edge of the beds instead of across the main walkway. The lawn sits farther from both connections, while the garage site has nearby power but poor sunlight.
• Check winter access. Mark a path from the house to the raised area and clear a 3-foot walking route. Place the greenhouse door where snow will not drift directly against it. Confirm that a shovel, hose, and electrical connection can reach the door without crossing a vehicle path. The expected result is a site that stays reachable after snow, drains after thawing, and needs only modest preparation.
This comparison shows why no single feature decides the site. The open lawn wins on light but loses on wind and drainage. The garage site wins on shelter and power but loses too much afternoon sun. The raised area offers the best balance, so the gardener chooses it and avoids adding lights, rebuilding the base, or extending utilities across the yard.
Quick checklist
• Visit each possible site at 9 a.m., noon, and 3 p.m. during late fall or winter.
• Photograph shadows from buildings, trees, fences, and sheds.
• Identify the direction of the strongest wind.
• Avoid low spots, roof runoff, and areas that hold water after thawing.
• Dig a 12-inch drainage test hole and refill it twice.
• Measure the distance to power and water.
• Mark a winter walking route at least 3 feet wide.
• Check where snow will drift around the door and walls.
• Choose the site that needs the fewest major corrections.
Before you commit, stand at the chosen location after a snowfall and trace the path from your home to the greenhouse. If the route seems awkward with a shovel or watering can, change the location while the decision still costs nothing. The best site supports the work you will actually do in winter.
Mistakes That Create Expensive Site Problems
Choosing the brightest summer spot
A site can receive strong summer light and lose useful winter light behind a house, barn, or tall evergreen. Low winter sun travels at a different angle, so summer observations can give you the wrong answer.
Do this: Check shadows at several times during late fall or winter and record the longest period of direct sun.
Not this: Choose a site because it looks sunny during a July afternoon.
Building in a low, wet area
A flat-looking lawn may collect meltwater where the ground dips only a few inches. Frozen soil can lift the greenhouse base, while thawing soil can leave the floor muddy and unstable.
Do this: Dig the 12-inch test hole, watch the second filling, and redirect nearby runoff before construction.
Not this: Assume gravel inside the greenhouse will solve standing water outside the walls.
Relying on a long temporary utility setup
A greenhouse placed far from power or water may seem affordable until winter makes every task harder. Long cords, hoses, and repeated trips across ice add hazards and encourage you to skip watering, ventilation checks, or frost protection.
Do this: Measure utility distances and plan a safe, permanent route along the edge of a path.
Not this: Run a cord or hose across a walkway and treat it as a permanent solution.
A final site check should leave you with more than a preferred corner of the yard. You should know when sunlight reaches it, where wind strikes, how water leaves, and how you will carry power and water there. That information lets you build around the site instead of paying to correct the site later. When the Four-Factor Site Scan points to one clear location, you have taken the first practical step toward a greenhouse that can work with winter rather than fight it.
End of chapter one. 7 more chapters and about 14,455 words in the full book.
Swipe or use the arrows to turn the page

What's inside: 8 chapters
- 1. Choosing a Greenhouse Site
- 2. Selecting a Cold-Climate Structure
- 3. Insulating and Sealing the Greenhouse
- 4. Heating Without Overspending
- 5. Managing Ventilation and Humidity
- 6. Preparing Beds for Winter Crops
- 7. Watering and Lighting in Winter
- 8. Monitoring Frost and Seasonal Transitions
About this book
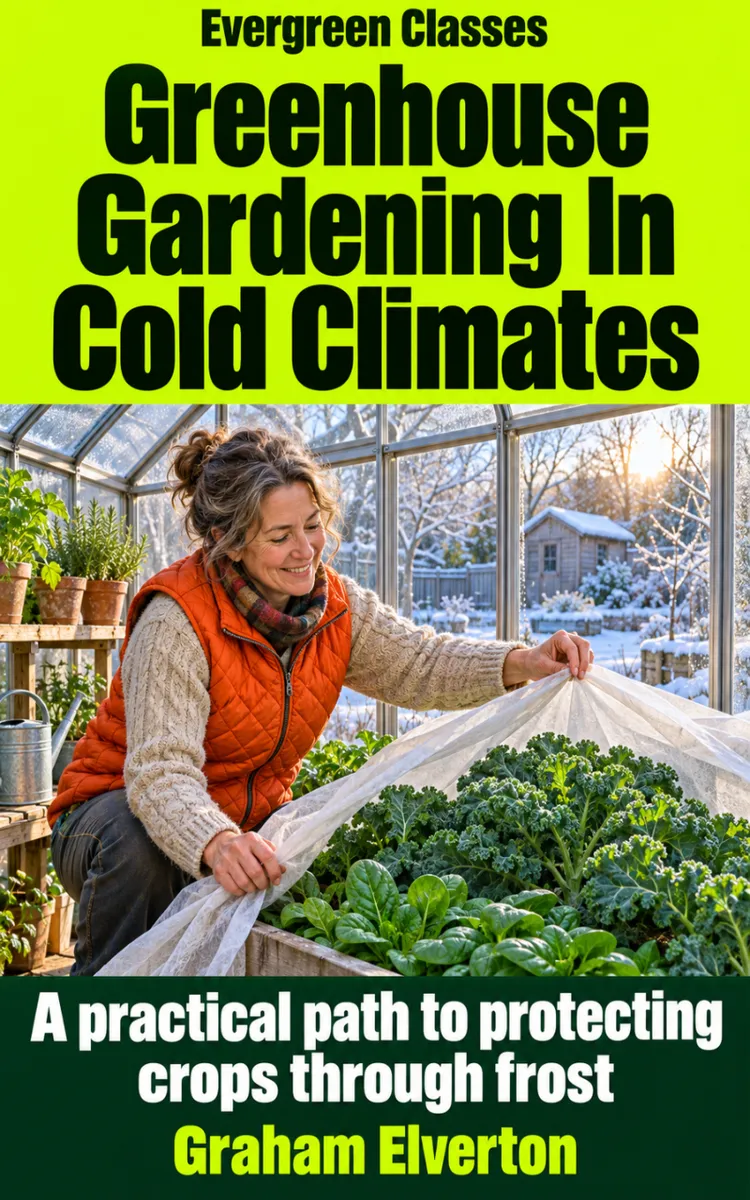
"Greenhouse Gardening In Cold Climates" is a how-to guide book by Graham Elverton with 8 chapters and approximately 14,455 words. A greenhouse can face the winter sun and still leave your seedlings in the cold. A fence shades it by midafternoon.
This book was created using Inkfluence AI, an AI-powered book generation platform that helps authors write, design, and publish complete books. It was made with the AI Ebook Generator.
Frequently Asked Questions
What is "Greenhouse Gardening In Cold Climates" about?
A greenhouse can face the winter sun and still leave your seedlings in the cold. A fence shades it by midafternoon. Wind slips through gaps. Melting snow pools around the foundation. Greenhouse Gardening In Cold Climates shows you how to spot those problems before they become expensive repairs. Use the Four-Factor Site Scan to compare sunlight, wind, drainage, and utility access. Then weigh structures against snow loads and freeze-thaw cycles, and follow the Heat-Leak Ladder to seal gaps without blocking doors or vents. Across eight chapters, you’ll make choices suited to your site and your short growing season, before ordering a greenhouse or adding costly equipment. The goal is a winter-ready growing space, not a roof bent under wet snow or seedlings left exposed to frost.
How many chapters are in "Greenhouse Gardening In Cold Climates"?
The book contains 8 chapters and approximately 14,455 words. Topics covered include Choosing a Greenhouse Site, Selecting a Cold-Climate Structure, Insulating and Sealing the Greenhouse, Heating Without Overspending, and more.
Who wrote "Greenhouse Gardening In Cold Climates"?
This book was written by Graham Elverton and created using Inkfluence AI, an AI book generation platform that helps authors write, design, and publish books.
How can I create a similar how-to guide book?
You can create your own how-to guide book using Inkfluence AI. Describe your idea, choose your style, and the AI writes the full book for you. It's free to start.
Write your own how-to guide book with AI
Describe your idea and Inkfluence writes the whole thing. Free to start.
Start writingCreated with Inkfluence AI


