
Read the first chapter
The whole of chapter one, free. About 9 min. Turn the pages with the arrows, your keyboard, or a swipe.
Chapter 1
Planning for Canadian Growing Zones
Why Canadian Zones Need a Closer Look
A seed packet can promise an early harvest, yet the same variety may struggle in one Canadian yard and thrive in another. A garden beside Lake Ontario may warm earlier than a garden only a few kilometres inland. A south-facing wall can protect tender plants, while a low spot in the same yard can collect cold air overnight. The map gives you a starting point; your yard supplies the details.
Hardiness zones, frost dates, and local conditions answer different questions. A hardiness zone describes how much winter cold a perennial plant can usually withstand. Frost dates help you decide when to plant annual vegetables and flowers. Local conditions - sun, wind, soil, slope, and shelter - show how your particular garden behaves. Ignoring any one of these can lead to dead perennials, frozen seedlings, or a harvest that never ripens before autumn.
After working through these ideas, you will be able to read a plant label, check reliable local information, and turn it into a realistic planting plan. You will also know when to choose a shorter-season variety, start plants indoors, add protection, or leave a plant off your list. The practical takeaway is simple: choose plants for both your region and your actual yard, not for a climate map alone.
The Zone-to-Plot Method
The Zone-to-Plot Method moves from broad information to specific decisions. Start with the hardiness zone, then check frost dates, and finally study the conditions at the exact plot where you want to plant. Each stage removes a different kind of guesswork.
1. Find your hardiness zone. Use the Government of Canada plant hardiness zone map or a local garden centre’s zone reference. The zone appears as a number, sometimes with a letter. A lower number generally means colder winter conditions. Use the zone to judge whether a perennial, shrub, or fruit plant has a reasonable chance of surviving winter.
2. Check the plant’s listed zone range. Read the plant tag or catalogue description. If a perennial lists zones 4 to 8, it suits a zone 5 garden on winter temperature alone. A plant listed for zone 6 may survive in a protected zone 5 yard, but it carries more risk. A zone rating does not predict summer heat, soil quality, snow cover, or spring frost.
3. Record local frost dates. The last spring frost marks the approximate end of freezing nights, and the first autumn frost marks the approximate return of freezing conditions. Search for frost information from your nearest weather station, provincial agriculture office, or local extension service. Treat the dates as planning guides, not guarantees. Cold air can arrive earlier in an exposed yard.
4. Match the crop’s days to maturity with your frost-free period. “Days to maturity” means the approximate time from planting to a harvestable crop. A tomato that needs 75 days may fit a long season but struggle in a short one if you plant it from seed outdoors. A tomato started indoors and transplanted as a healthy plant gains useful growing time.
5. Map the plot itself. Watch the area for a full day and note the hours of direct sun. Mark places that stay wet, dry quickly, receive strong wind, or sit beside a warm wall. A plant that matches your zone can still fail if it receives four hours of sun when it needs eight, or if its roots sit in water after rain.
Use the zone for winter survival, frost dates for timing, and local conditions for placement. Ask yourself three questions before buying a plant: Will it survive winter here? Can it finish its growth before autumn frost? Does my chosen spot provide what it needs? A “yes” to all three creates a much stronger plan than a zone match alone.
For annual crops, count backward from the first autumn frost. If your area usually experiences its first frost around October 1 and a variety needs 60 days, aim for a harvest by late September rather than planting on the final possible date. Add extra time for cool weather, transplant shock, cloudy periods, and uneven germination. A two-week safety margin often makes the difference between ripe produce and green fruit.
Microclimates can shift conditions within one property. A microclimate is a small area with conditions that differ from the surrounding region. Dark soil near a south-facing brick wall warms earlier. A shaded north side stays cooler. A low hollow may collect frost, while a raised bed on a gentle slope drains cold air more easily. These differences do not change your official zone, but they can change planting results.
Begin your planning with a short list rather than a crowded wish list. Select dependable crops first, then add one or two plants that need more care or a longer season. This approach gives you useful harvests while leaving room to learn how your yard behaves. The key takeaway: the Zone-to-Plot Method turns a regional label into a planting decision for one specific piece of ground.
Applying the Zone-to-Plot Method to a Short-Season Garden
Consider a garden in a cool inland area where the local information suggests a last spring frost near May 24 and a first autumn frost near September 10. The gardener wants tomatoes, carrots, bush beans, and a perennial lavender plant. The garden receives seven hours of summer sun, but a fence shades it until about 9:30 a.m. in spring. The soil drains well, and the plot sits slightly higher than the lawn.
1. Check winter survival first. The lavender label lists zones 5 to 9, while the garden falls in zone 4. The gardener does not treat the plant as a dependable outdoor perennial. They either choose a variety rated for zone 4, grow lavender in a container, or accept that they may need to replace it. Expected outcome: the plan does not rely on a plant with a poor winter match.
2. Set the frost calendar. The gardener writes May 24 as the working last-frost date and September 10 as the working first-frost date. They avoid planting tender tomatoes outdoors before the soil and nights warm. Expected outcome: seedlings face less risk from a late freeze.
3. Check crop timing. The chosen tomato needs 70 days from transplanting to ripe fruit. The gardener plans to transplant it around June 1, leaving about 100 days before the expected autumn frost. That leaves time for growth, flowering, and ripening. They choose bush beans listed at 52 days and carrots listed at 65 days. Expected outcome: each crop has a reasonable chance to finish before cold weather.
4. Start plants at the right time. The gardener starts tomato seeds indoors about six to eight weeks before the planned transplant date. They sow carrots directly outdoors after the soil can be worked and cover the first sowing with a light row cover if cold weather returns. They sow bush beans after the frost risk passes because beans dislike cold soil. Expected outcome: tomatoes gain a head start, while beans avoid a slow, damaged start.
5. Place crops according to the plot. Tomatoes go in the sunniest section beside a sturdy support. Carrots go where the soil remains loose and free from fresh manure, which can cause forked roots. Beans go where they receive full afternoon sun. Lavender, if the gardener chooses a container, goes against the warm south-facing wall but receives winter protection. Expected outcome: each plant receives conditions that support its growth rather than competing for one unsuitable spot.
6. Add a frost response. The gardener keeps row cover and empty plant pots nearby. If the forecast calls for a light frost after tomatoes go outside, they cover the plants before sunset and remove the cover in the morning. They do not place plastic directly on leaves because cold plastic can cause damage where it touches. Expected outcome: a brief cold snap does not automatically end the tomato crop.
7. Review the plan after the season. The gardener records the actual transplant date, first ripe tomato, bean harvest, and first damaging frost. If tomatoes remain green on September 10, they can select an earlier variety next year or transplant sooner after hardening off. Expected outcome: next year’s choices rely on observations from the actual yard, not only catalogue claims.
Quick checklist
• Find the official hardiness zone for your area. - Read the plant’s listed zone range before buying. - Write down your local last spring and first autumn frost dates. - Check each crop’s days to maturity. - Add time for cool weather and transplant stress. - Watch the intended plot for sun, wind, drainage, and frost pockets. - Choose earlier varieties when the growing season feels tight. - Keep row cover or another simple frost protection ready. - Record actual harvest and frost dates for next year.
This example shows why a realistic garden may contain fewer varieties than a seed catalogue suggests. A shorter list with suitable timing usually produces more than a large list chosen without checking the calendar. The practical test is whether every plant has a winter, timing, and location plan.
Mistakes That Distort Zone and Frost Planning
Treating the hardiness zone as a complete growing guide
A zone rating mainly addresses winter cold for established perennial plants. It does not tell you whether a tomato will ripen, whether a plant can tolerate wet clay, or whether a shaded yard provides enough light.
Do this: Use the zone to screen perennials, shrubs, trees, and fruit plants, then check frost dates and site needs.
Not this: Buy a zone-rated plant and assume it will thrive anywhere in the yard.
If a plant sits near the edge of its listed range, place it in a sheltered spot, protect its roots with mulch, and understand that survival may vary during a severe winter.
Planting by the calendar instead of by frost risk
A date such as May 24 gives you a useful planning point, but weather does not follow a fixed schedule. A warm week can occur before one final freezing night. Tender crops such as tomatoes, peppers, cucumbers, squash, and beans can suffer serious damage from cold.
Do this: Check the short-term forecast, wait until the frost risk passes, and harden off indoor-grown plants by gradually increasing their outdoor exposure over about a week.
Not this: Set every seedling outside permanently because the calendar reached a familiar date.
When you must plant early, use row cover, cloches, or a sheltered raised bed. Remove covers on warm sunny days so plants do not overheat.
Using a regional frost date for the wrong part of the yard
A weather station may sit several kilometres away or at a different elevation. Your garden may lie in a low area where cold air settles, or beside a wall that releases stored heat overnight. The difference may matter during the first and last weeks of the season.
Do this: Place a simple outdoor thermometer at plant height near the garden, keep a frost log, and compare your readings with the local forecast.
Not this: Assume the nearest town’s date matches every corner of your property.
If frost repeatedly reaches one bed earlier, move tender crops to a higher or more sheltered position. Use the colder part of your yard for hardy crops such as kale, peas, or carrots, and reserve the warmest spot for crops that need extra ripening time.
A sound garden plan does not promise perfect weather. It gives each plant a fair match between winter hardiness, growing-season timing, and local conditions. Start with the map, adjust with the calendar, and finish with careful observation of your own plot. That process creates a garden suited to Canada as it actually exists outside your door.
End of chapter one. 4 more chapters and about 8,931 words in the full book.
Swipe or use the arrows to turn the page
What's inside: 5 chapters
- 1. Planning for Canadian Growing Zones
- 2. Preparing Garden Soil and Compost
- 3. Starting Seeds and Transplanting
- 4. Watering Through Canadian Seasons
- 5. Managing Garden Pests Naturally
About this book
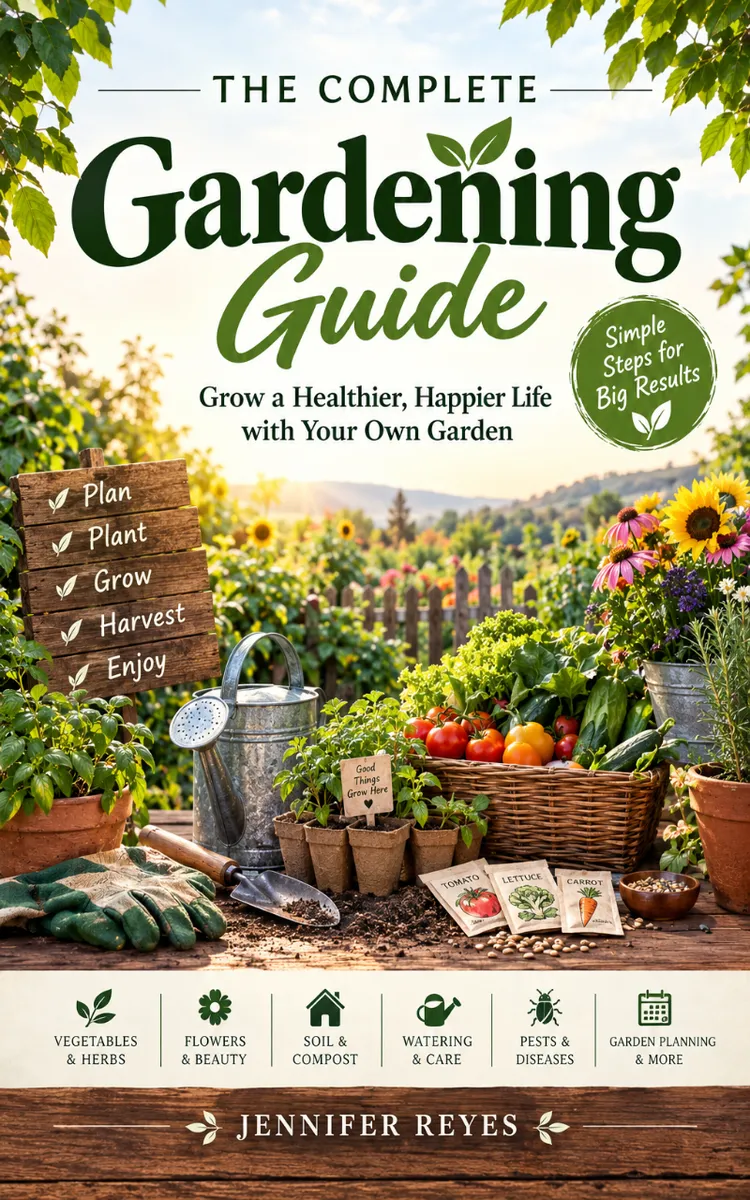
"Gardening In Canada" is a how-to guide book by Jennifer Reyes with 5 chapters and approximately 8,931 words. Practical gardening methods suited to Canada’s climate and growing conditions.
This book was created using Inkfluence AI, an AI-powered book generation platform that helps authors write, design, and publish complete books. It was made with the AI Ebook Generator.
Frequently Asked Questions
What is "Gardening In Canada" about?
Practical gardening methods suited to Canada’s climate and growing conditions
How many chapters are in "Gardening In Canada"?
The book contains 5 chapters and approximately 8,931 words. Topics covered include Planning for Canadian Growing Zones, Preparing Garden Soil and Compost, Starting Seeds and Transplanting, Watering Through Canadian Seasons, and more.
Who wrote "Gardening In Canada"?
This book was written by Jennifer Reyes and created using Inkfluence AI, an AI book generation platform that helps authors write, design, and publish books.
How can I create a similar how-to guide book?
You can create your own how-to guide book using Inkfluence AI. Describe your idea, choose your style, and the AI writes the full book for you. It's free to start.
Write your own how-to guide book with AI
Describe your idea and Inkfluence writes the whole thing. Free to start.
Start writingCreated with Inkfluence AI


