

Read the first chapter
The whole of chapter one, free. About 9 min. Turn the pages with the arrows, your keyboard, or a swipe.
Chapter 1
Immediate Survival Priorities
A hard landing, a sudden wave, or a damaged boat can leave you standing on unfamiliar sand with wet clothes, limited supplies, and no clear idea where help may come from. The first danger may not be thirst. It may be another wave, falling rock, sharp metal, fire, or a hidden injury that gets worse while you search for water.
The first 30 minutes give you one job: reduce immediate danger, protect your body, and create a clear starting point for the next decision. The First-30 Triage Ladder provides that order. “Triage” means checking problems and handling the most dangerous ones first. You will learn how to stop, scan, move to safer ground, check people and equipment, mark your location, and begin a simple plan without wasting energy.
By the end, you should be able to work through the first half-hour with a watch or phone timer, even when you feel frightened or confused. Your goal is not to solve the entire island. Your goal is to finish the first 30 minutes safer, more visible, and better prepared for the hours ahead.
The First-30 Triage Ladder
The First-30 Triage Ladder moves from immediate threats to useful planning. Do not start by exploring inland, building a shelter, or drinking unknown water. Those tasks may matter later, but they can wait while a wave, injury, or unstable slope threatens you now.
Use these steps in order:
1. Stop and control your movement. Freeze for 10 seconds, take two slow breaths, and look at your feet before walking. Panic causes rushed choices, and rushed choices lead to falls, separation, or lost equipment. Ask yourself: “What can hurt me in the next minute?”
2. Scan the danger zone. Look toward the water, cliffs, trees, rocks, smoke, and damaged equipment. Move away from surf, loose slopes, falling branches, fuel, and live electrical wires. A beach may look safe while a rising tide or a second wave can reach it quickly. Choose a spot above the highest wet sand and away from objects that can roll or fall.
3. Check people before property. Call out clearly and listen for replies. Check whether each person can breathe, answer simple questions, and move. Stop heavy bleeding by pressing firmly with cloth. Do not pull out an object stuck in a wound. Support a suspected broken limb with clothing or a rigid item, then avoid unnecessary movement. A damaged bag can wait; an unconscious or badly injured person cannot.
4. Move essential items to the safe point. Collect a first-aid kit, drinking containers, lighter or matches, knife, phone or radio, signal mirror, bright clothing, and any emergency beacon. Carry only what you can move without returning to danger. Put the items together on dry ground so you do not lose them in surf or scattered vegetation.
5. Make yourself visible and mark the location. Place bright fabric on a high, open point. Arrange stones, driftwood, or clothing in a large signal shape where aircraft or boats can see it. Keep the phone or radio dry and switch it on only when you can send a useful message or check for a signal. Record your location if the device provides one. A mark also helps you return to the same safe point instead of wandering in circles.
6. Set the next 30-minute plan. Note the time, weather, injuries, available water containers, and people accounted for. Choose one safe meeting point and tell everyone to return there. Decide who will watch the shoreline, who will check nearby water sources, and who will protect supplies. A short written list prevents repeated searching and arguments when fatigue increases.
Use a simple decision rule: handle a danger that can harm someone within minutes before a problem that can harm someone within hours. For example, move away from a breaking shoreline before looking for coconuts. Treat a deep cut before collecting driftwood. Protect a phone from water before using it to search for a map.
A safe point should meet three conditions: firm ground, distance from the water, and a clear view of the approach from sea or air. Do not choose a cave just because it blocks wind; caves can flood, collapse, or contain animals. Do not choose the tallest exposed rock just because it offers a view; lightning, falls, and wind can make it dangerous.
Ask yourself three quick questions before you continue: “Can another wave reach me here? Can anything fall on me here? Can rescuers see this place?” If you cannot answer yes, no, and yes, improve the position before doing anything else. The ladder works because it keeps your first decisions narrow and practical.
A Thirty-Minute Application
Consider a capsized small boat near a rocky island. One person reaches a strip of sand at 9:10 a.m. Two others remain visible in shallow water, and a waterproof bag floats nearby. The sea is still moving, and dark clouds sit offshore. The correct response does not begin with a long walk for shelter.
1. Minutes 0-2: Stop and scan. The survivor drops to a stable crouch, checks for sharp debris, and looks at the waterline. A wave reaches the lower beach every few seconds. The survivor moves 30 meters inland to dry sand, staying below a stable tree line and away from a loose rock face. Expected outcome: the survivor leaves the immediate wave path without creating a second injury.
2. Minutes 2-6: Check people. The survivor calls the other two people by name and points to the safe ground. One person walks with help; the other has a bleeding forearm. Firm pressure with a clean shirt slows the bleeding. The survivor does not spend time opening the floating bag yet. Expected outcome: all three people reach the safe point, and the bleeding remains controlled.
3. Minutes 6-10: Count and assess. The survivor asks each person to state their name, location, and what hurts. All three can answer. One person has a painful ankle but can stand. The group checks for breathing trouble, confusion, severe bleeding, and signs of a head injury. Expected outcome: the group identifies the arm wound and ankle injury as priorities and avoids unnecessary travel.
4. Minutes 10-15: Secure supplies. After the wave pattern gives a safe opening, one person uses a long branch to pull the waterproof bag above the wet sand. The group opens it on dry ground and finds two bottles, a lighter, a small first-aid kit, a phone, and a bright orange jacket. They place everything together beside a large driftwood log. Expected outcome: critical supplies stay visible, dry, and easy to count.
5. Minutes 15-20: Create signals. The group spreads the orange jacket over the driftwood and lays pale stones in a large arrow pointing toward the safe point. They avoid walking far enough to disappear behind trees. Expected outcome: rescuers can spot a high-contrast marker, and the group can follow the arrow back if someone checks the shoreline.
6. Minutes 20-25: Try communication. The phone stays inside a dry bag while one person checks for a signal from the safe point. If a call connects, the person gives the island’s location, number of people, injuries, visible landmarks, and the group’s signal. If no call connects, the person saves battery and does not keep searching randomly. Expected outcome: the group either sends useful information or preserves power for a better signal later.
7. Minutes 25-30: Assign simple duties. One person watches the shoreline for another wave, one holds pressure on the arm wound, and one checks the ankle and keeps the supplies together. Everyone agrees to return to the driftwood marker. They record 9:40 a.m. as the start of the next plan. Expected outcome: the group has a safe meeting point, visible signals, controlled injuries, and a clear record of time and supplies.
The group has not found food, built a shelter, or crossed the island. That restraint matters. At minute 30, the group has reduced the most urgent risks and can make later decisions with more information.
Quick checklist
• Stop moving and identify the next-minute danger. - Leave surf, unstable slopes, fire, fuel, and electrical hazards. - Call for people and count everyone. - Check breathing, alertness, and serious bleeding. - Press firmly on bleeding; do not remove embedded objects. - Move essential supplies to firm, dry ground. - Choose one visible meeting point. - Mark the location with bright material or large shapes. - Protect and check communication equipment. - Record time, injuries, weather, people, and supplies. - Assign one clear task to each person. - Reassess before leaving the safe point.
When the checklist ends, ask: “What has changed since we arrived?” If the tide rose, weather worsened, an injury changed, or someone disappeared, return to the ladder and handle the new danger first.
Mistakes and Edge Cases
Running inland immediately
A person may assume the beach offers no protection and rush toward trees. That choice can lead into dense vegetation, steep ground, hidden holes, or a place rescuers cannot see. It also separates people and scatters supplies.
Do this: Move only far enough to escape surf, falling objects, and other immediate hazards. Stop at a stable, visible safe point and mark it.
Not this: Walk inland for 20 minutes before checking injuries, counting people, or preserving a signal.
Treating every water source as safe
A stream or pool may look clean but still contain harmful organisms, salt, fuel, or animal waste. Drinking it during the first 30 minutes can create illness that weakens you later. You also waste time searching for water before securing a safe position.
Do this: Note possible water sources from a safe distance, protect containers, and wait for a later water assessment. If someone faces a medical emergency from heat or dehydration, use known safe drinking water first and follow any available emergency guidance.
Not this: Drink seawater, taste-test unknown water, or empty a sealed bottle because the water looks cloudy.
Ignoring a quiet or confused person
A person who stops answering may have a head injury, shock, or breathing problem. A quiet person may seem less urgent than someone calling for help, but reduced awareness can signal a serious condition.
Do this: Check whether the person responds to their name, breathes normally, and can follow a simple instruction. Keep them still, warm, and monitored. Control visible bleeding and seek emergency help through a phone, radio, or beacon.
Not this: Leave the person alone while the group searches for food or explores the island.
Using the phone until the battery dies
Repeatedly walking around with a phone held overhead may produce no signal while draining the battery and exposing you to falls. A dead phone cannot send a later location update.
Do this: Try communication from the safest open point, send a short message with location and injuries, then protect the device from sun and water. Record the last known battery level and signal result.
Not this: Stream maps, make repeated long calls, or carry the phone into surf to chase one bar of signal.
The first half-hour succeeds when you can point to a safe location, account for every person, identify urgent injuries, protect essential supplies, and state the next action. That result may feel modest, but it prevents small problems from becoming emergencies. Keep returning to the ladder: stop, scan, protect people, secure essentials, signal, and plan. Those six actions turn a confusing arrival into a controlled beginning.
End of chapter one. 7 more chapters in the full book.
Swipe or use the arrows to turn the page

What's inside: 8 chapters
- 1. Immediate Survival Priorities
- 2. Shelter Types and Build Steps
- 3. Water Sourcing and Purification
- 4. Fire Making With Minimal Gear
- 5. Food Foraging and Safe Eating
- 6. Fishing With Simple Techniques
- 7. Signaling for Rescue and Visibility
- 8. Navigation, Movement, and Risk Control
About this book
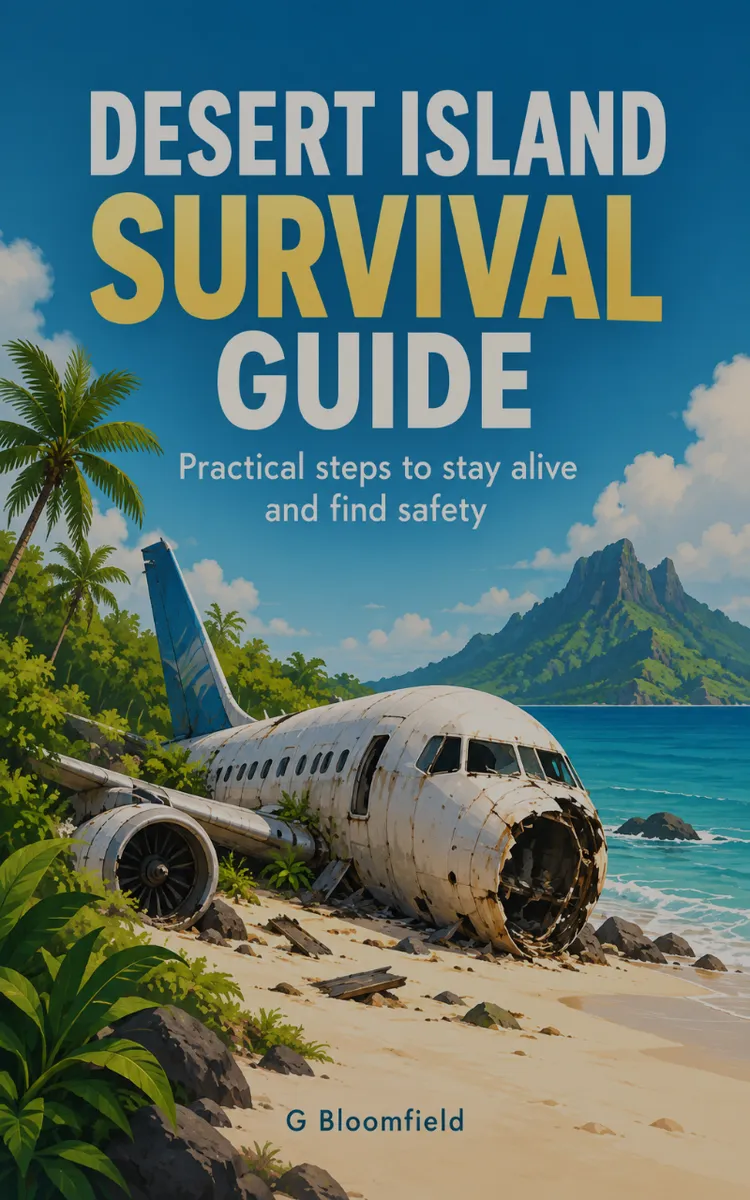
"Desert Island Survival Guide" is a how-to guide book by G Bloomfield with 8 chapters and approximately 15,071 words. Survival tactics for being stranded on a desert island.
This book was created using Inkfluence AI, an AI-powered book generation platform that helps authors write, design, and publish complete books. It was made with the AI Ebook Generator.
Frequently Asked Questions
What is "Desert Island Survival Guide" about?
Survival tactics for being stranded on a desert island
How many chapters are in "Desert Island Survival Guide"?
The book contains 8 chapters and approximately 15,071 words. Topics covered include Immediate Survival Priorities, Shelter Types and Build Steps, Water Sourcing and Purification, Fire Making With Minimal Gear, and more.
Who wrote "Desert Island Survival Guide"?
This book was written by G Bloomfield and created using Inkfluence AI, an AI book generation platform that helps authors write, design, and publish books.
How can I create a similar how-to guide book?
You can create your own how-to guide book using Inkfluence AI. Describe your idea, choose your style, and the AI writes the full book for you. It's free to start.
Write your own how-to guide book with AI
Describe your idea and Inkfluence writes the whole thing. Free to start.
Start writingCreated with Inkfluence AI


