
Read the first chapter
The whole of chapter one, free. About 7 min. Turn the pages with the arrows, your keyboard, or a swipe.
Chapter 1
Night-Sky Setup and Safety
A Clean Start Before the First Sighting
A porch light, a phone screen, or a neighbor’s floodlight can ruin a careful sky watch before it begins. One evening, a bright object crossed a narrow gap between two rooftops. The observer noticed its direction and color but could not tell whether it moved steadily or only seemed to move because nearby branches blocked the view. The missing details came from poor setup, not from a lack of attention.
A prepared backyard solves that problem. You need a clear viewing area, safe footing, dim equipment lighting, charged tools, and a repeatable routine. These choices reduce distractions and help you record what happened instead of trying to reconstruct it later from memory.
By the end of this setup, you should be able to choose a viewing position, arrange basic gear, protect your night vision, and leave the area safely at any hour. You will also have a simple starting routine: the Safe-Start Checklist. Use it before every session so your observations begin under known conditions.
Your practical takeaway: treat the first five minutes as part of the observation, not as time before the observation.
Build the Safe-Start Checklist
The Safe-Start Checklist has four parts: place, body, gear, and record. Complete them in that order. A good location cannot help if you trip over a cable, and a good camera cannot help if its battery dies before you note the time.
Choose a viewing position with the widest safe sky view. A patio, flat section of lawn, or sturdy balcony can work. Face away from direct lights when possible. Keep at least one known landmark - such as a chimney, tree, or roof edge - in view. Landmarks help you describe an object’s path and apparent height. Avoid standing under trees with moving leaves because they can create false motion and block short views.
Use these four steps:
1. Check the place. Walk the area in daylight and remove hoses, toys, loose stones, and low branches. Mark steps and uneven ground with reflective tape. This prevents falls when you look upward instead of at your feet. 2. Check your body. Wear closed shoes, warm layers, and gloves that still let you handle a phone. Bring water and insect protection when needed. Cold hands cause rushed notes and shaky images. 3. Check the gear. Charge your phone, camera, and power bank. Test the tripod, lens, compass, watch, and red-light torch. A red-light torch uses a red beam that helps you see nearby objects while preserving more night vision than a bright white beam. 4. Check the record. Open a blank log page and write the date, start time, location, weather, and viewing direction. Recording these details first prevents a bright screen or a later distraction from breaking the session.
Keep the gear simple. A phone with a camera, a small notebook, a pen, a watch, and a tripod can support useful observations. Add binoculars only if you can hold them steadily. Do not buy specialized equipment before you can complete ten calm sessions with basic tools. Extra gear creates more settings to forget and more lights to manage.
Set your phone to its lowest comfortable screen brightness, turn off notification sounds, and enable airplane mode if you do not need calls. Keep the phone in a pocket or covered container between observations. Place the notebook on a solid surface, not on your lap, so you can write without dropping it. Ask yourself: if something crosses the sky right now, can I look up within five seconds and note its direction within ten? If not, simplify the setup.
Your practical takeaway: arrange the area so your hands, eyes, and notes can work without searching for anything.
A Twenty-Minute Backyard Setup
Use this example as a working model. It assumes a flat backyard, a small patio table, one outdoor light near the back door, and a planned observation period from 9:00 to 9:20 p.m. The expected result is a safe, dim, ready-to-log station before the first minute of sky watching.
1. 8:35 p.m. - Walk the route. Start at the back door and walk to the patio with the lights on. Move a garden hose, close the gate, and place a chair beside the table. Expected outcome: you can reach the station without stepping over anything. 2. 8:40 p.m. - Control nearby light. Turn off the patio light. Close the back-door curtain so indoor light does not shine across the yard. Ask a household member to avoid opening the door during the twenty-minute session. Expected outcome: your eyes begin adjusting without repeated glare. 3. 8:43 p.m. - Choose the view. Sit facing east, where the roofline leaves about half the sky open. Keep the chimney at the left edge of view and a tall tree at the right edge. Expected outcome: you have fixed reference points for direction and apparent movement. 4. 8:46 p.m. - Place the tools. Put the notebook and pen on the left side of the table, the phone on the tripod, and the red-light torch on the ground beside your right foot. Keep the torch pointed downward. Expected outcome: you can reach every tool without sweeping light across the sky. 5. 8:49 p.m. - Prepare the phone. Charge it above half power, switch to airplane mode, lower screen brightness, and open the camera. Do not use digital zoom; it enlarges a small image without adding useful detail. Expected outcome: the phone remains ready and produces a more honest frame. 6. 8:52 p.m. - Write the opening record. Enter the date, “9:00-9:20 p.m.,” location, cloud cover in plain words, wind, and visible lights. Write “facing east” and list the chimney and tree as landmarks. Expected outcome: the conditions exist on paper before any unusual object appears. 7. 8:55 p.m. - Check safety. Confirm that the gate is locked, pets stay indoors, the chair sits level, and the weather remains dry. If wind shakes the tripod or rain begins, move inside. Expected outcome: you can observe without ignoring a physical hazard. 8. 9:00 p.m. - Start the session. Note the exact start time. Watch one section of sky for several minutes before scanning. If a light appears, keep the landmark in the frame, state the time aloud, and write its direction, color, shape, movement, and duration. Expected outcome: your first record separates direct observation from later interpretation.
A short session often produces better notes than a long, uncomfortable one. End at the planned time, record the end conditions, and pack the same way each time. A repeatable station makes changes easier to notice on later nights.
Quick checklist
• Clear the walking route and mark hazards. - Turn off or block nearby lights. - Face a known direction with two fixed landmarks. - Charge the phone and power bank. - Lower screen brightness and silence notifications. - Set the phone on a stable support. - Place the notebook and pen within reach. - Record date, time, weather, and starting direction. - Keep pets, loose cables, and open flames away. - Stop if rain, ice, strong wind, or unsafe footing appears.
Your practical takeaway: a twenty-minute setup can protect the quality of an entire evening’s log.
Mistakes That Break a Safe Start
Bright light destroys your adjustment time
A white torch, phone flash, or open doorway can make the sky look empty for several minutes. That lost adjustment time matters when a faint object appears near the edge of vision.
Do this: use a red-light torch pointed at the ground, keep the phone screen dim, and close the door before you begin. Not this: shine a white beam across the yard to find a pen or check the sky.
Unstable ground causes rushed observations
A chair on soft soil, a tripod beside a step, or a loose mat can shift when you stand. Looking upward reduces your awareness of the ground, so a small hazard becomes a real fall risk.
Do this: place the chair and tripod on a flat, firm surface and test each one with a gentle push. Keep one hand free when walking. Not this: carry binoculars, a phone, and a torch while crossing uneven ground in darkness.
Too much gear delays the record
A telescope, several lenses, a tablet, and multiple apps can turn a quick sighting into a search for the right setting. By the time you look up, the object may have left the view.
Do this: begin with one phone, one notebook, one pen, and one light. Add one tool only after you know why it improves your record. Not this: open several apps or change camera modes while an object is moving.
Weather and wildlife create avoidable danger
Wet decking becomes slippery, wind can tip equipment, and an open gate can let a pet or child enter the viewing area. A strange light never justifies ignoring a physical risk.
Do this: check the ground and weather before every session, keep the gate secured, and end the watch when conditions change. Not this: stand outside during lightning, climb onto a roof, or approach an unfamiliar person or vehicle because of a light in the sky.
A successful setup leaves no mystery about where to stand, what to touch, or how to leave. Run the Safe-Start Checklist until it feels ordinary, then let your attention rest on the sky. Clear surroundings, controlled light, and a ready log give every later observation a stronger foundation.
End of chapter one. 15 more chapters in the full book.
Swipe or use the arrows to turn the page
What's inside: 16 chapters
- 1. Night-Sky Setup and Safety
- 2. Choosing Your Viewing Windows
- 3. Dark Adaptation and Eye Training
- 4. Your Field Log Template
- 5. Time, Direction, and Angle Basics
- 6. Identifying Common Sky Objects
- 7. Using Apps and Star Charts Wisely
- 8. Capturing Video Without Losing It
- 9. Photographing Lights and Trails
- 10. Sketching What the Camera Misses
- 11. Classifying Motion Patterns
- 12. Color, Brightness, and Flicker Notes
- 13. Weather, Seeing, and Sky Transparency
- 14. Building a Sightings Confidence Score
- 15. Paranormal Investigation Boundaries
- 16. 30-Night Action Plan and Review
About this book
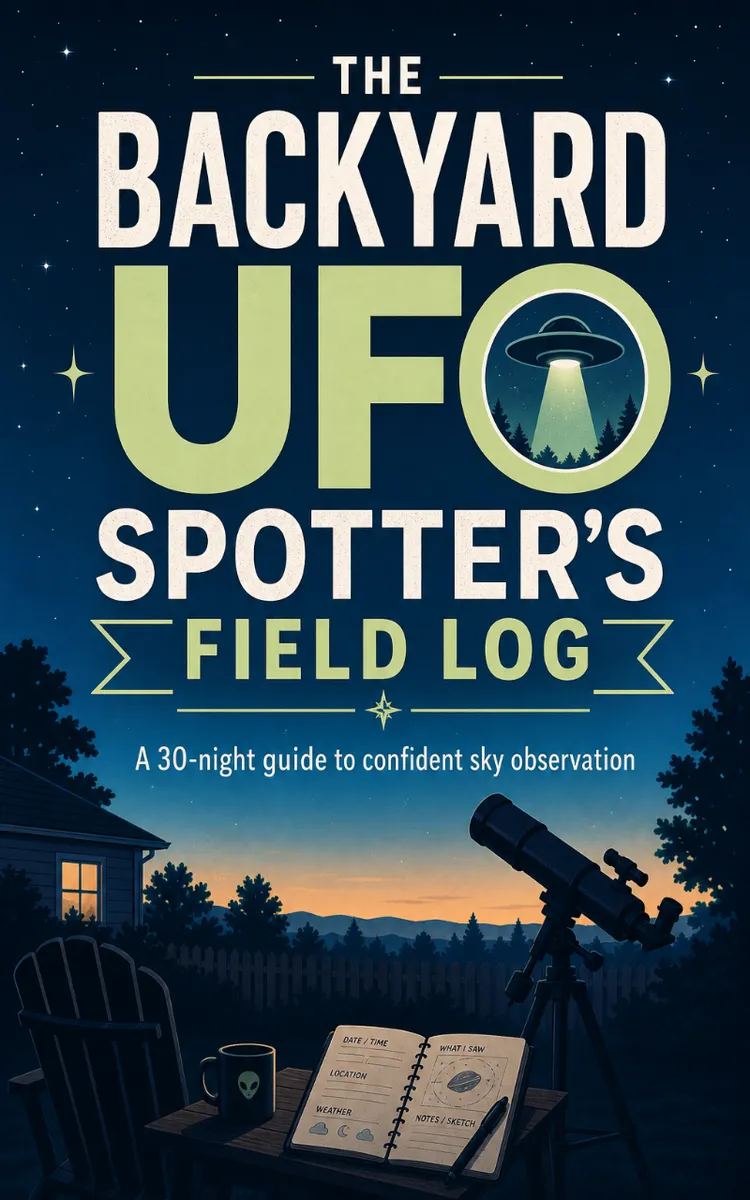
"The Backyard UFO Spotter's Field Log" is a how-to guide book by Anonymous with 16 chapters and approximately 28,033 words. Practical handbook for observing and logging UFO sightings.
This book was created using Inkfluence AI, an AI-powered book generation platform that helps authors write, design, and publish complete books. It was made with the AI Ebook Generator.
Frequently Asked Questions
What is "The Backyard UFO Spotter's Field Log" about?
Practical handbook for observing and logging UFO sightings
How many chapters are in "The Backyard UFO Spotter's Field Log"?
The book contains 16 chapters and approximately 28,033 words. Topics covered include Night-Sky Setup and Safety, Choosing Your Viewing Windows, Dark Adaptation and Eye Training, Your Field Log Template, and more.
Who wrote "The Backyard UFO Spotter's Field Log"?
This book was written by Anonymous and created using Inkfluence AI, an AI book generation platform that helps authors write, design, and publish books.
How can I create a similar how-to guide book?
You can create your own how-to guide book using Inkfluence AI. Describe your idea, choose your style, and the AI writes the full book for you. It's free to start.
Write your own how-to guide book with AI
Describe your idea and Inkfluence writes the whole thing. Free to start.
Start writingCreated with Inkfluence AI


