
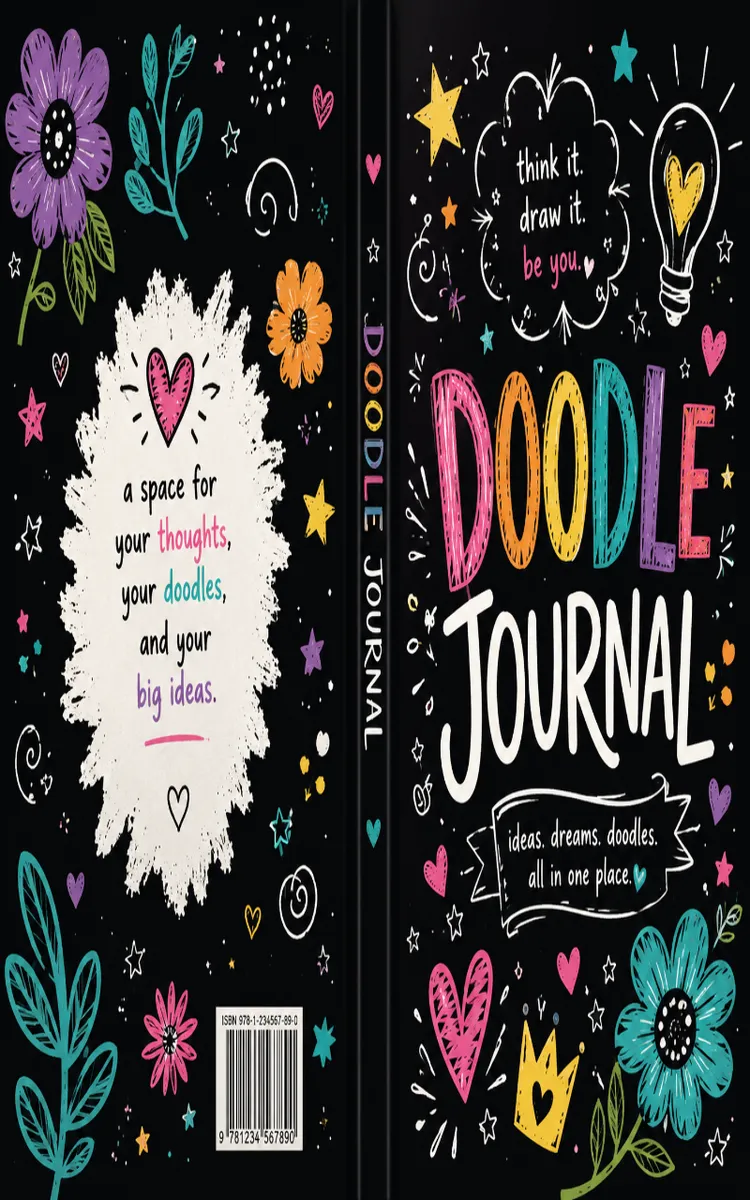
Read the first chapter
The whole of chapter one, free. About 5 min. Turn the pages with the arrows, your keyboard, or a swipe.
Chapter 1
Starting Your Bullet Doodle Journal
Your Bullet Doodle Layout: Simple Symbols, Doodle Anchors, and a Page You’ll Revisit
A good bullet doodle journal doesn’t feel precious. It feels usable. The trick is setting up a clean layout early, then giving your pages a few “anchors” (small, repeatable doodles) so you always know where things go - even when your brain is tired.
For this chapter, you’ll build a tiny system you can reuse: a short symbol set for quick meaning, 1-2 doodle anchors that mark sections, and a page layout that stays consistent. You’re not designing art. You’re designing speed and clarity.
Key takeaway: Set up a repeatable page template with a few symbols and doodle anchors so your journal stays easy to open and easy to use.
If you want the structure in plain steps, here it is:
1. Pick 5-7 simple bullet symbols you’ll actually reuse. 2. Choose 1-2 doodle anchors that represent sections (like a tiny sun for “today”). 3. Draw a consistent mini-layout on your first pages (same order every time). 4. Test it with one filled example page. 5. Tweak only one thing at a time, so your setup stays stable.
---
Build Your “Anchor + Symbol” First Page (With a Completed Example)
Materials needed (simple): a notebook for your bullet doodle journal, a pen or pencil, and colored pens/highlighters if you like (optional). Time required: about 25-35 minutes.
Here’s a hands-on setup you can finish today. Your goal is one page you’d be happy to copy again and again.
1. Draw your symbol key at the top (small, neat). Make a box about 1 inch (2-3 cm) tall. Inside, write your symbols with short labels. - Choose exactly 5-7 symbols. Keep them doodle-simple. - Example symbol set you can copy (edit later): - ☐ = Not started - ◷ = In progress - ✓ = Done - → = Waiting / follow-up - ★ = Important -! = Urgent - ✎ = Notes / ideas
2. Add 1 doodle anchor for “Today” and 1 for “Next.” Pick doodles you won’t regret. Keep them tiny (coin-sized). - “Today” anchor idea: a sun or clock - “Next” anchor idea: a arrow in a circle or a small staircase Put the “Today” anchor near the top-left of the page. Put the “Next” anchor near the top-right.
3. Create a clean layout with three labeled zones. You’ll draw light headings (you can underline them with a quick doodle). - Left zone under Today: “Top 3” - Middle zone: “Quick Wins + Notes” - Right zone under Next: “Next Steps”
4. Add bullet-style entries using your symbols. Each entry should be short enough to scan in 3 seconds. - Use your symbols before the text. - Leave a little space between entries so it doesn’t turn into a scribble pile.
5. Fill one completed example page (copy this structure). Use today’s real stuff - even if it’s small. The page should feel like a snapshot, not a project.
Completed example (copy the layout and symbols):
> Symbol Key (top box): > ☐ Not started | ◷ In progress | ✓ Done | → Waiting | ★ Important |! Urgent | ✎ Notes > > Today (sun doodle, top-left): > Top 3 > ★ “Email client about invoice” > ◷ “Practice pitch for 10 minutes” >! “Call plumber back” > > Quick Wins + Notes (middle): > ✎ “Remember: ask about warranty” > ✓ “Pay parking ticket” > → “Order replacement part (after supplier replies)” > > Next (arrow-circle doodle, top-right): > Next Steps > ☐ “Book appointment for next week” > ☐ “Draft short checklist for job day”
6. Do a quick “read test” once you’re done. Cover the page with your hand for 5 seconds, then peek and answer: - Can you find the “Top 3” zone fast? - Can you spot what’s urgent or important using symbols? If either answer is “no,” adjust the spacing now (not later).
Your Turn: On your page, write your own symbol key and draw your two doodle anchors before you add any content. That’s the anchor-before-chaos rule.
---
Using Your Symbols and Doodle Anchors in Real Life (So They Actually Help)
Now that your page has a repeatable layout, the real win is using it when your day is messy. Symbols are for speed. Anchors are for orientation. Together, they help you avoid the “where did I put that?” problem.
Try this scenario: you wake up and need to handle three things fast. You open your journal to your first-page template. Under your Today anchor, you write “Top 3” with symbols only (then short text). For example: - ★ “Send quote” - ◷ “Finish estimate” -! “Reschedule appointment” Expected outcome: you can glance at the page and know what matters without rereading paragraphs.
Next scenario: you’re waiting on something (a reply, a delivery, a decision). Put it under the middle zone (“Quick Wins + Notes”) using your → symbol. Add one line of context right next to it, like “waiting on supplier confirmation” or “awaiting approval email.” Expected outcome: when the notification hits, you know exactly which line to check, because it’s visually tagged.
And here’s a “workday” version for small business or trades: after a job, jot one quick win and one next step. Use your ✓ for the win and ☐ for the next step, even if the next step is tiny (like “send follow-up text” or “order fittings”). Expected outcome: your journal becomes a trail of actions, not a dumping ground. You’ll notice patterns fast - what keeps getting delayed, what you finish quickly, and what you keep forgetting.
Apply It: Keep your entries short (under one line each). If you need more than one line, split it into two bullets and use ✎ for notes.
---
Reflect and Lock In Your Setup (Questions + Fill-in Lines)
You’ve built a page system. Now you’re deciding whether it fits your brain. No drama - just a few targeted checks.
1) Which 2 symbols will you rely on most this week, and where will you place them on the page? ________________________________________________ ______________________________________________ ________________________________________________
2) What doodle anchor feels easiest to spot when you’re busy, and what section does it represent (Today or Next)? ________________________________________________ ______________________________________________ ________________________________________________
3) If your page felt messy, what one change will you make first - spacing, fewer symbols, or clearer zone labels? ________________________________________________ ______________________________________________ ________________________________________________
When you can answer those, your journal setup stops being “something you made” and starts being “something you use.”
If you want a simple closing rule: copy your template once more on a fresh page tomorrow. Same symbols, same anchors, same zone order. Then you’ll know exactly what to keep - and what to adjust.
End of chapter one. 4 more chapters in the full book.
Swipe or use the arrows to turn the page
What's inside: 5 chapters
- 1. Starting Your Bullet Doodle Journal
- 2. Designing a Doodle Legend System
- 3. Bulleting Goals with Weekly Themes
- 4. Tracking Habits with Mood-Color Bullets
- 5. Monthly Review with Doodle Prompts
About this book
"Bulleted Doodle Journal" is a workbook by Anonymous with 5 chapters and approximately 6,456 words. A doodle-based journal using bullet-style prompts.
This book was created using Inkfluence AI, an AI-powered book generation platform that helps authors write, design, and publish complete books. It was made with the Workbook Generator.
Frequently Asked Questions
What is "Bulleted Doodle Journal" about?
A doodle-based journal using bullet-style prompts
How many chapters are in "Bulleted Doodle Journal"?
The book contains 5 chapters and approximately 6,456 words. Topics covered include Starting Your Bullet Doodle Journal, Designing a Doodle Legend System, Bulleting Goals with Weekly Themes, Tracking Habits with Mood-Color Bullets, and more.
Who wrote "Bulleted Doodle Journal"?
This book was written by Anonymous and created using Inkfluence AI, an AI book generation platform that helps authors write, design, and publish books.
How can I create a similar workbook?
You can create your own workbook using Inkfluence AI. Describe your idea, choose your style, and the AI writes the full book for you. It's free to start.
Write your own workbook with AI
Describe your idea and Inkfluence writes the whole thing. Free to start.
Start writingCreated with Inkfluence AI


