
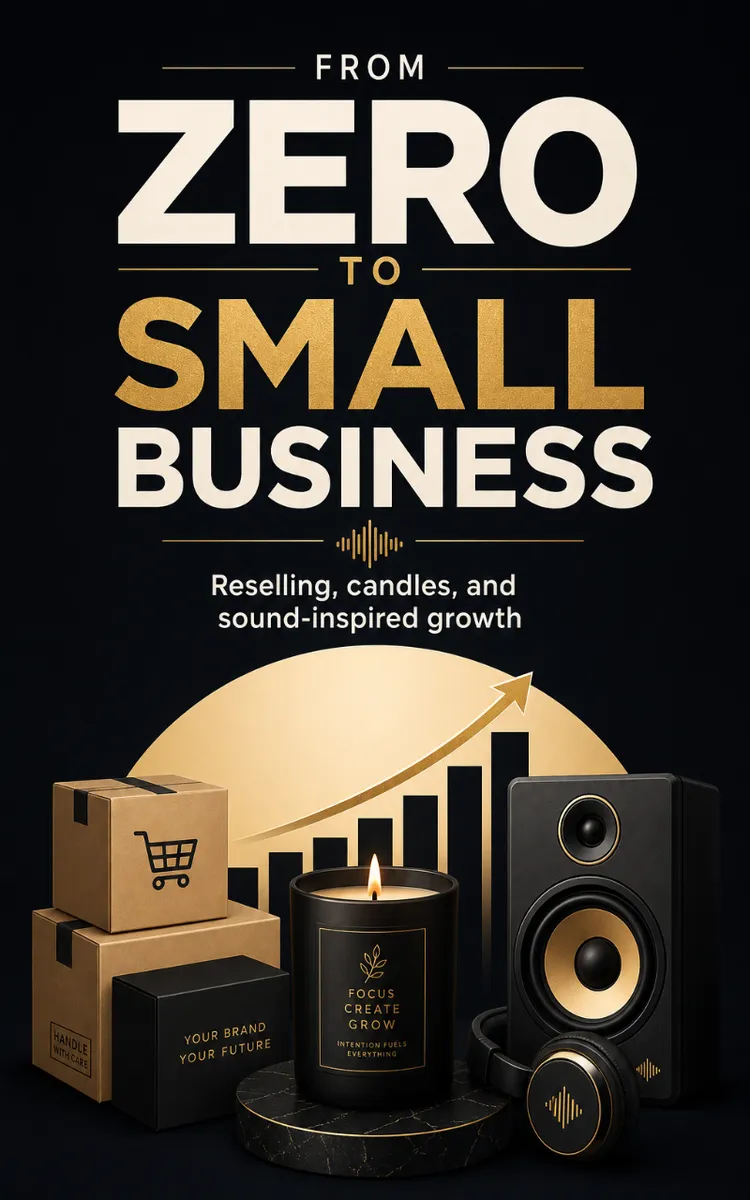
Read the first chapter
The whole of chapter one, free. About 8 min. Turn the pages with the arrows, your keyboard, or a swipe.
Chapter 1
Finding Value for Resale Items
Have you ever looked at an item in a listing and thought, “This feels cheap… but what if I’m wrong”? That feeling costs money fast when you start reselling with almost nothing. One wrong buy can drain your budget for weeks, and one slow sale can turn your excitement into stress.
If you’re the kind of entrepreneur who’s working a job, juggling life, or building this from the side, you need a way to spot value quickly and buy with confidence. This chapter gives you that. By the end, you’ll know how to identify undervalued items, judge quality fast, and choose what’s worth buying to resell-using one simple tool you can repeat every day.
I started the hard way: buying small resale items with minimal money, learning what looked good but sold poorly, and then drilling down into what actually moved. I learned to stop guessing and start checking. Not “in theory,” but with real listings, real photos, and real decisions that either made me money or taught me the lesson the hard way. That same discipline is what you’ll build here.
Why This Matters
When you resell, your profit doesn’t come from “marketing tricks.” It comes from buying right. With minimal money, you can’t afford to treat every purchase like an experiment. You need a repeatable method that helps you decide in minutes, not hours-and that protects you from the traps that waste time and cash.
This chapter solves a specific problem: you keep finding items that look cheap, but you can’t tell if they’re actually worth your effort. Sometimes you buy something that’s too damaged to sell. Other times you buy something that’s fine, but the demand is weak or the listing price is already priced like a finished product. Then you end up stuck with inventory you can’t shift.
After this chapter, you’ll be able to scan a listing and quickly answer three questions: Is this item undervalued compared to what it can sell for? Does it have quality that customers will pay to own? And can you resell it without getting buried in returns, missing parts, or unclear condition. You’ll also build your own “value checklist” so your first sales come from clear decisions, not hope.
How It Works
The core skill is simple: you match what you see now (condition, parts, completeness, materials) to what buyers want next (what problem it solves, how it looks, how reliable it feels). You do that with The Quick Value Checklist, which helps you decide if you should buy today or skip and protect your cash for the next good one.
Here’s how it works in practice. Use it every time you consider a purchase, even when you feel tempted.
1. Check the “Resale Reality Price” Look at comparable sold listings (not just active listings). You want the price items actually traded for, because it tells you what buyers recently paid. This matters because an item can look cheap on the surface while still selling for too little to cover your time and costs.
2. Mark the “Undervalue Gap” Compare what you pay (including shipping if it applies) to the resale reality price. Your goal isn’t to find the perfect deal; it’s to find a gap big enough to absorb fees, packaging, and the occasional surprise. When you see a gap that makes sense, you move forward. When it doesn’t, you walk away fast.
3. Score “Quality in 30 Seconds” You judge condition from photos and the description like a buyer would. Look for cracks, missing pieces, heavy wear, rust, and anything that affects function or appearance. This matters because buyers don’t pay for potential; they pay for confidence.
4. Verify “Completeness and Parts” Many resale items fail because they’re missing key parts. If the listing says “includes everything” but the photos don’t show it, you treat that as a risk. You confirm by reading the description carefully and checking whether the photos clearly show the full set.
5. Run the “Buyer Friction Test” Ask: Would I feel comfortable buying this with one photo set and a short description? If the listing leaves too many questions (inconsistent measurements, unclear model numbers, vague condition), expect more messages and more returns. You want items that sell with minimal back-and-forth.
You’ll notice something: this framework doesn’t ask you to be an expert in everything. It asks you to be consistent at spotting value signals and avoiding the common failure points that drain beginners.
A quick example using Nadia, 24, part-time student and online reseller. She found a small electronics accessory bundle priced low. The photos looked okay, but the description didn’t list what models it fit. After she applied the checklist, she skipped it. The next day she bought a similar accessory that listed exact compatibility and showed clear photos of every piece. She didn’t just save money-she avoided the slow, message-heavy listing that would have eaten her free evenings.
Putting It Into Practice
Let’s walk through a realistic buying decision you can repeat. Nadia did this on a day she only had time for a few listings between classes, and she still made a clean call.
Scenario: You find a “vintage-looking” home item for resale. The listing price looks low, but you don’t know if it’s actually worth your time.
Step-by-step decision (use this exact order)
1. Open the listing and capture the basics Write down: - Your purchase price - Shipping cost (if any) - Total you’ll pay (price + shipping) - Any model number or brand name shown
Expected outcome: You stop making decisions based on feelings. You know your starting number.
2. Find the resale reality price Search sold listings for the same brand/model (or very close match). Use the sold price that looks most similar in condition and completeness.
Expected outcome: You get a realistic resale price range. You stop guessing.
3. Calculate your undervalue gap Subtract your total cost from the resale reality price you found. If your gap feels tiny, you skip. If your gap gives you room for fees, packaging, and a small price adjustment, you consider buying.
Expected outcome: You protect cash and avoid deals that “should” work but don’t.
4. Score quality in 30 seconds Check photos for: - Cracks, dents, warping - Missing surface pieces - Rust or heavy discoloration - Signs of repairs or messy fixes
Then compare that to what buyers paid for in the sold listings you used.
Expected outcome: You match your item’s condition to the price level you’re aiming for.
5. Verify completeness and parts Zoom in on the photos. If the item depends on components (batteries, attachments, chargers, lids, caps, stands), you need clear proof they’re included. If the listing uses vague phrases like “varies” or “may include,” treat that as a risk unless you can confirm.
Expected outcome: You avoid “cheap” items that become expensive returns.
6. Run the buyer friction test Read the description and check whether buyers will ask the same questions: - What exact model is it? - Do all pieces work? - Are there known issues? - Does it fit a specific size or version?
If the listing forces uncertainty, you skip or you price lower to match the risk.
Expected outcome: You choose items that sell with fewer messages and less hassle.
Quick checklist (print this or keep it in your notes)
• I wrote my total cost (purchase + shipping). - I found sold listings that match the brand/model and condition. - My undervalue gap leaves room for fees and packaging. - The item looks complete in photos (no missing key parts). - The condition matches the sold listings I used for pricing. - The listing answers the questions buyers will ask.
When Nadia used this method, her decisions got faster. She stopped rereading listings ten times. She stopped buying “because it seemed like a deal.” And she started building sales from items she could confidently list and deliver without panic.
What to Watch For
Even with a checklist, beginners get hit by the same issues. Watch for these, and you’ll stay profitable while you learn.
Overpaying for “potential” Some items look like they could sell because they look interesting or trendy. But if sold listings show lower prices for your exact condition, you overpay.
Do this: Match your item’s condition to the sold listings you used for pricing, then decide based on the gap. Not this: Buy the item because it “might be worth more later” without checking what buyers already paid.
Missing parts that kill your listing Completeness matters more than most people expect. A missing charger, insert, lid, cap, or attachment can turn a quick sale into a slow one or a return.
Do this: Treat unclear photos as missing parts until you can confirm otherwise. Message the seller before buying if you need proof. Not this: Assume the description covers everything when the photos do not show the full set.
Confusing quality with “good lighting” Great photos can hide flaws. A bright background, heavy shadows, or angled shots can make damage harder to spot.
Do this: Compare what you see to what sold listings show in photos. If sold items look cleaner than yours, lower your resale expectations before you buy. Not this: Trust the listing photos more than the visible wear and condition clues.
Closing: Your next move
You now have the foundation for buying with confidence even when your budget is tight: you spot undervalued items, judge quality fast, verify completeness, and decide based on a real resale price-not hope. Your goal this week isn’t to “find the perfect item.” Your goal is to build a habit of checking value before you spend.
Pick one item you’re considering right now and run The Quick Value Checklist on it. Write down your total cost, your resale reality price, and your undervalue gap. If the numbers don’t support it, skip it and keep your money ready for the next one.
In the next chapter, you’ll turn those value decisions into listings that sell-so your buyers feel confident before they hit “buy,” and your items move faster with less back-and-forth.
End of chapter one. 7 more chapters in the full book.
Swipe or use the arrows to turn the page
What's inside: 8 chapters
- 1. Finding Value for Resale Items
- 2. Setting Up Your First Online Listing
- 3. Pricing for Profit With Small Budgets
- 4. Reinvesting Earnings Into Candles
- 5. Building a Candle Product Line
- 6. Customer Connection That Drives Sales
- 7. Sound Healing for Focus and Confidence
- 8. Scaling Your Small Business Step by Step
About this book
"From Zero To Small Business" is a business book by Anonymous with 8 chapters and approximately 15,246 words. Building a small business from minimal money.
This book was created using Inkfluence AI, an AI-powered book generation platform that helps authors write, design, and publish complete books. It was made with the AI Business Book Writer.
Frequently Asked Questions
What is "From Zero To Small Business" about?
Building a small business from minimal money
How many chapters are in "From Zero To Small Business"?
The book contains 8 chapters and approximately 15,246 words. Topics covered include Finding Value for Resale Items, Setting Up Your First Online Listing, Pricing for Profit With Small Budgets, Reinvesting Earnings Into Candles, and more.
Who wrote "From Zero To Small Business"?
This book was written by Anonymous and created using Inkfluence AI, an AI book generation platform that helps authors write, design, and publish books.
How can I create a similar business book?
You can create your own business book using Inkfluence AI. Describe your idea, choose your style, and the AI writes the full book for you. It's free to start.
Write your own business book with AI
Describe your idea and Inkfluence writes the whole thing. Free to start.
Start writingCreated with Inkfluence AI


